Обучение
Building a Shooting Schedule
After you have created and configured the project, added the scenes, actors and sets, you can proceed to scheduling the shoots and building the shooting schedule. Select “Shooting schedule” in the menu.
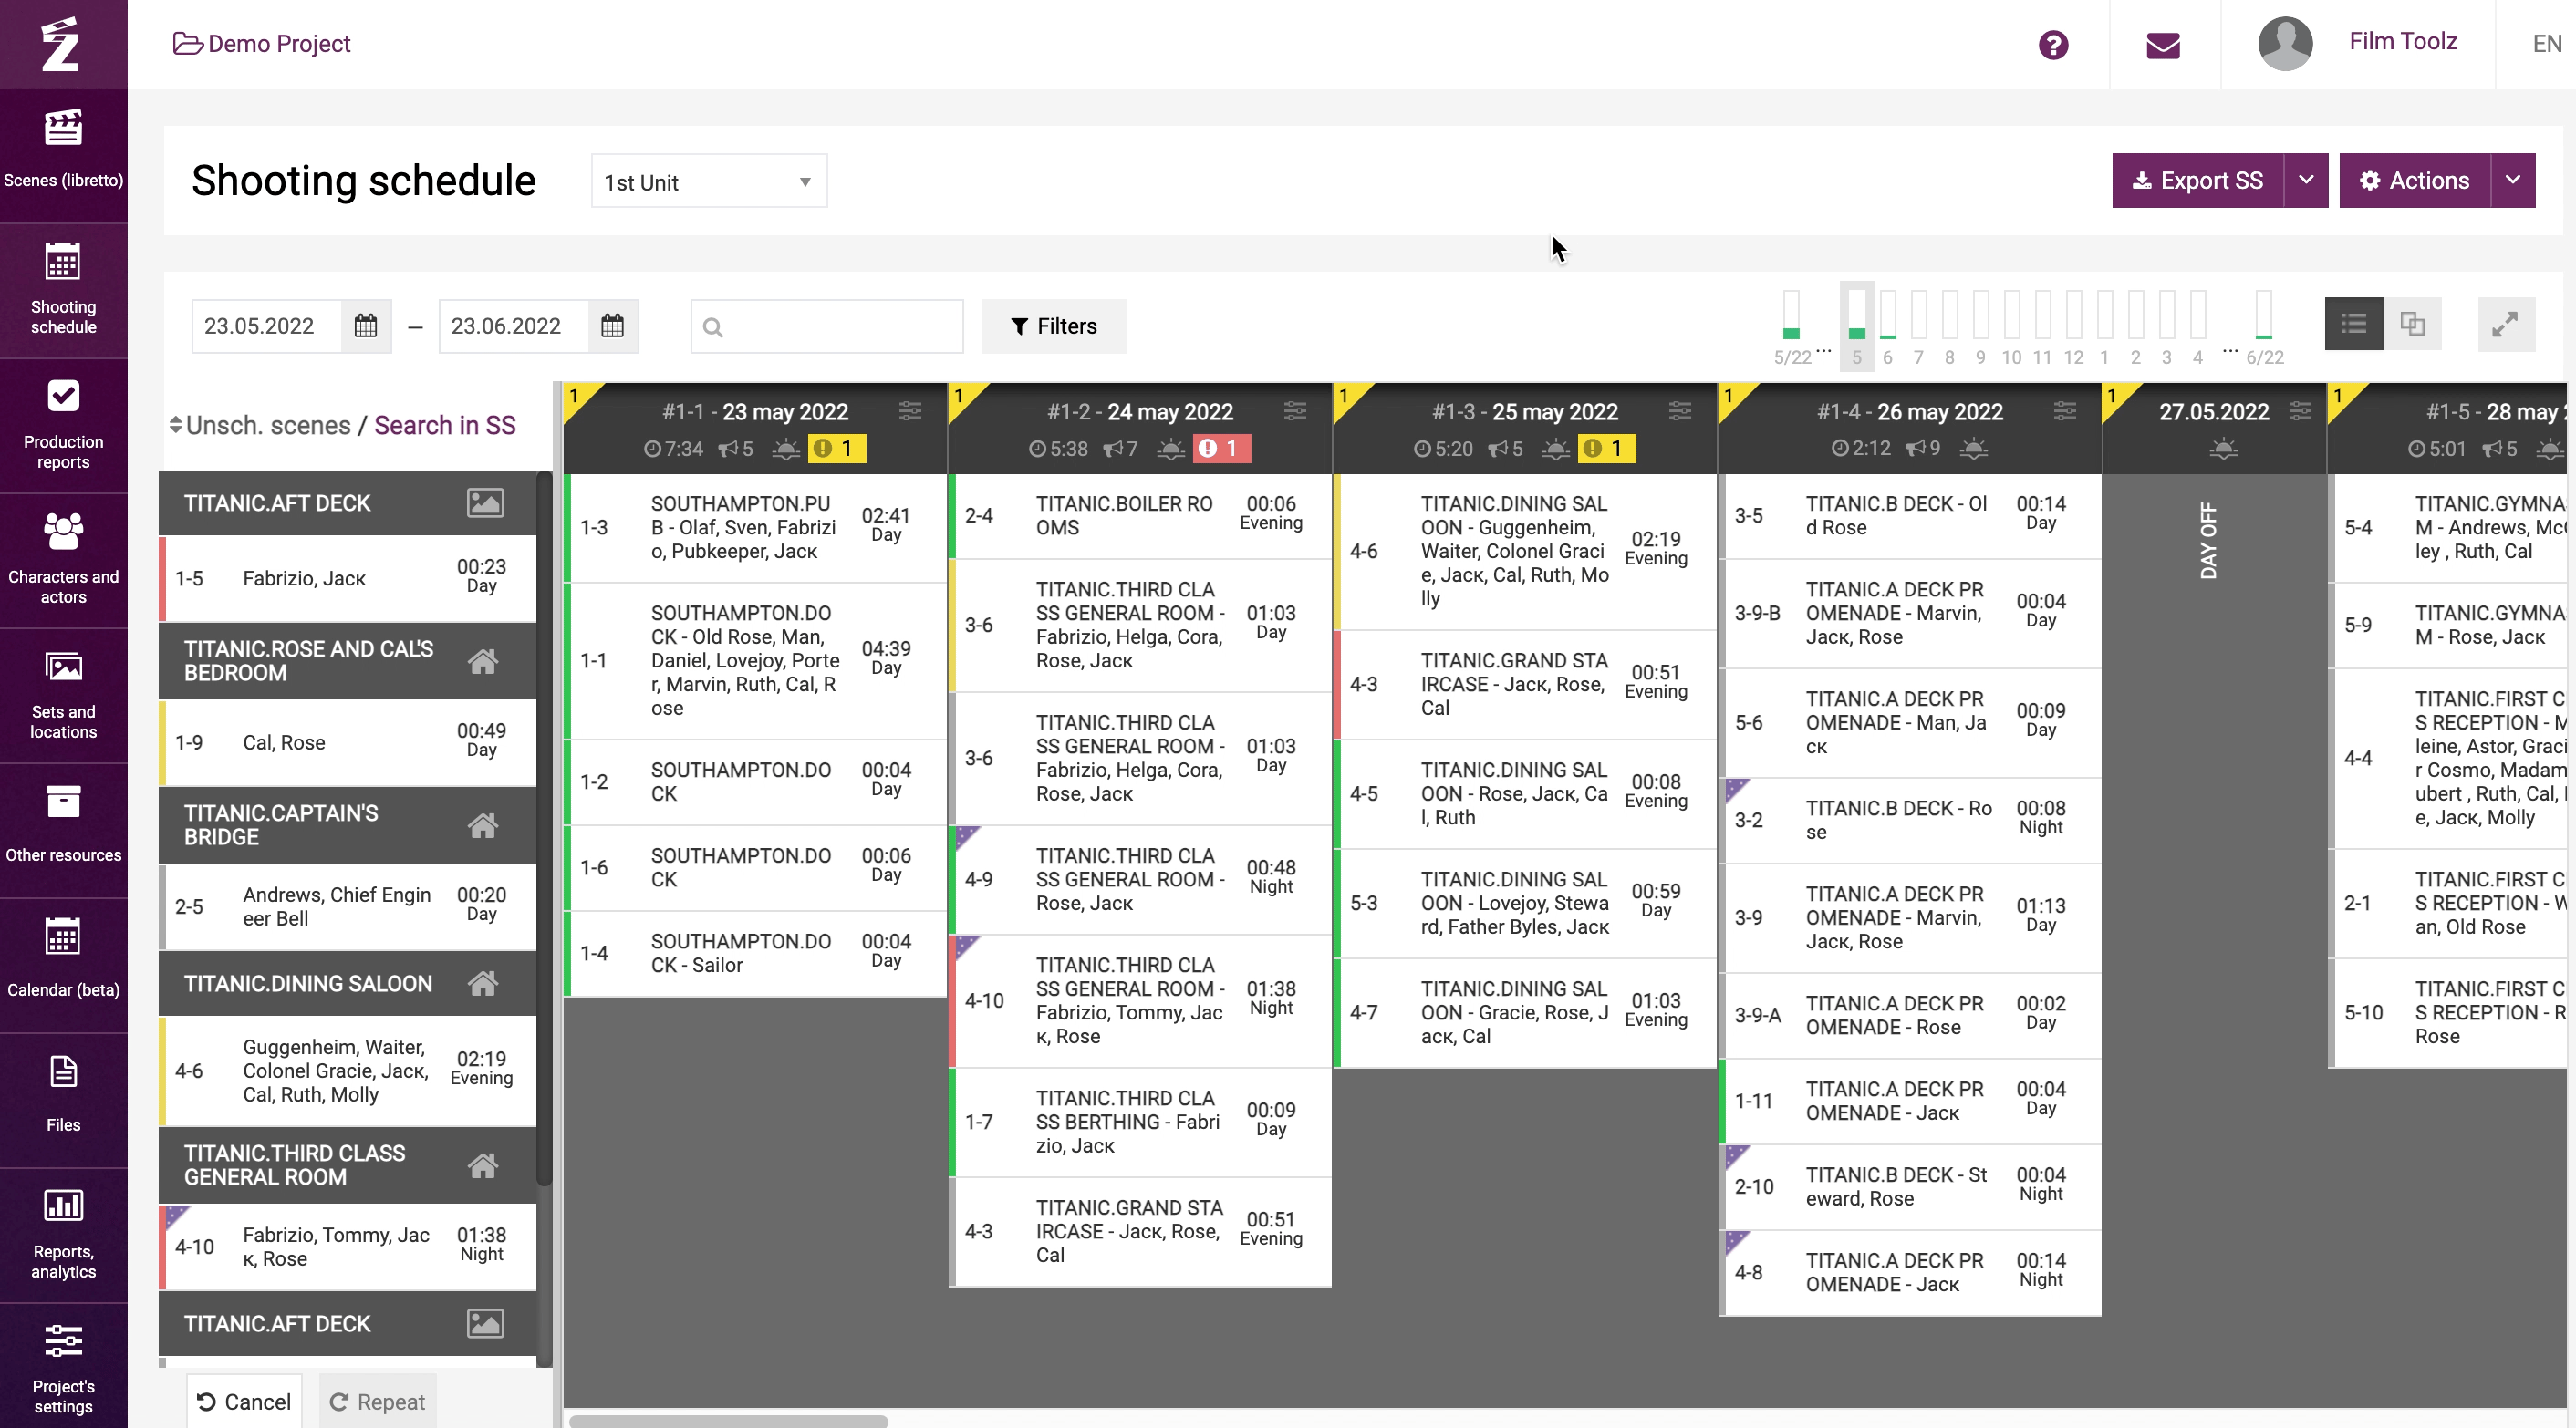
You will see a dynamic calendar that you can use to schedule the shoots easily. Please note the control tool next to the title of the page.
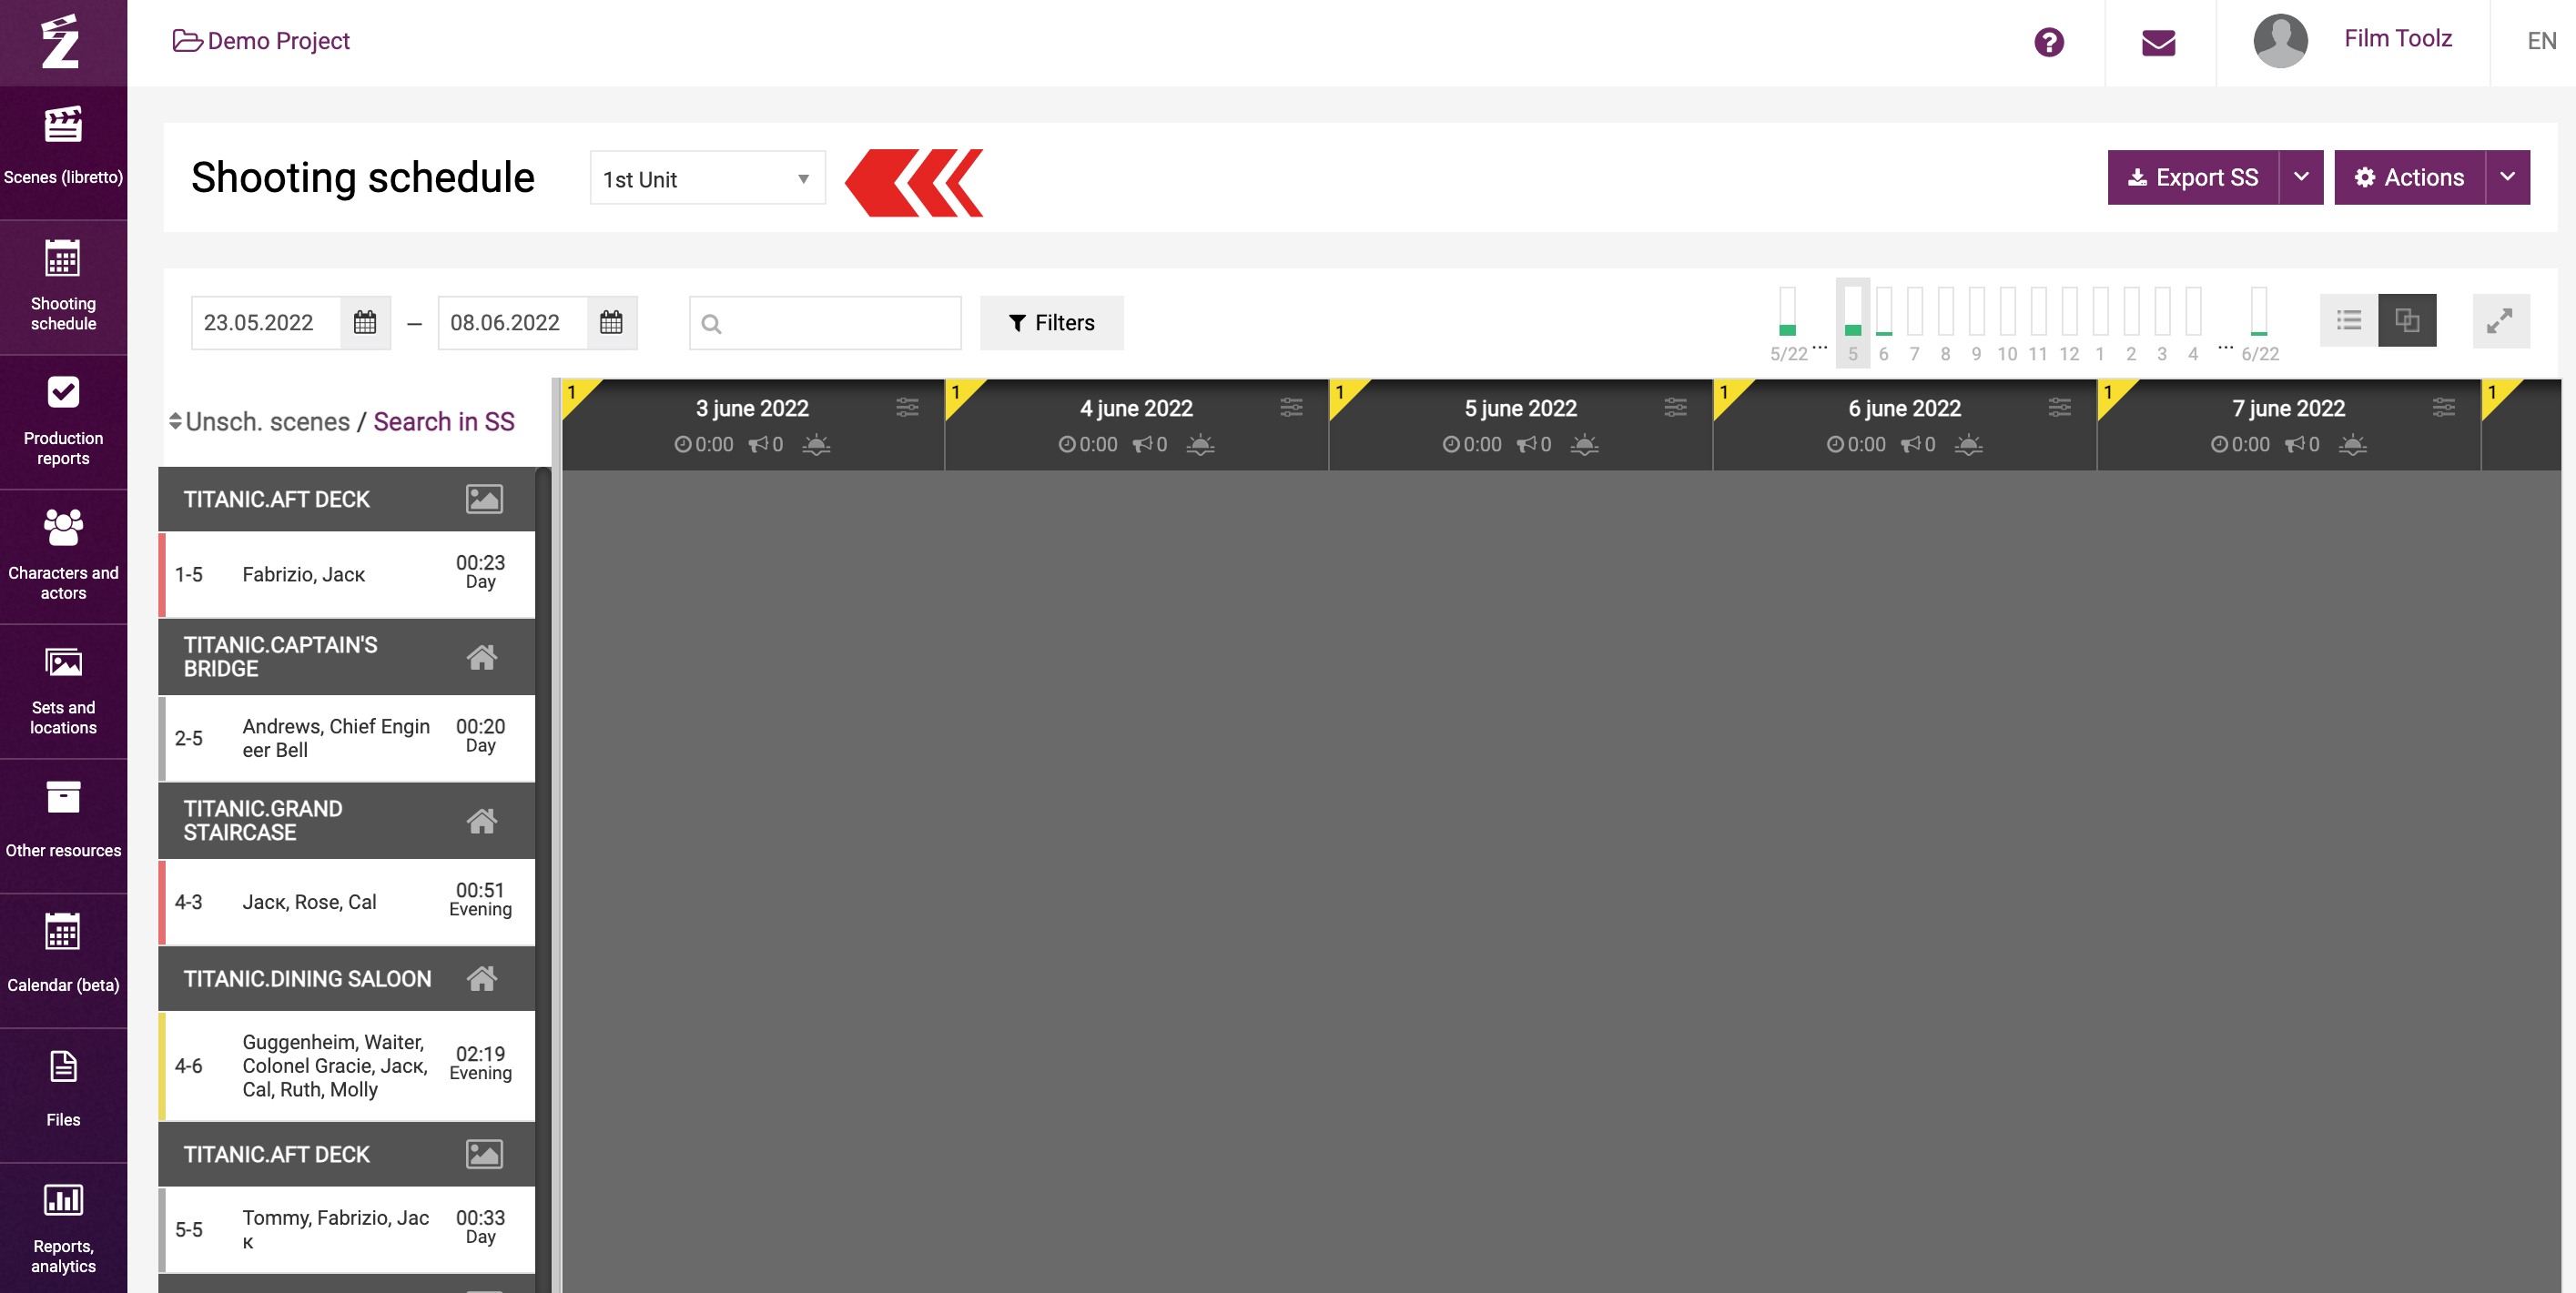
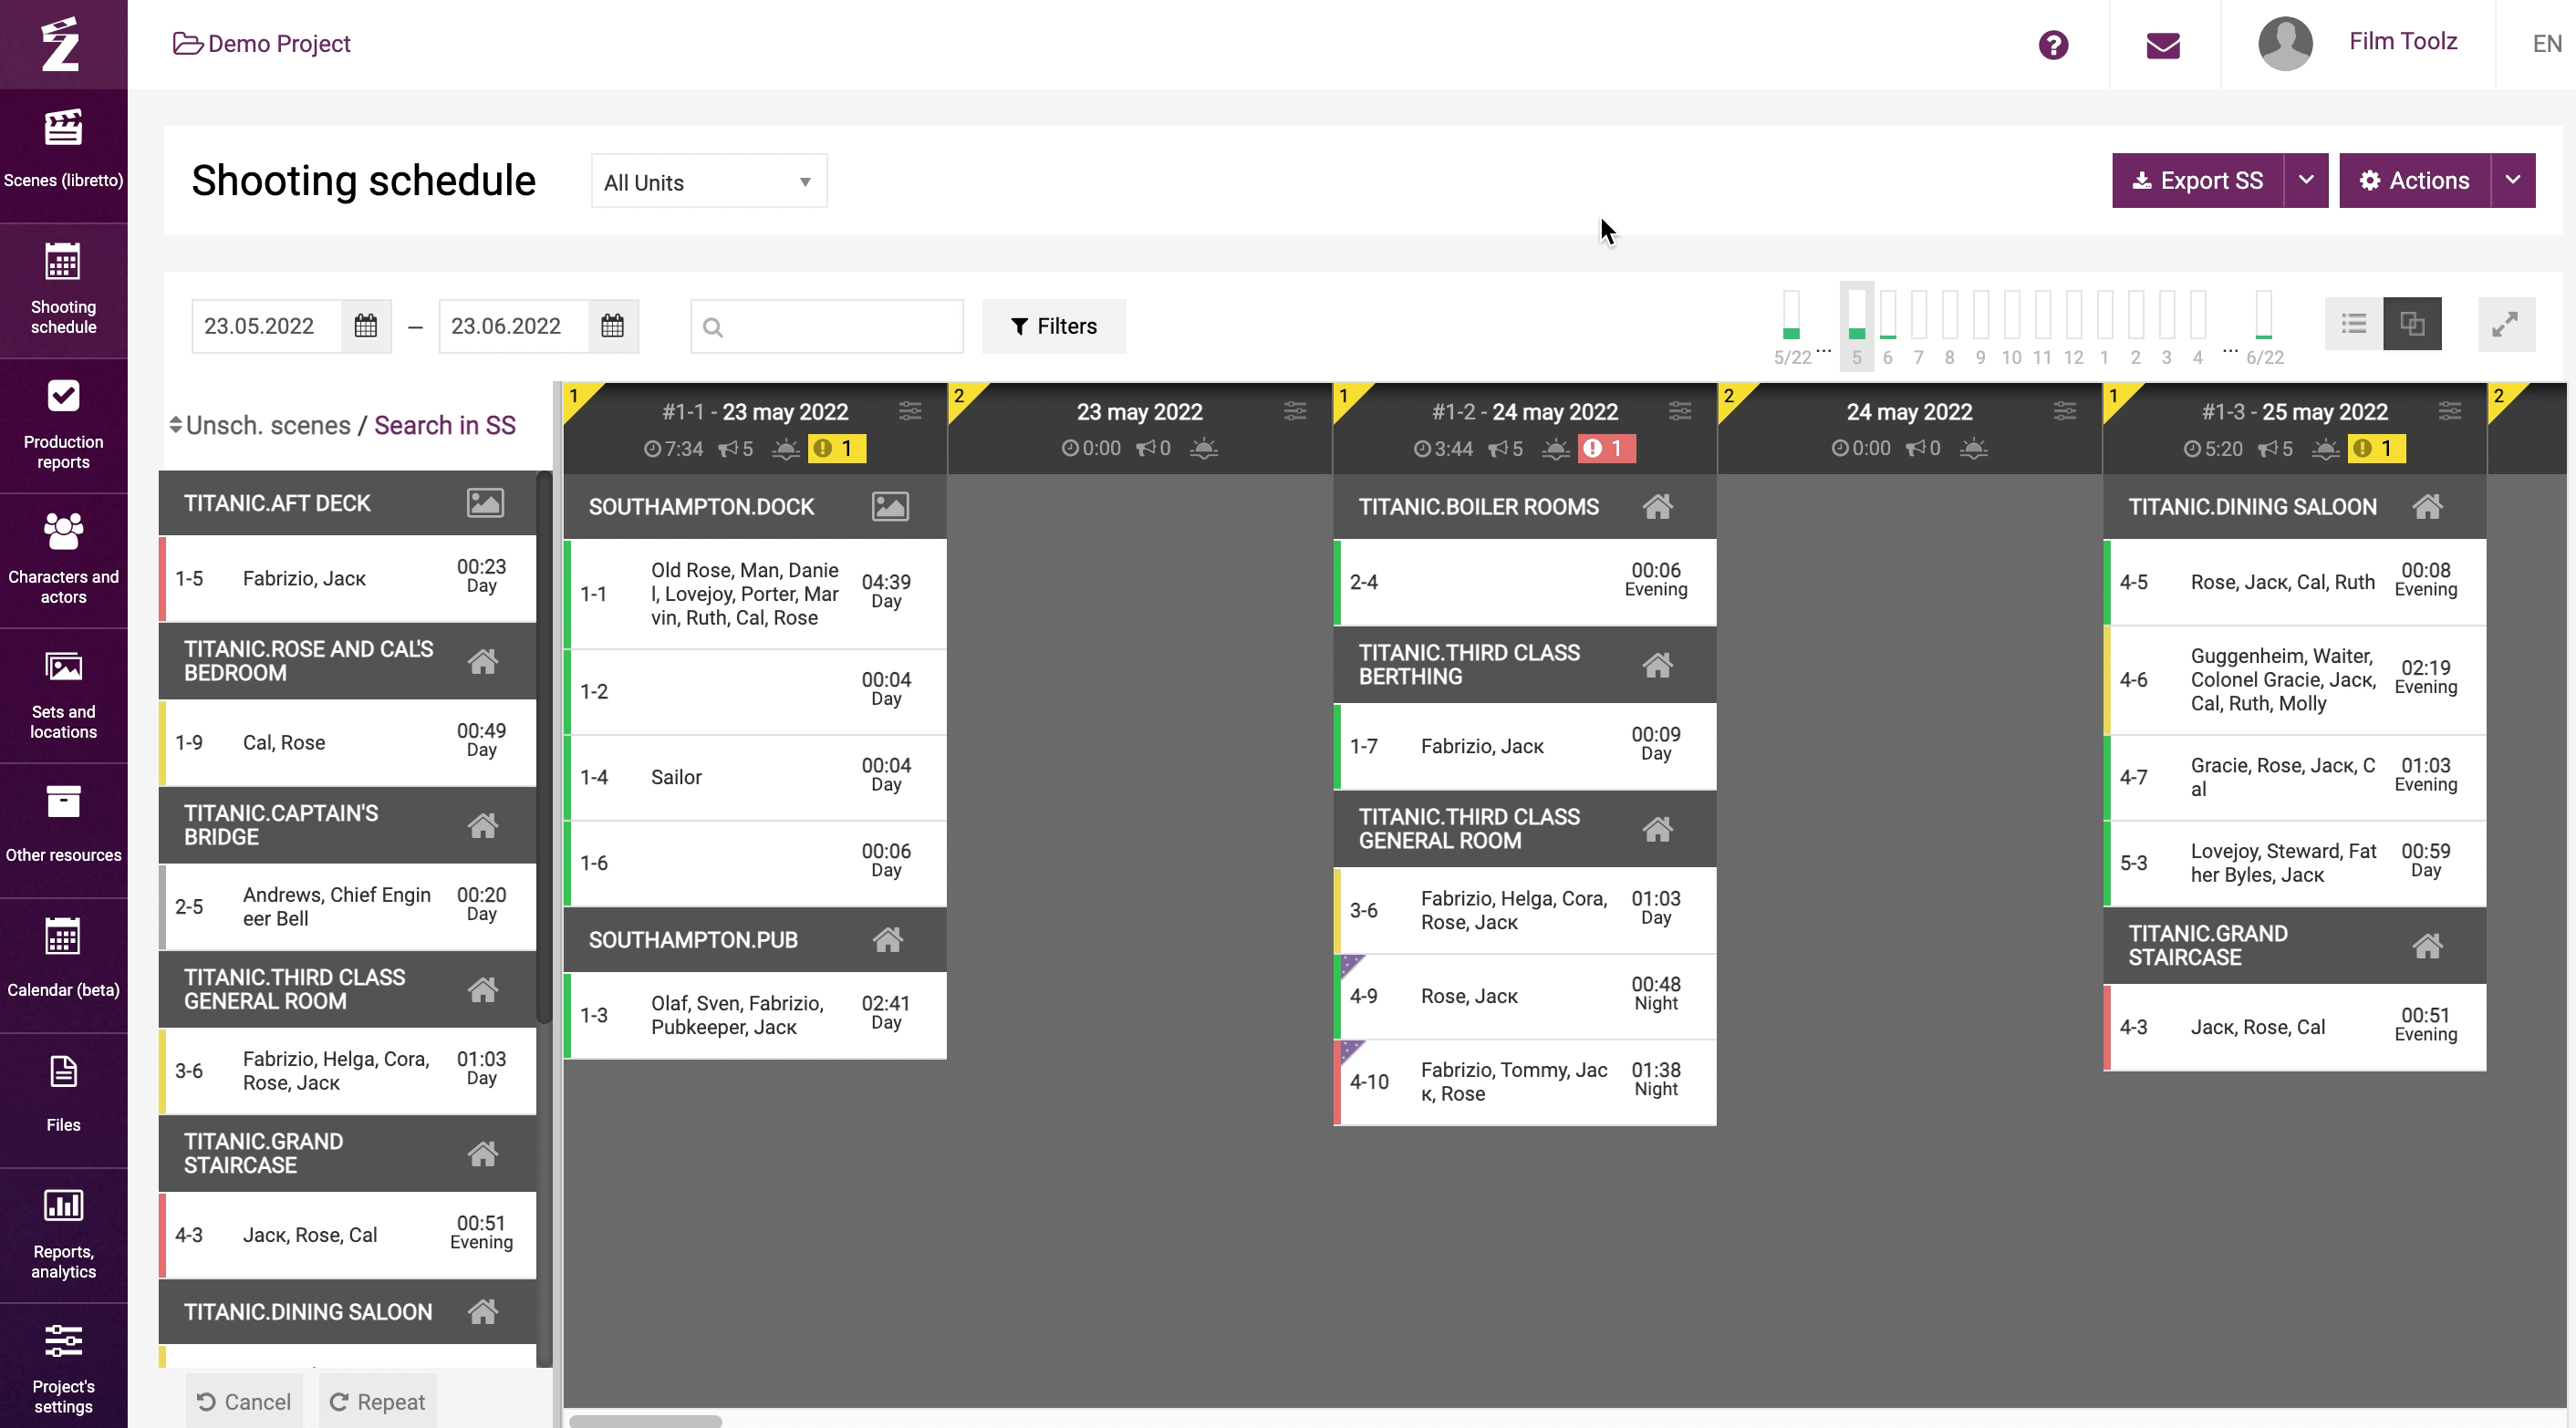
You can schedule the shoots either for a single unit (Unit 1, Unit 2, or Unit 3) or for multiple units at a time. More information about scheduling shoots for multiple units is provided in a dedicated learning module.
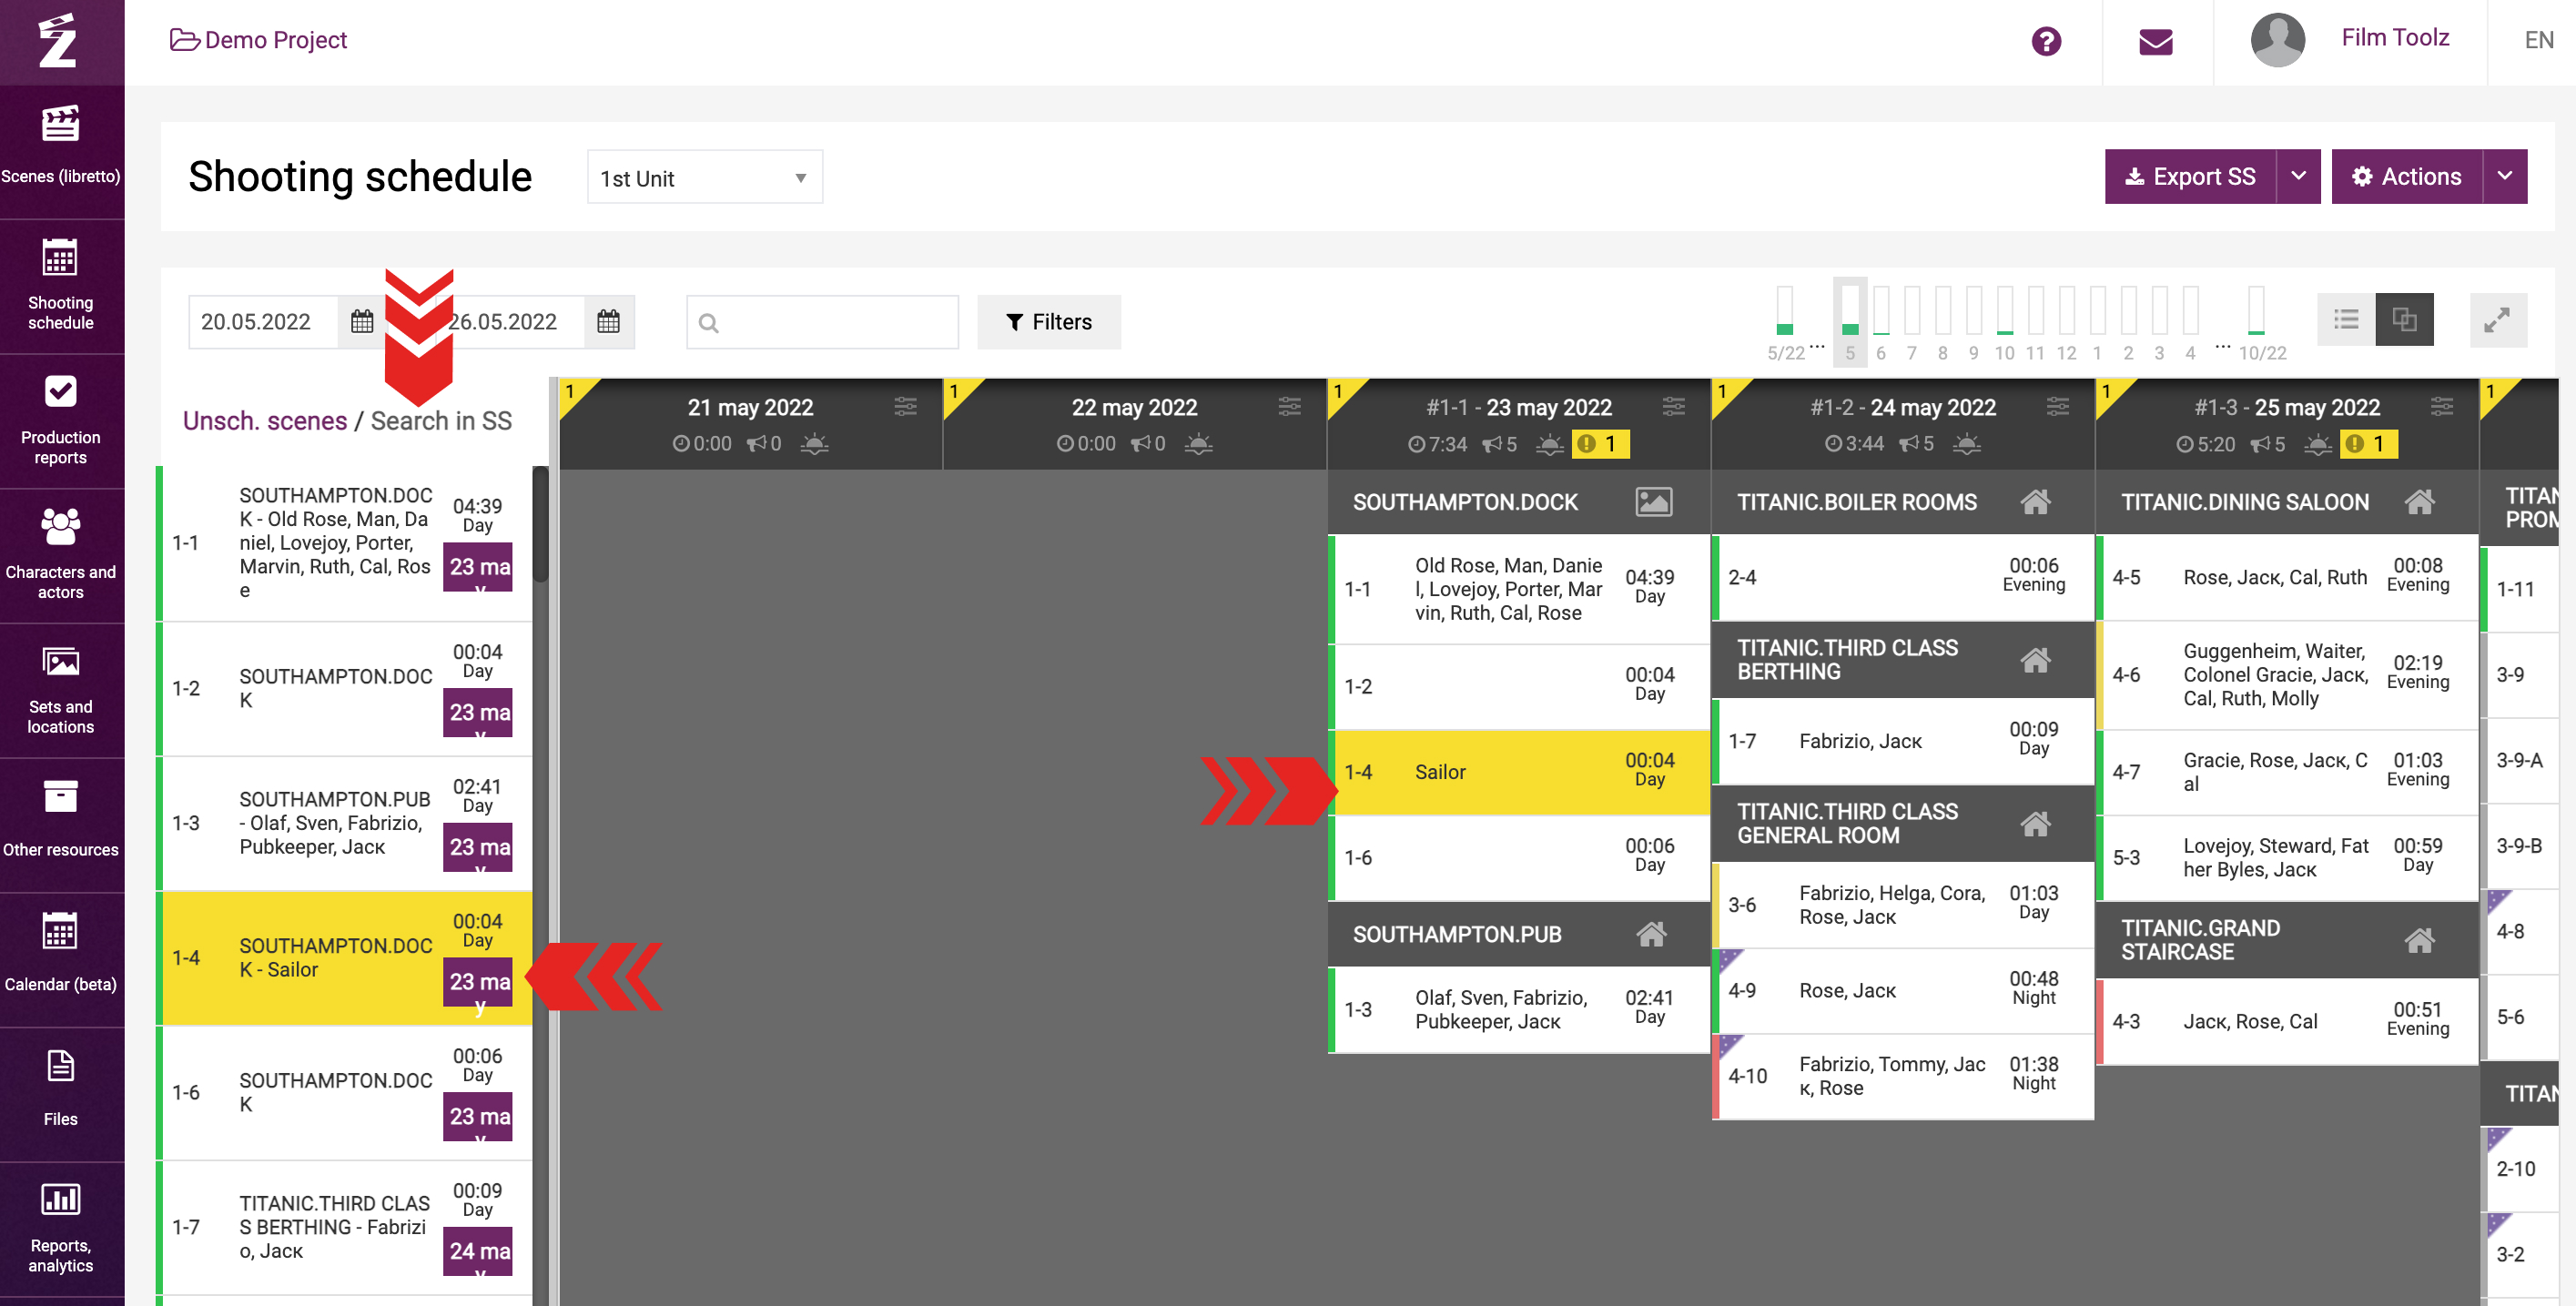
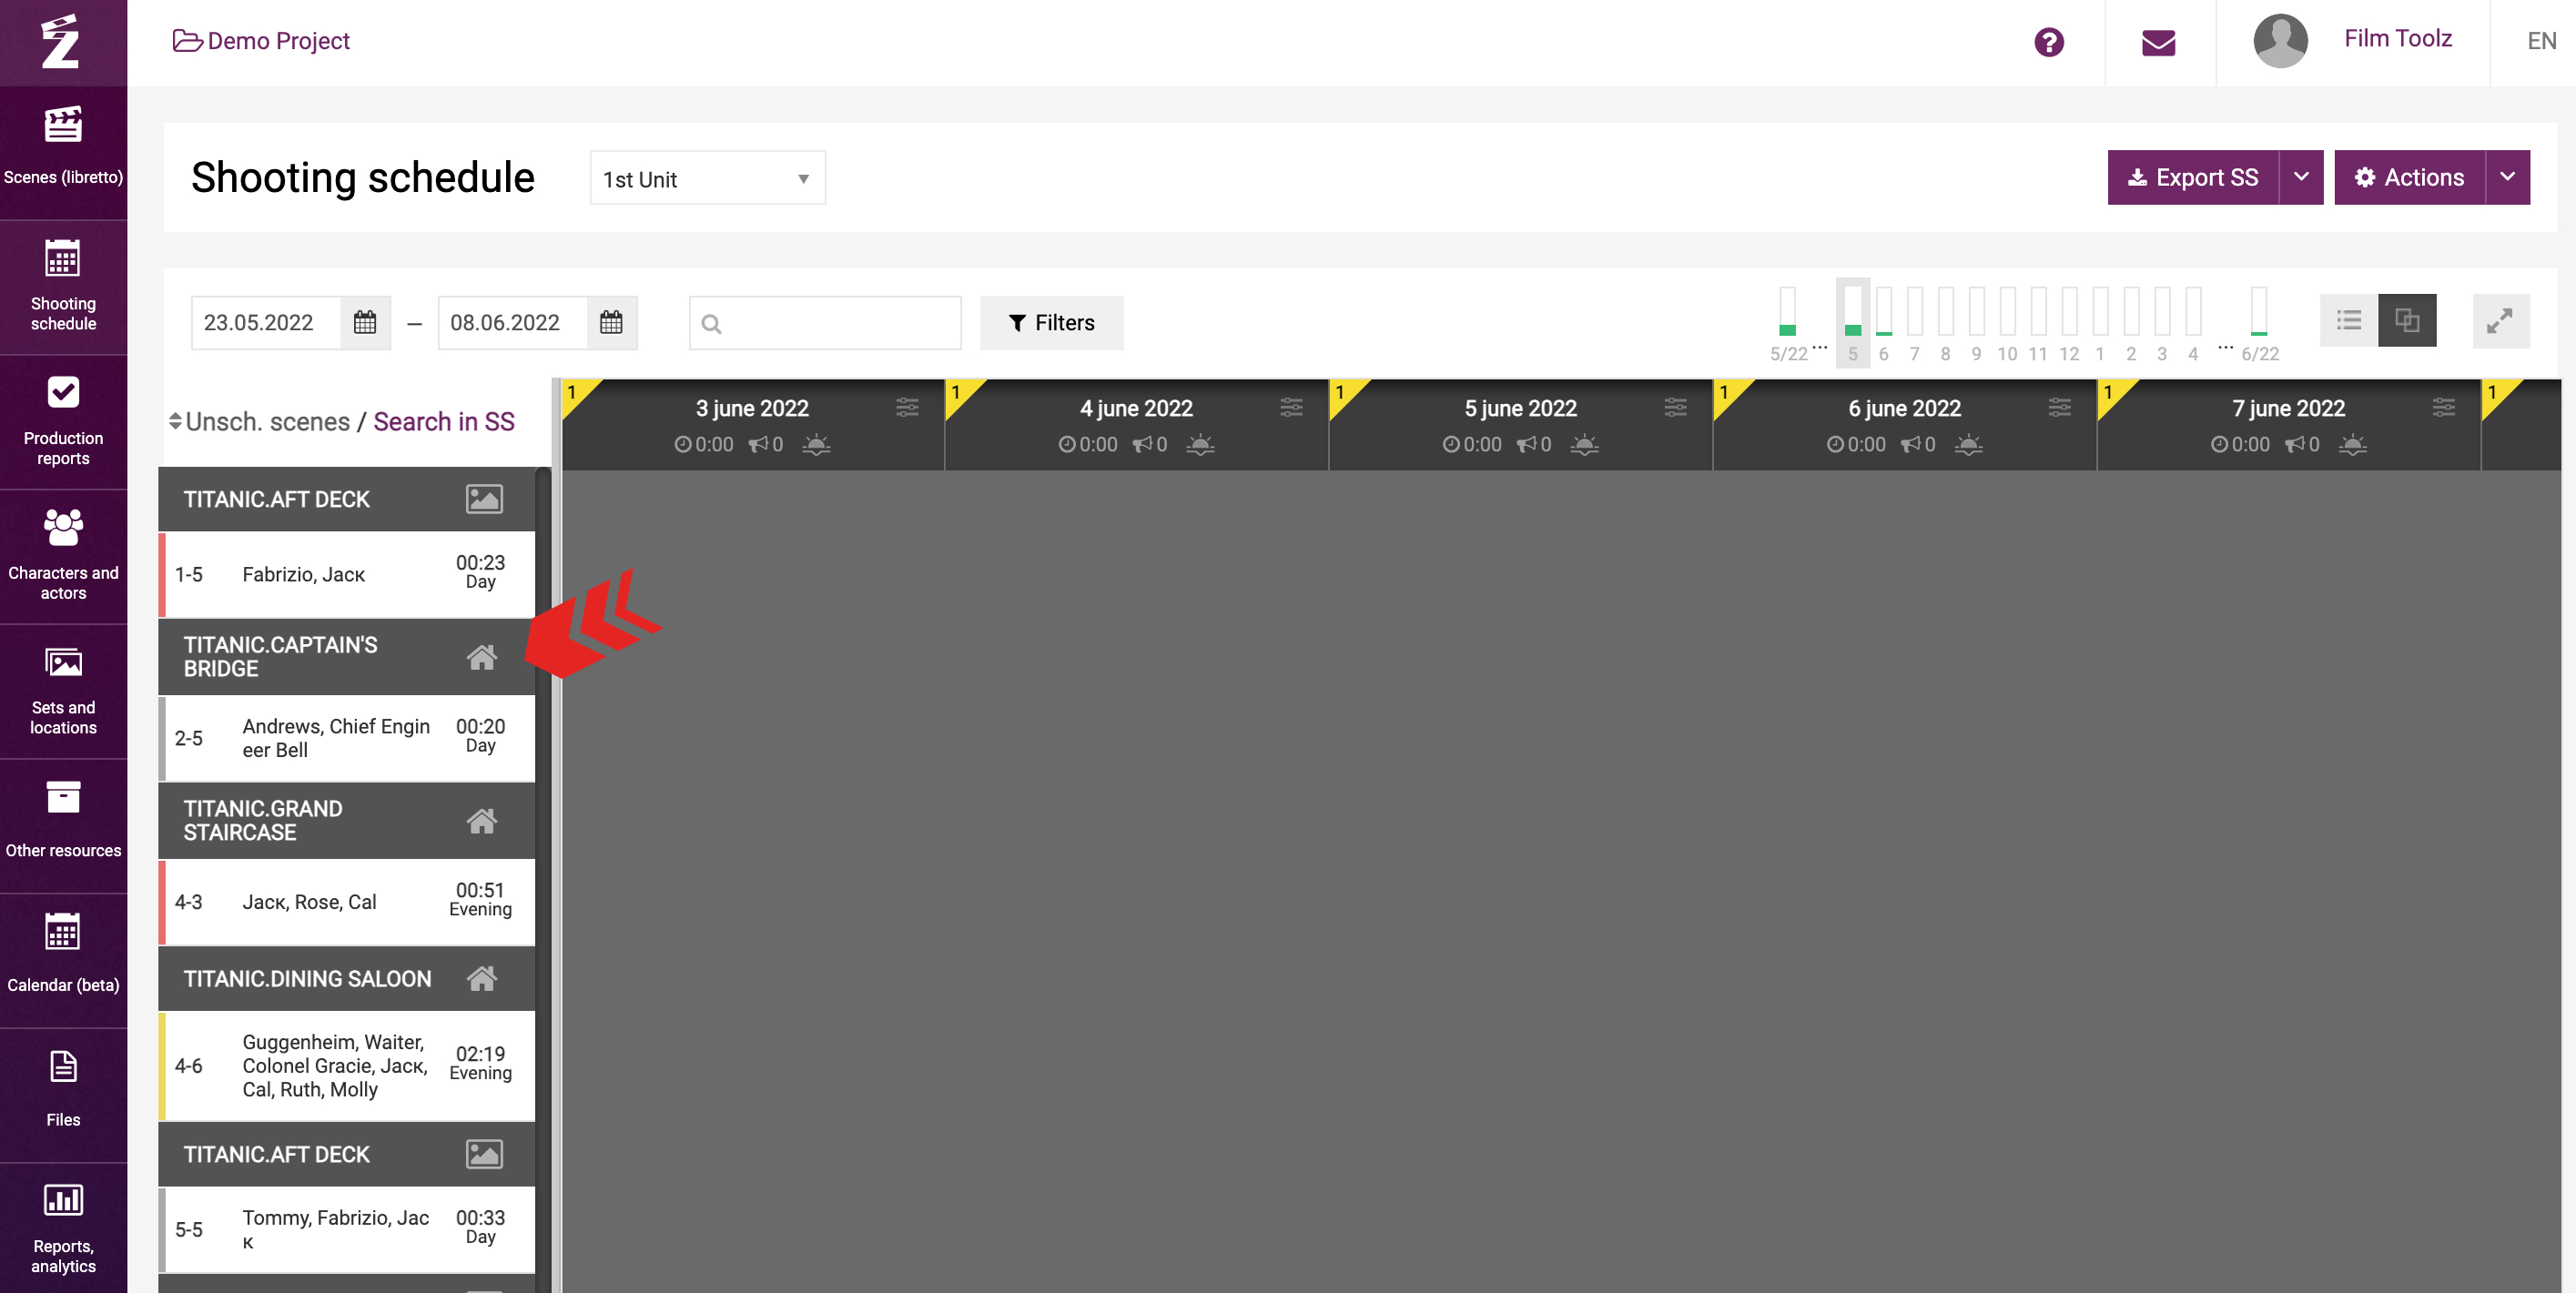
The column to the left will display the list of all unscheduled scenes of the project – their numbers, main characters, screen time and day time, as well as the type of the set marked with the icon next to the name of the set. If you mouse over the icon, you will see the type of the set. The icon in the form of a high-rise block is used for the “Pavilion”, the icon with a landscape – for the “Exterior”, the icon in the form of a house – for the “Interior”, and the icon in the form of a road – for the “Interior/Exterior” type of set.
Please note that certain scenes are highlighted in a certain color. Each colour has a certain meaning:
- Grey – the scene is unscheduled;
- Red – the scene was not shot and needs to be rescheduled;
- Yellow – some additional shots requried for the scene.
The list of unscheduled scenes shown in the column to the left may be sorted either by sets or by scenes according to their numbers.
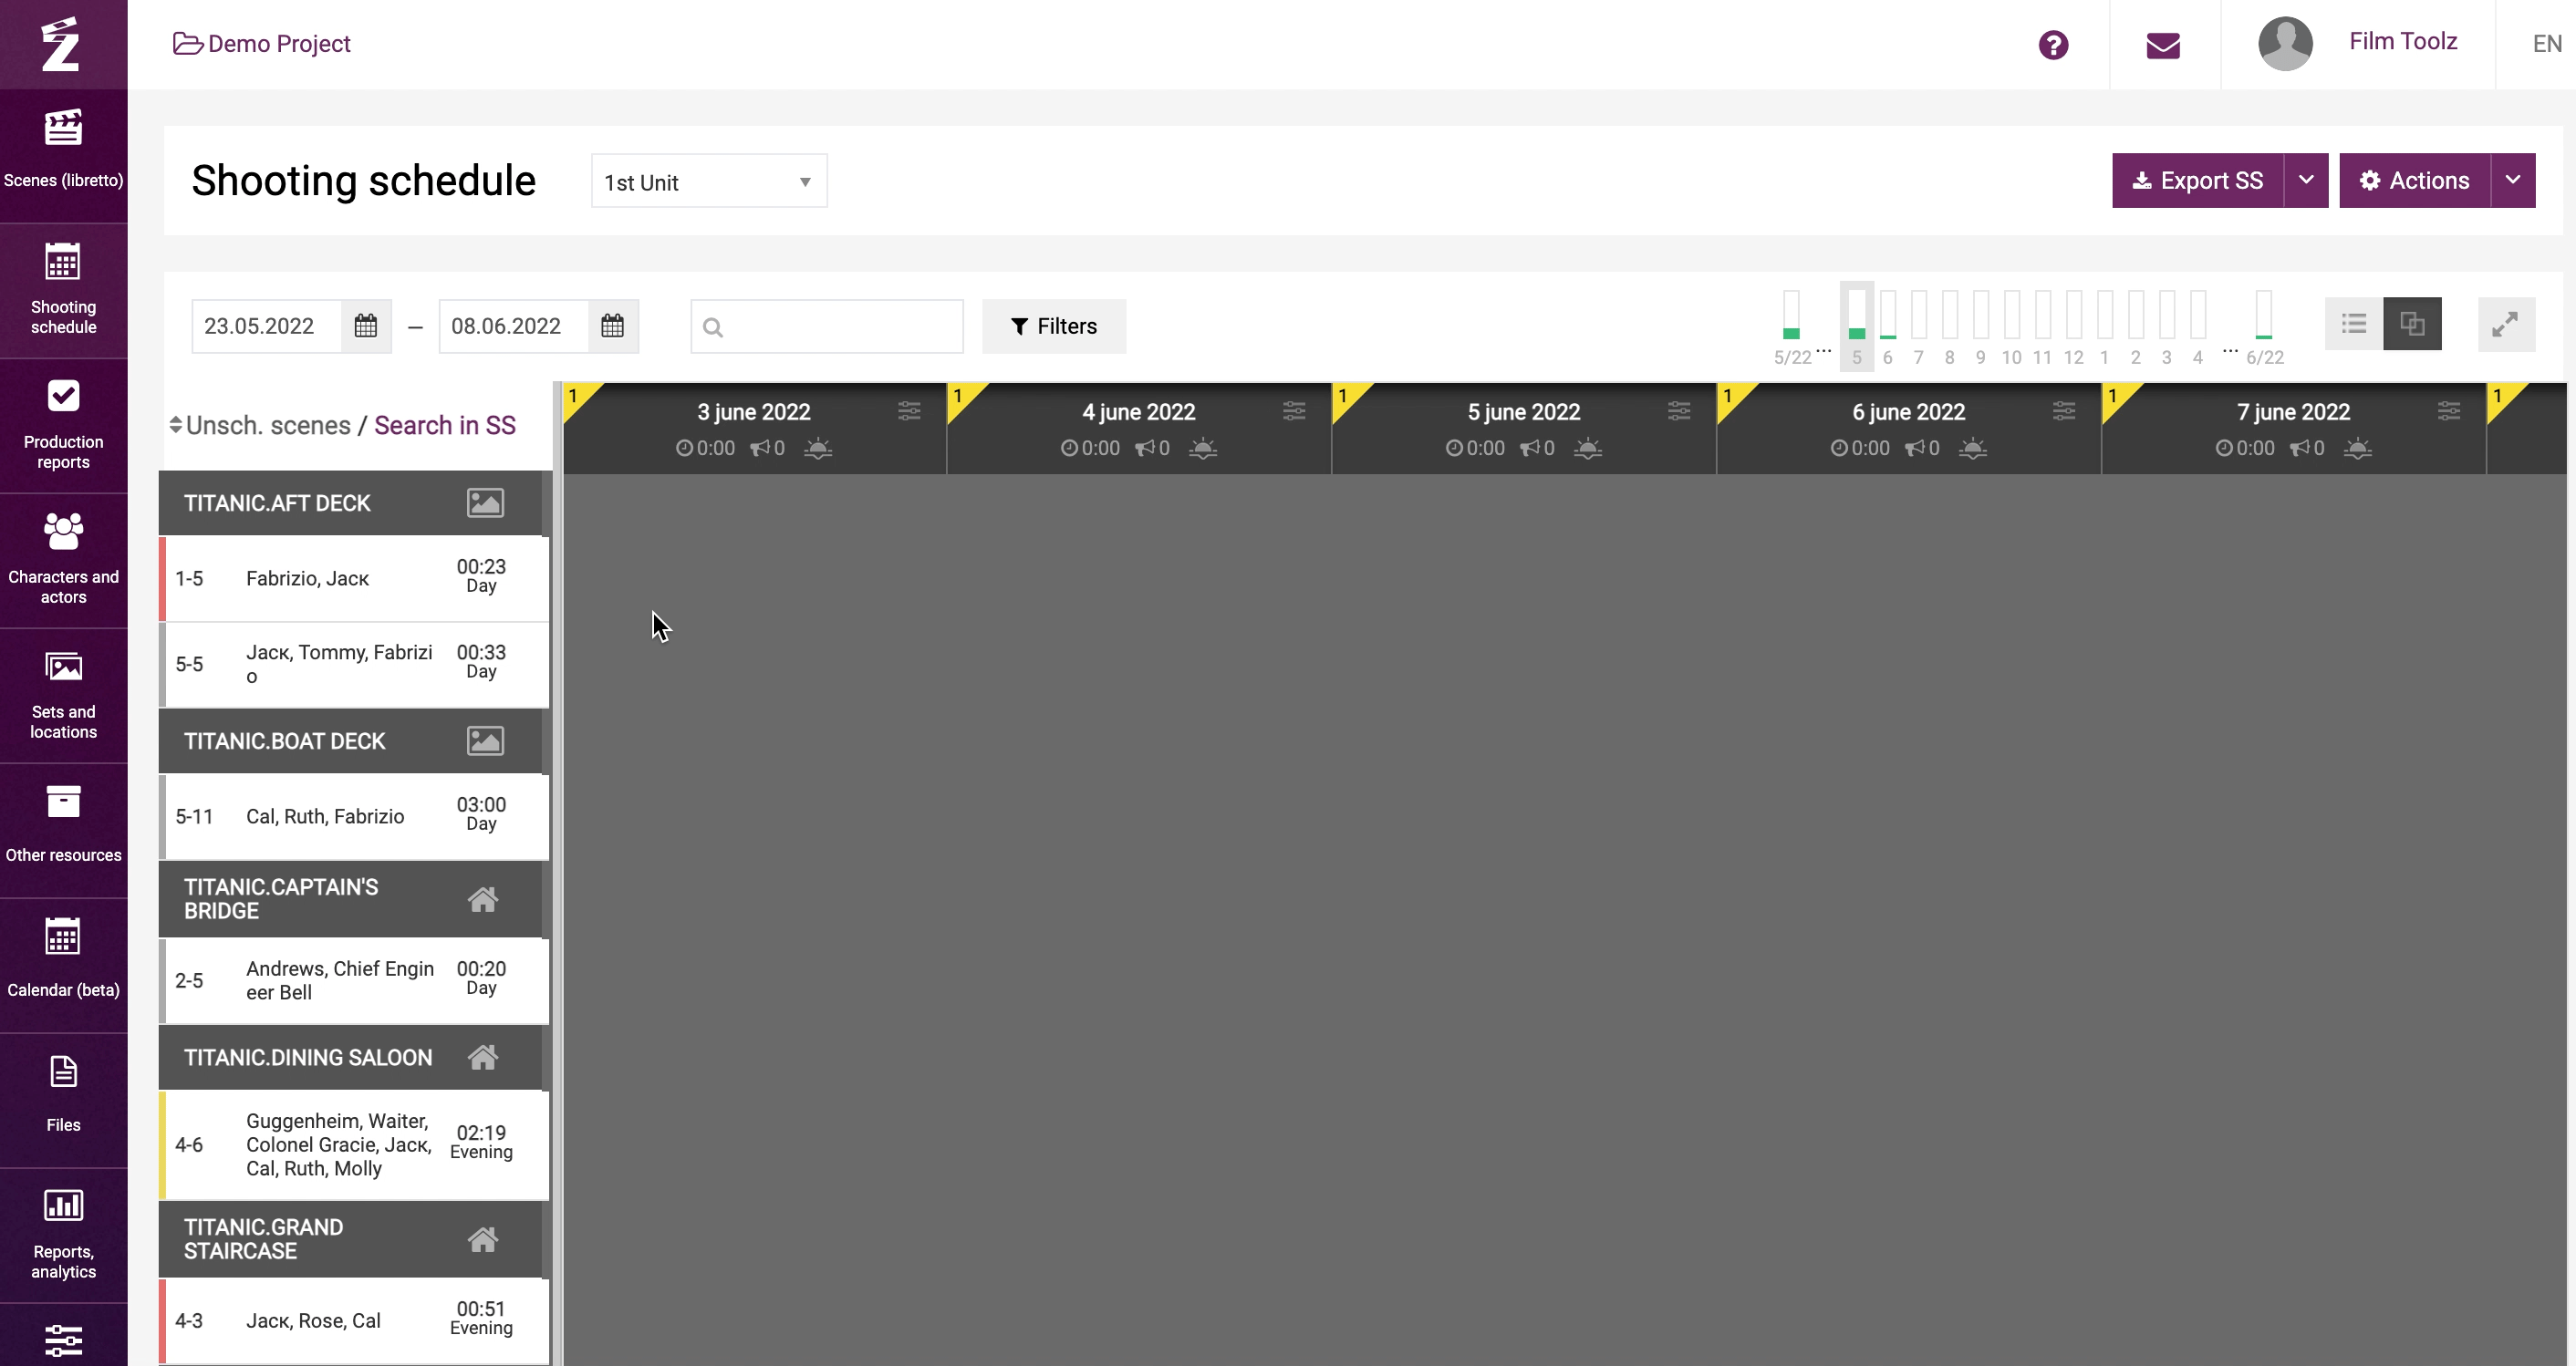
For convenient search by unscheduled scenes, use filters or the quick search tool – you can filter the scenes with a certain character, set, or other parameters.
Select the range of dates for the shoots, and one of the shooting schedule views: the scenes in a day may be displayed either grouped by sets or in the order of priority similar to the presentation in the call sheet. Learn more about the ways the scenes are displayed in the shooting schedule in a dedicated learning module.
Drag the appropriate scenes or a set comprising multiple scenes to place them under the appropriate date. If you use “Sort scenes by sets”, the scene will be shown at the end of the shooting day; you will be able to change its position when scheduling the shooting day. 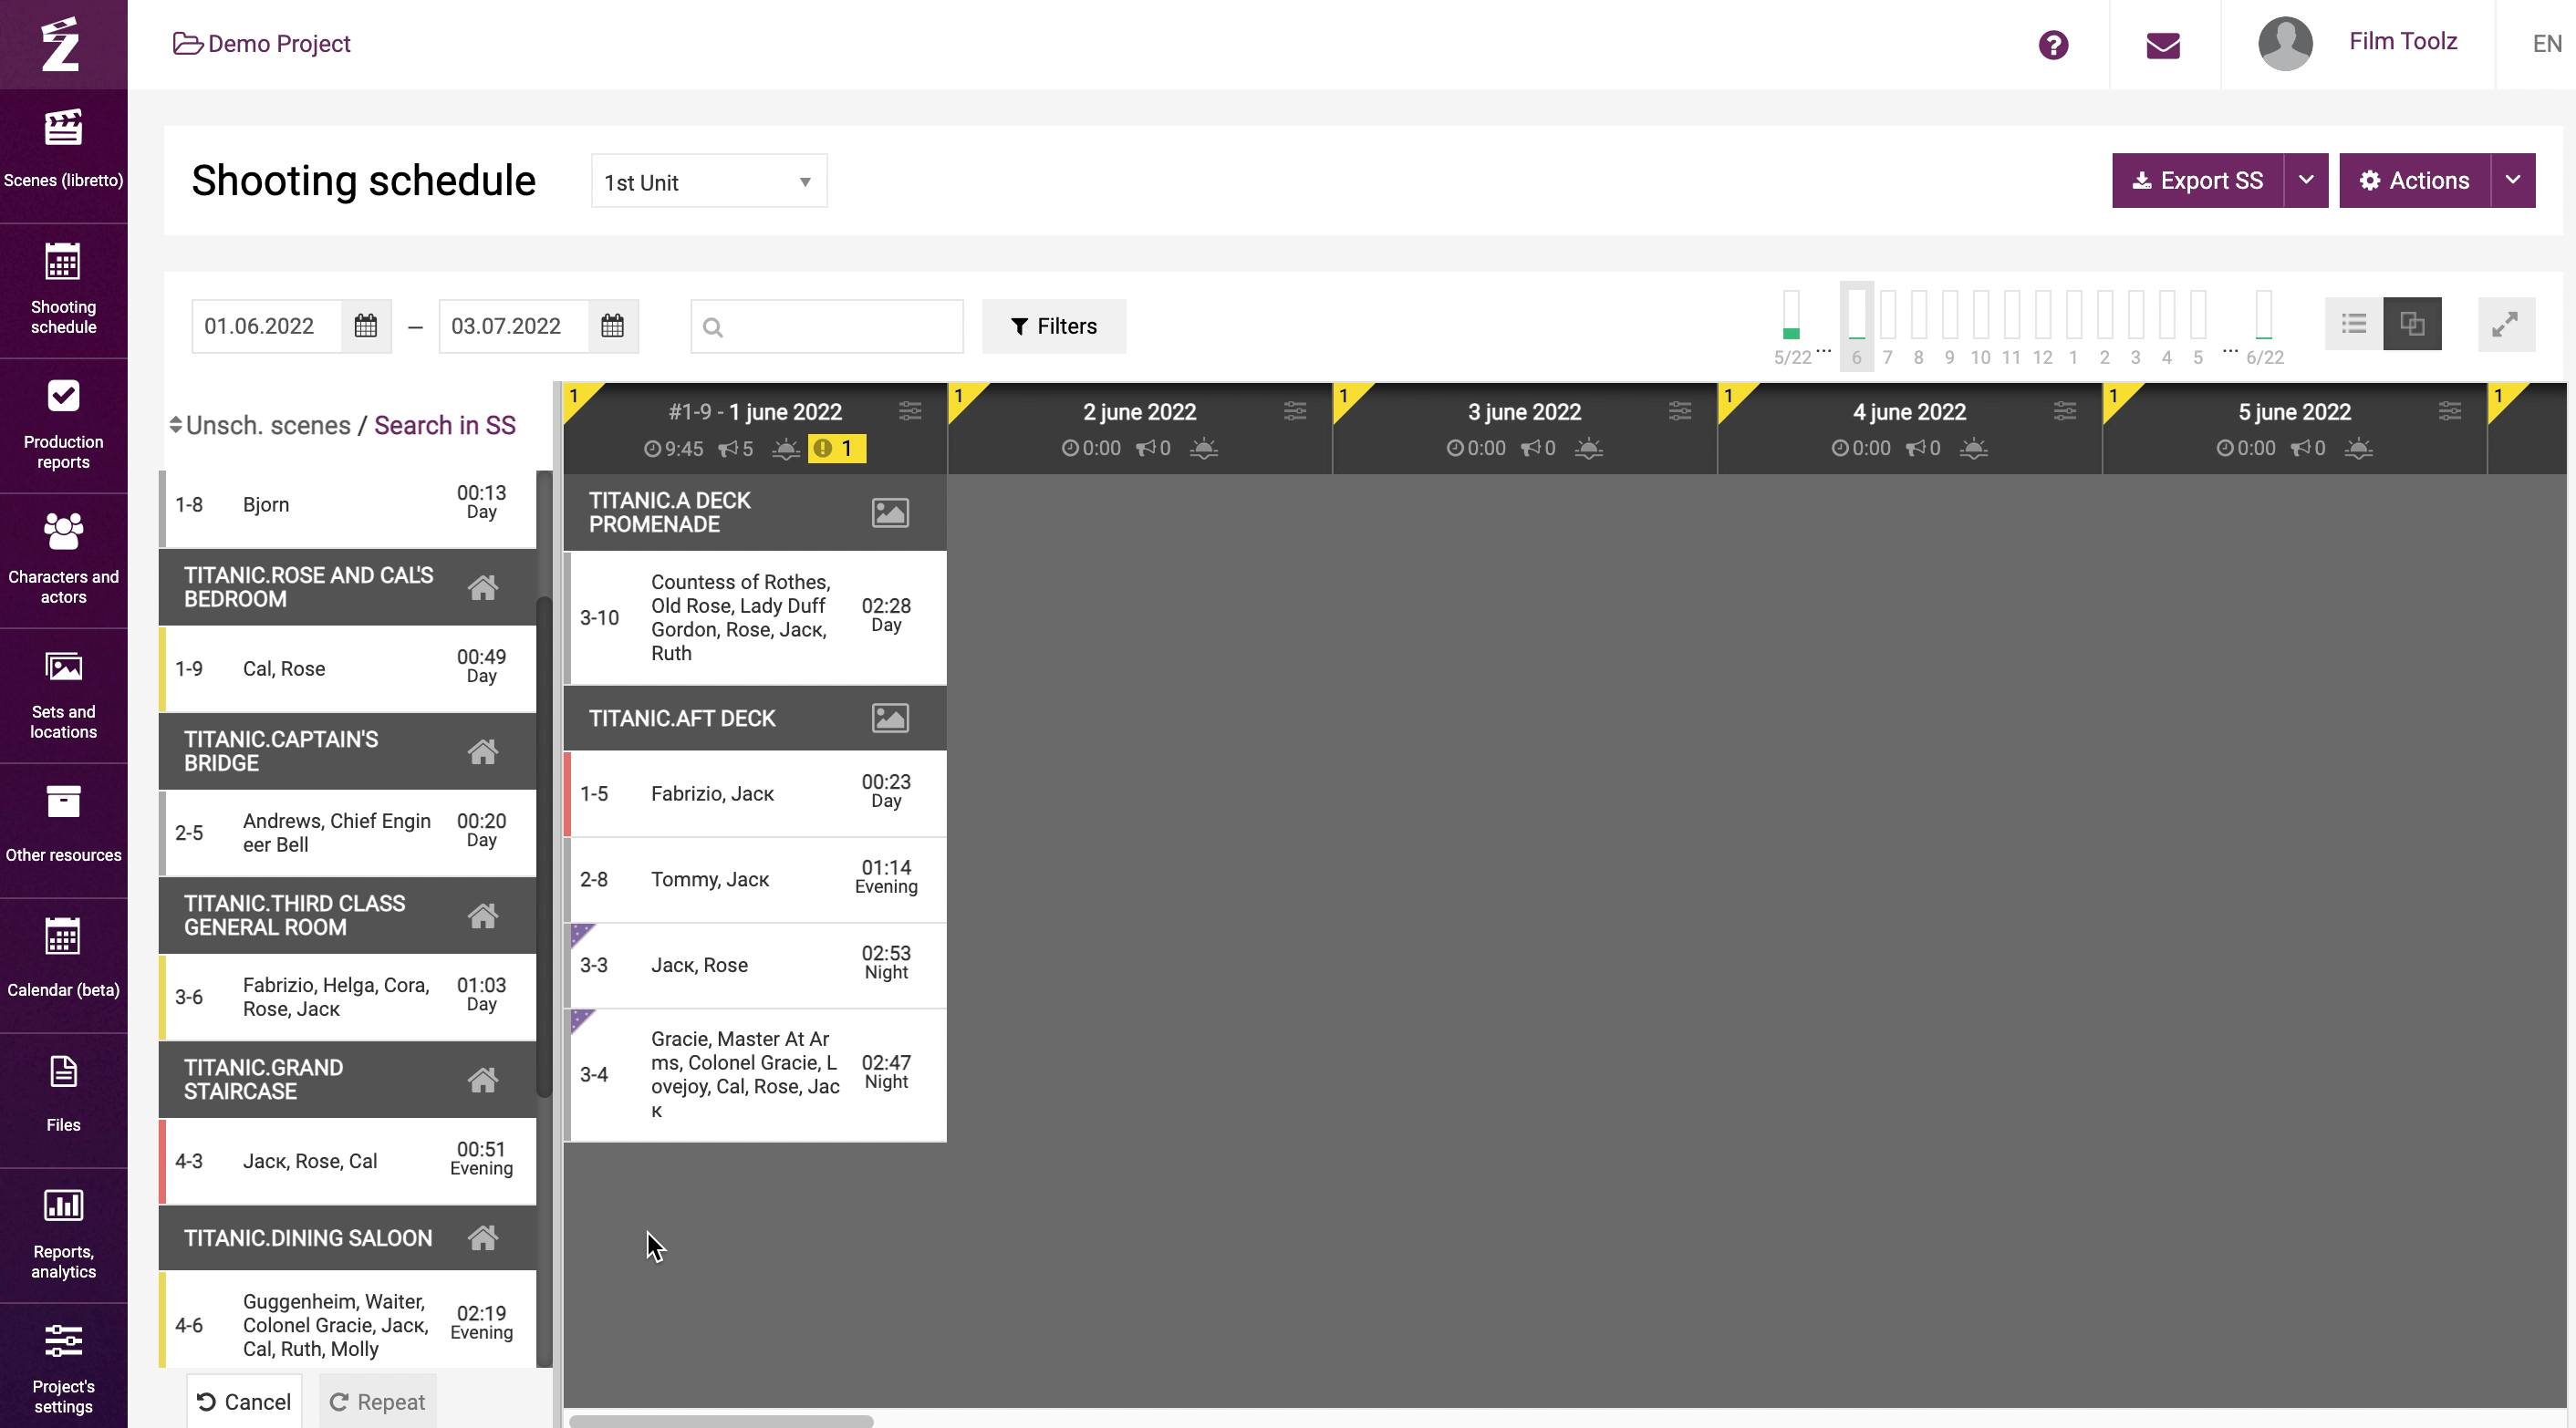
If you use “View list of scenes”, you can set the order of scenes in the shooting schedule itself using your mouse.
To select the view, use the control tool in the upper right part of the screen.

In the header of the day, the system will show you the date scheduled for the shoot, the total pages (or screen time) for the day, and weather.
Please remember that in order to secure an accurate weather forecast for the day, you need to indicate the city where the shoots are taking place in the project settings. In addition, the header of the day to be scheduled will display system warnings, for instance, whenever you have scheduled scenes with characters marked as “unavailable” or “part.unavailable” on that day in the actors` availability.
If you need to edit a scheduled scene, double-click on it. After you edit the necessary parameters, save your changes, and the system will take you back to the scheduling form.
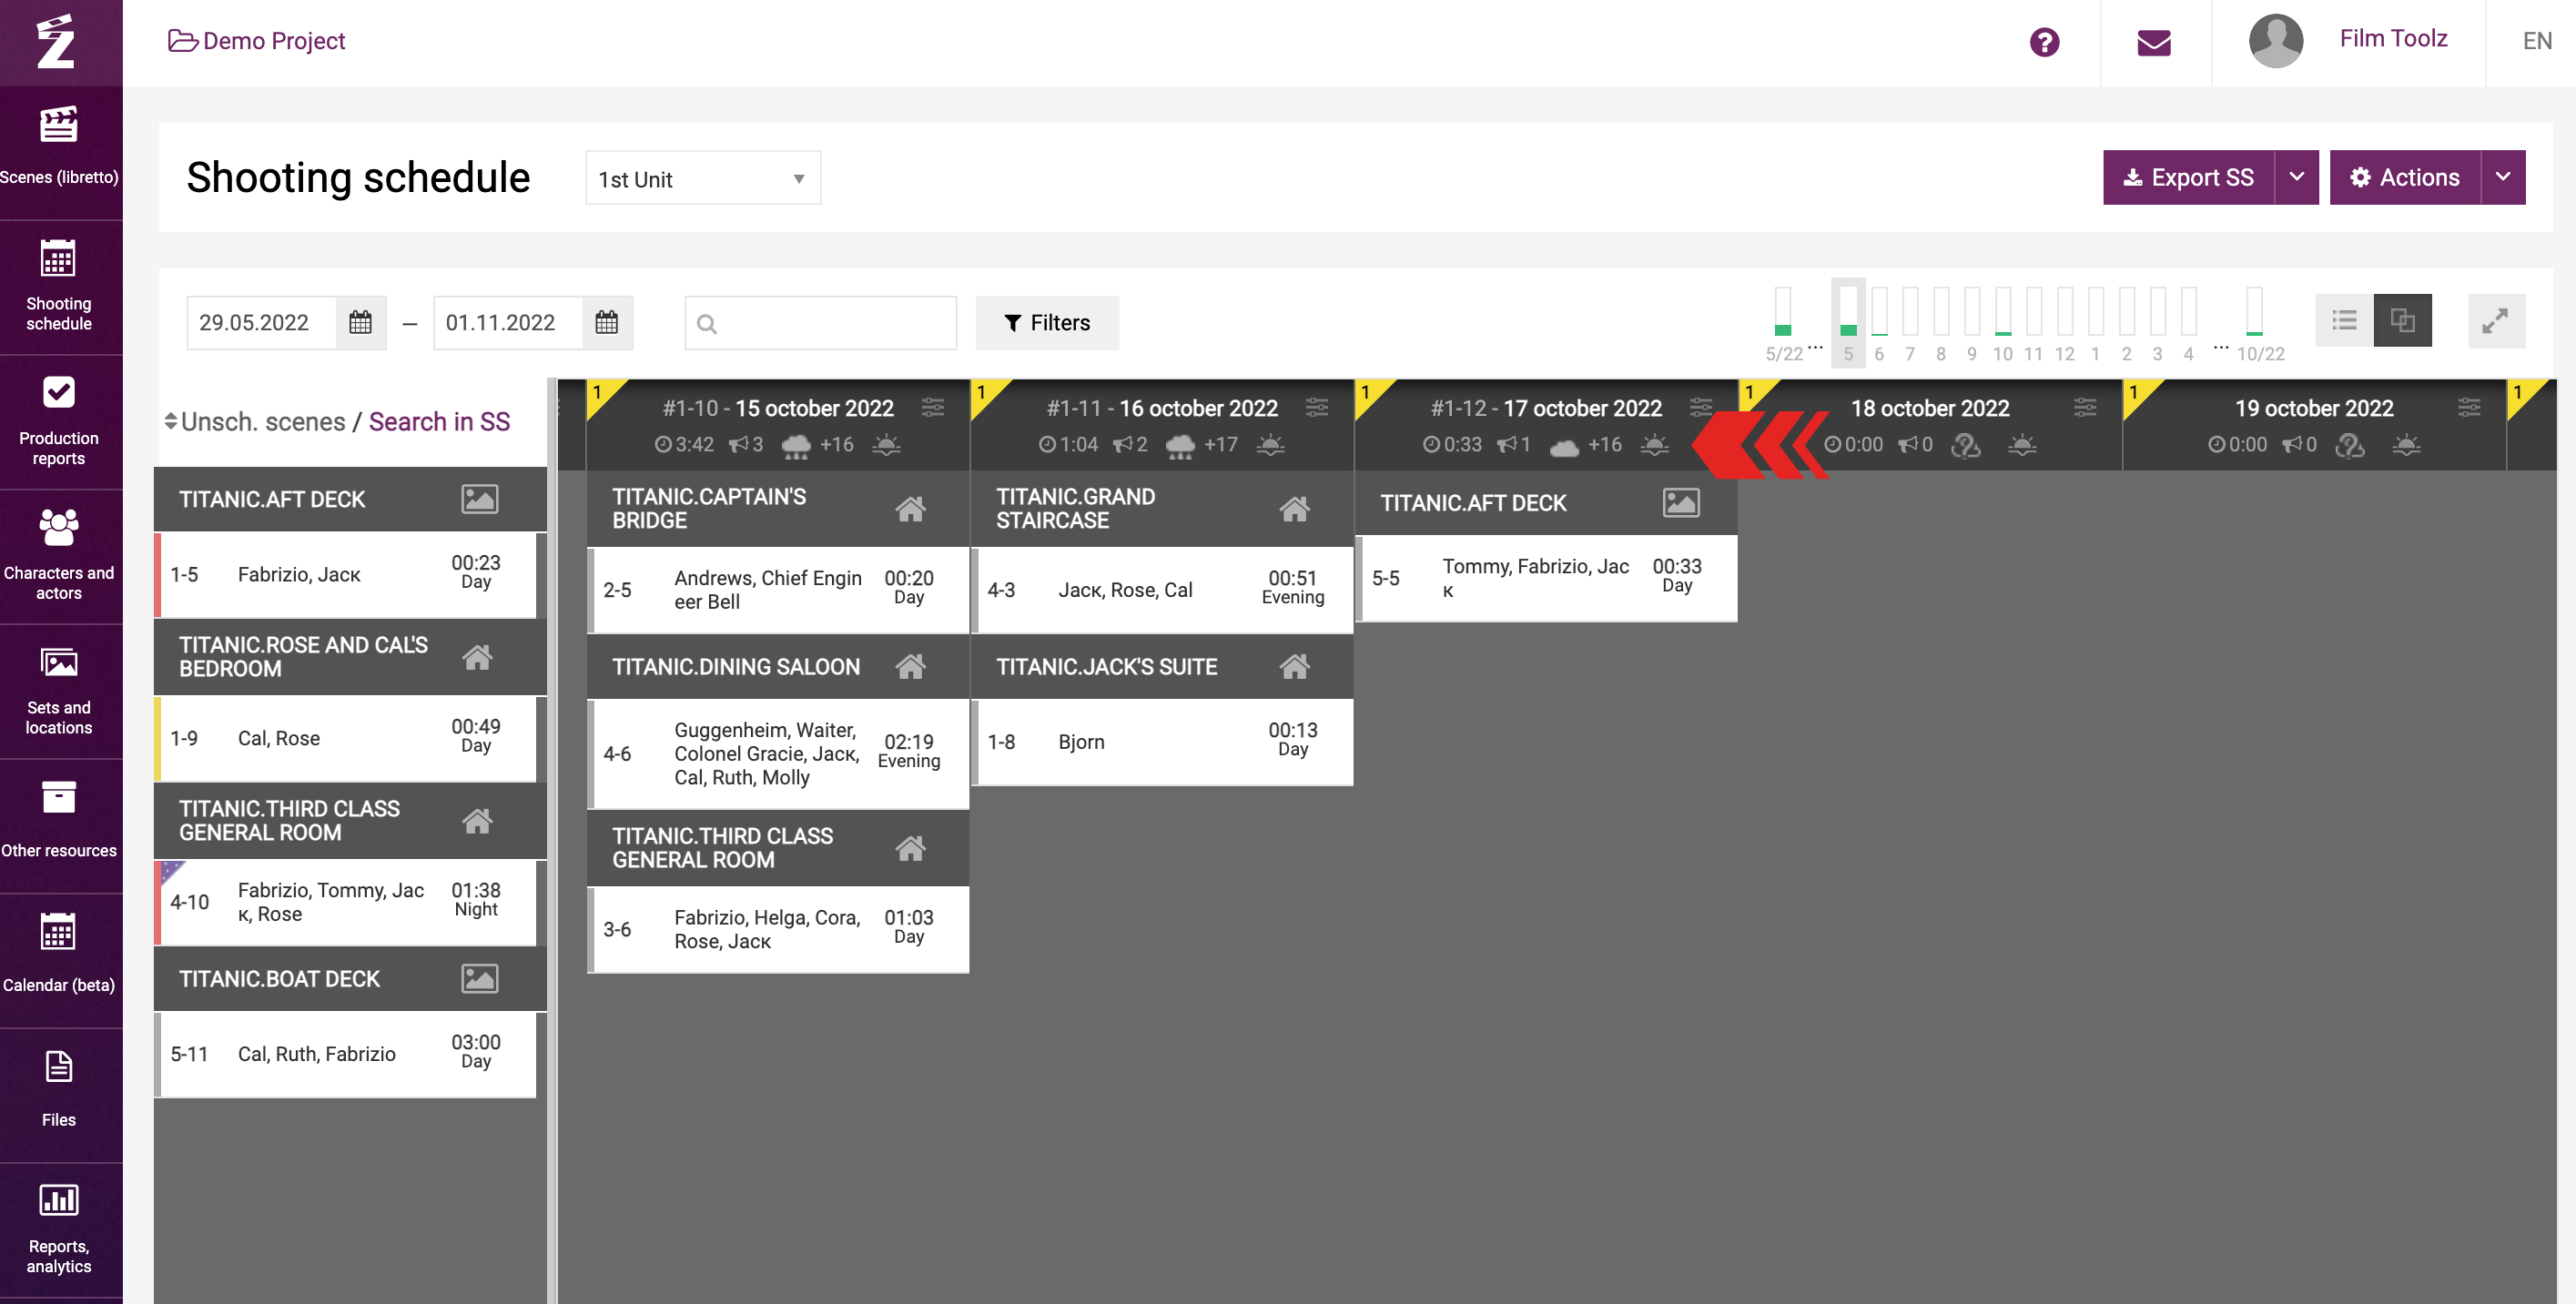
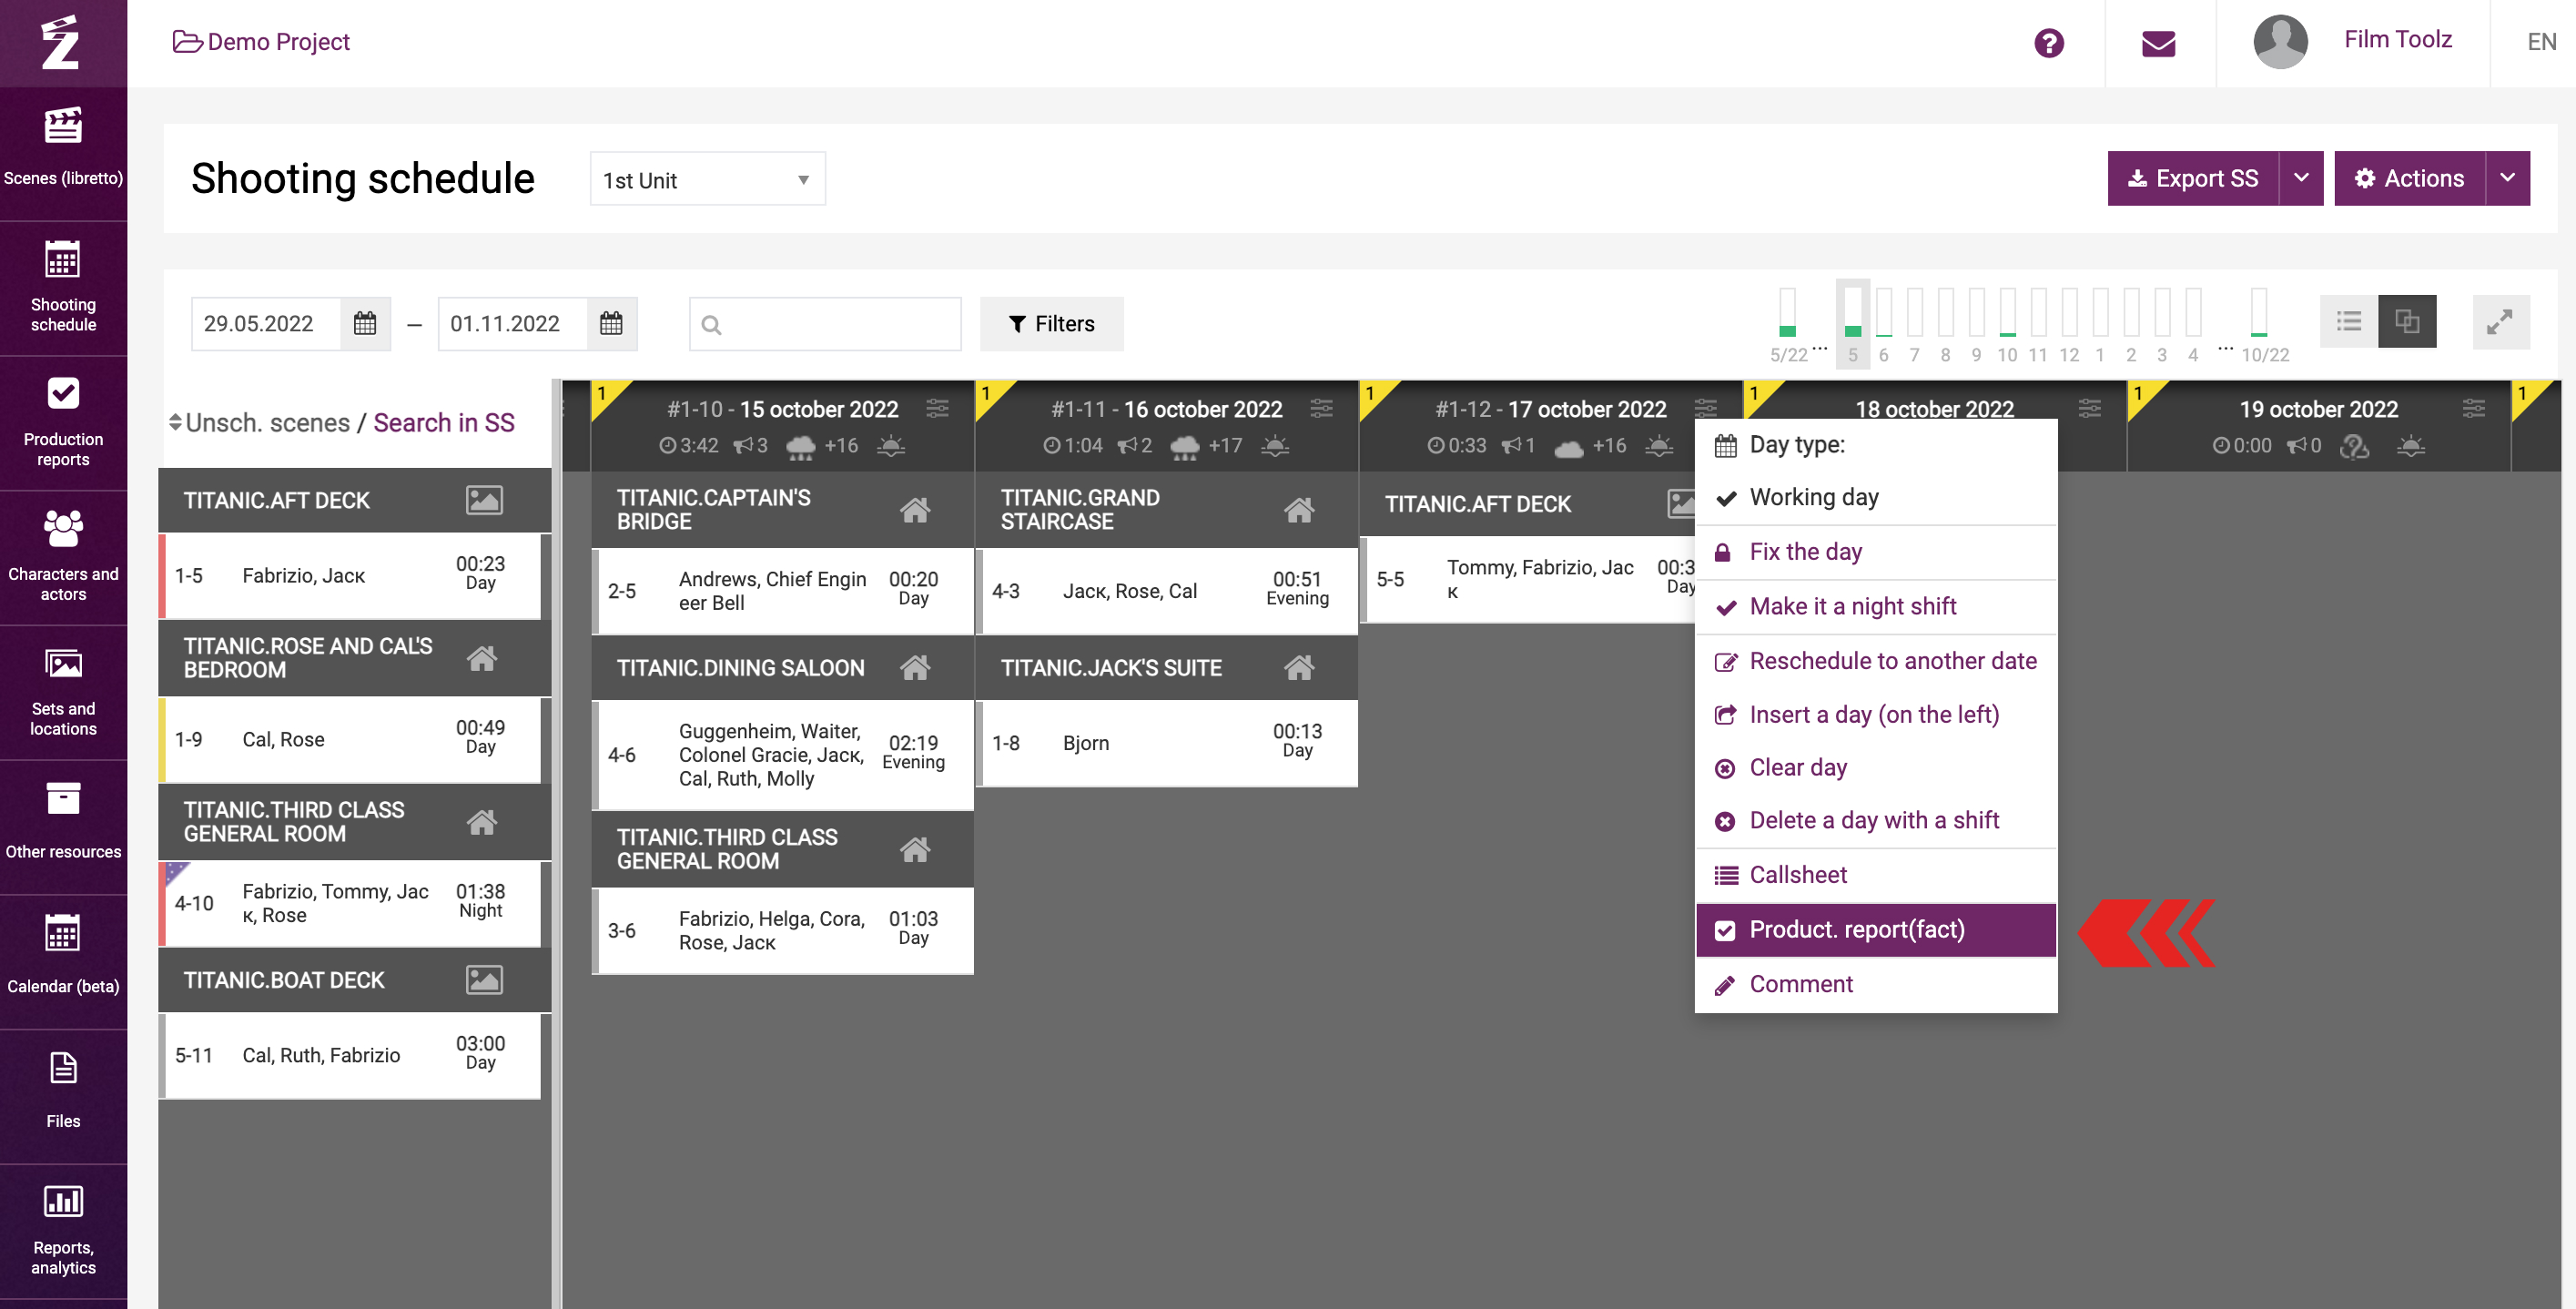
The following features are available for each day in the drop-down menu:
- Setting the type of day – you can designate a day as a day off/working day/sleeping day or preparations day
- “Lock the day” – this feature will make it possible to protect the day data from any accidental changes
- “Change to night shoot” – this shoot day will be highlighted in a darker color in the shooting schedule
- “Reschedule to a another date”, etc.
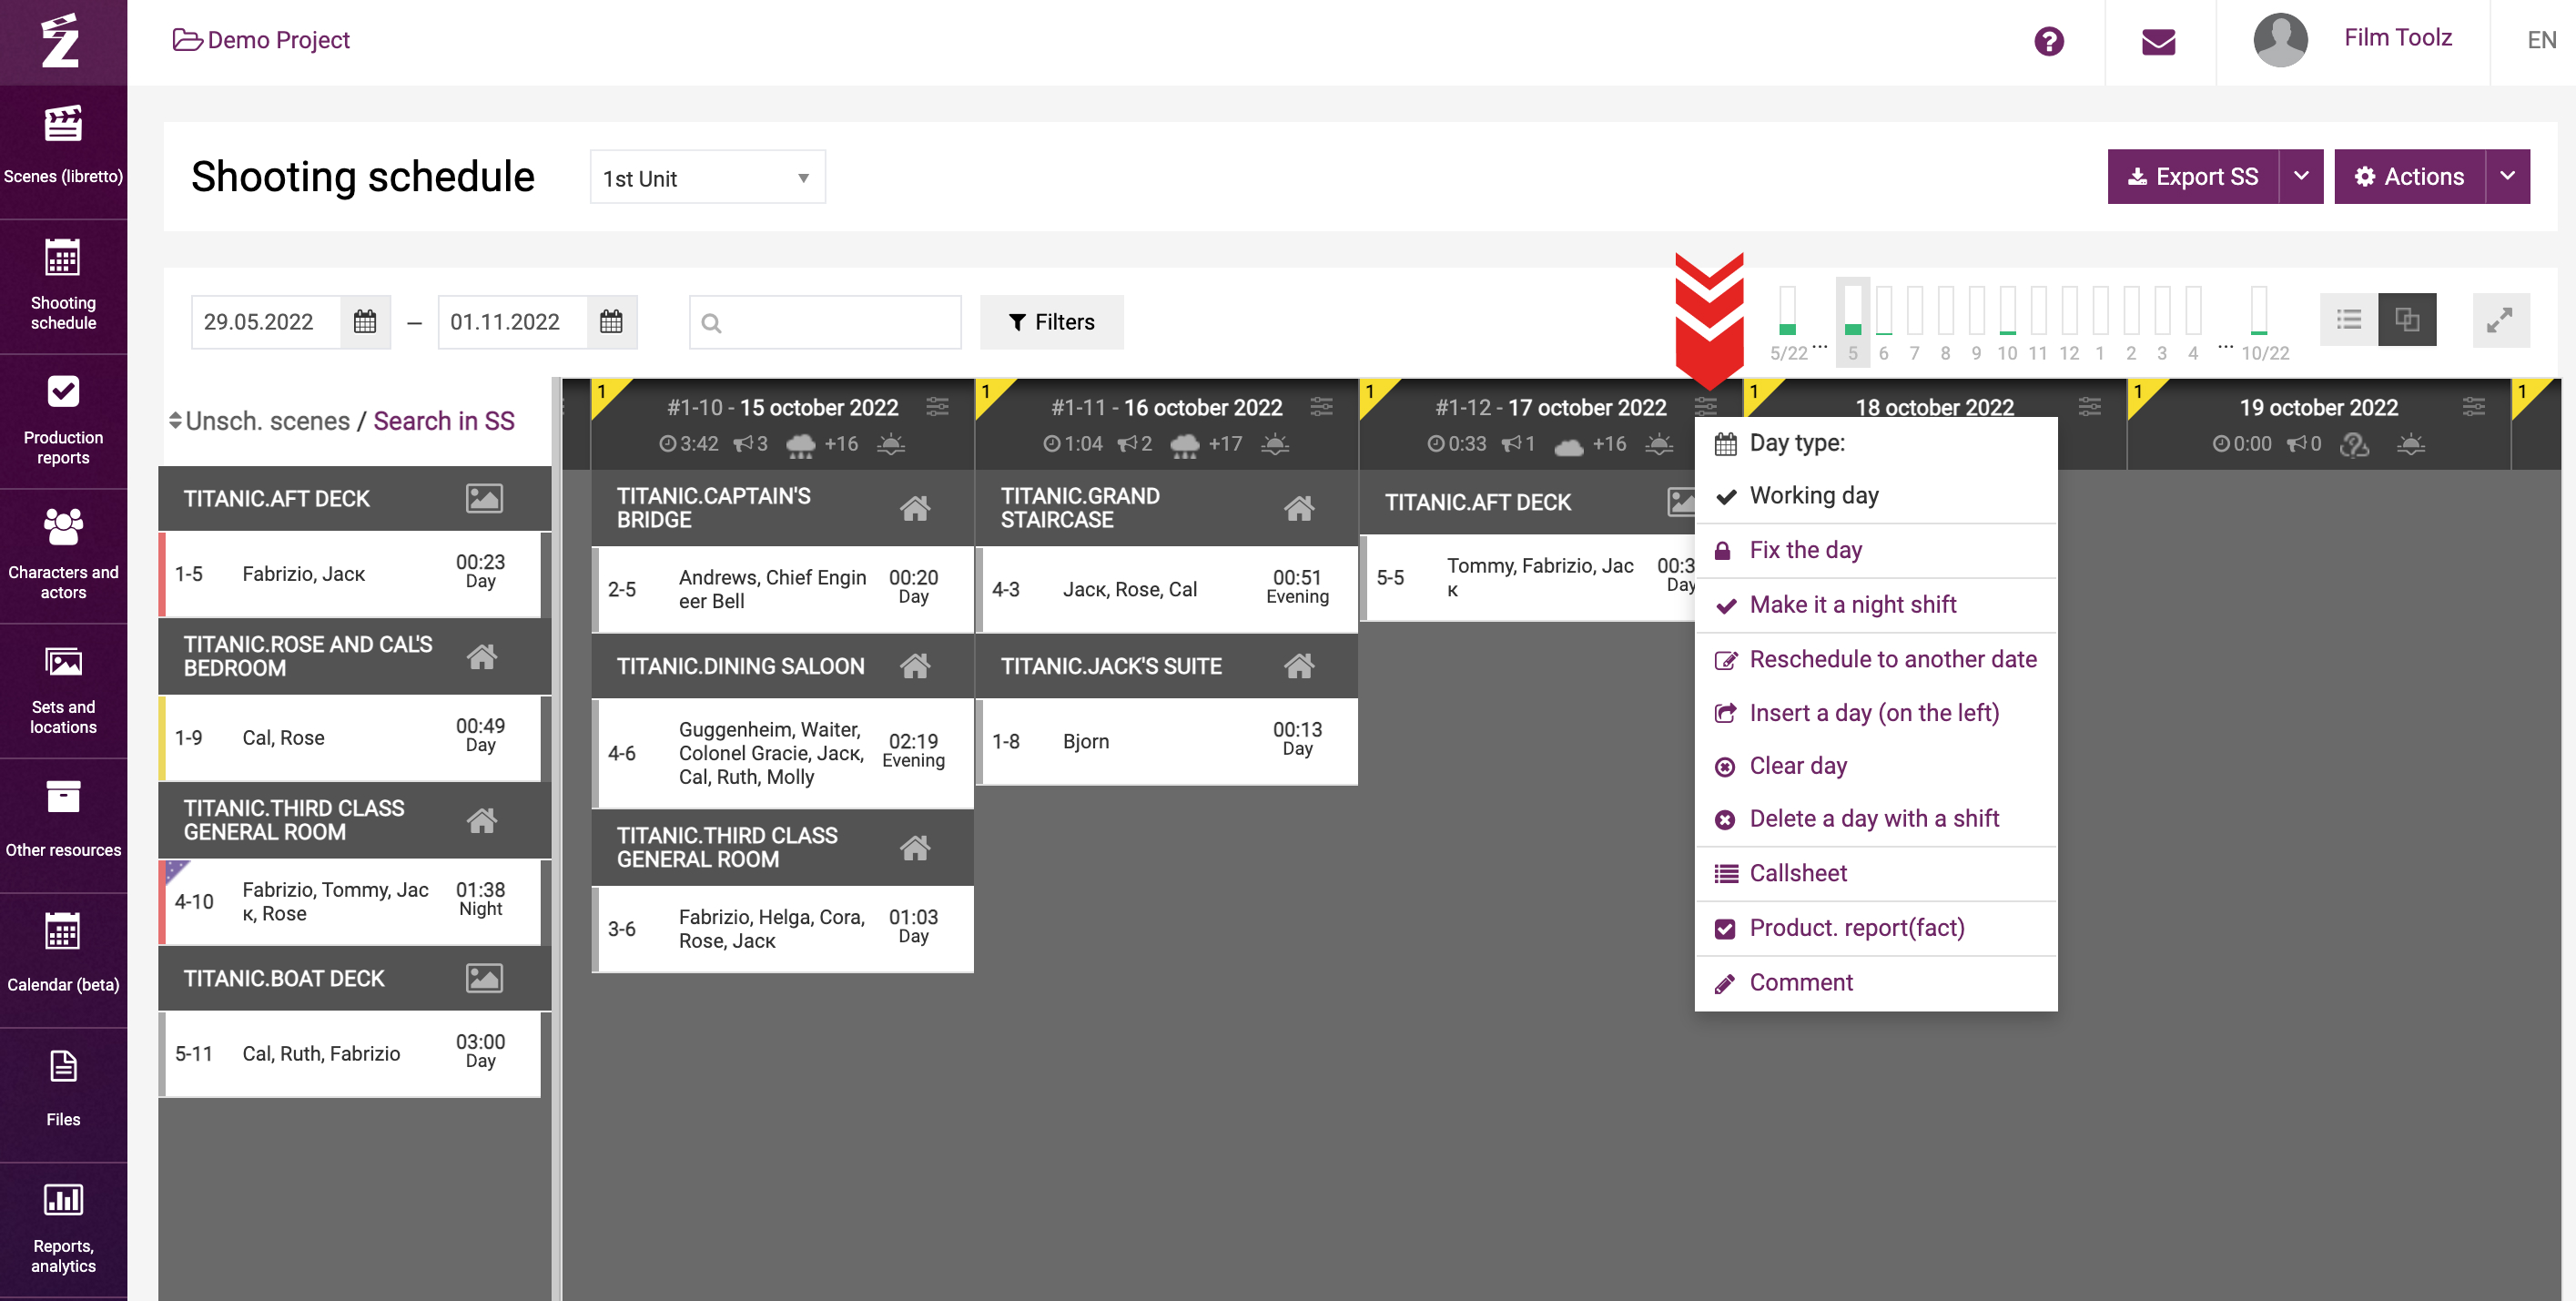
In addition, you can use this menu to jump to the day scheduling form – the “Call sheet” page,
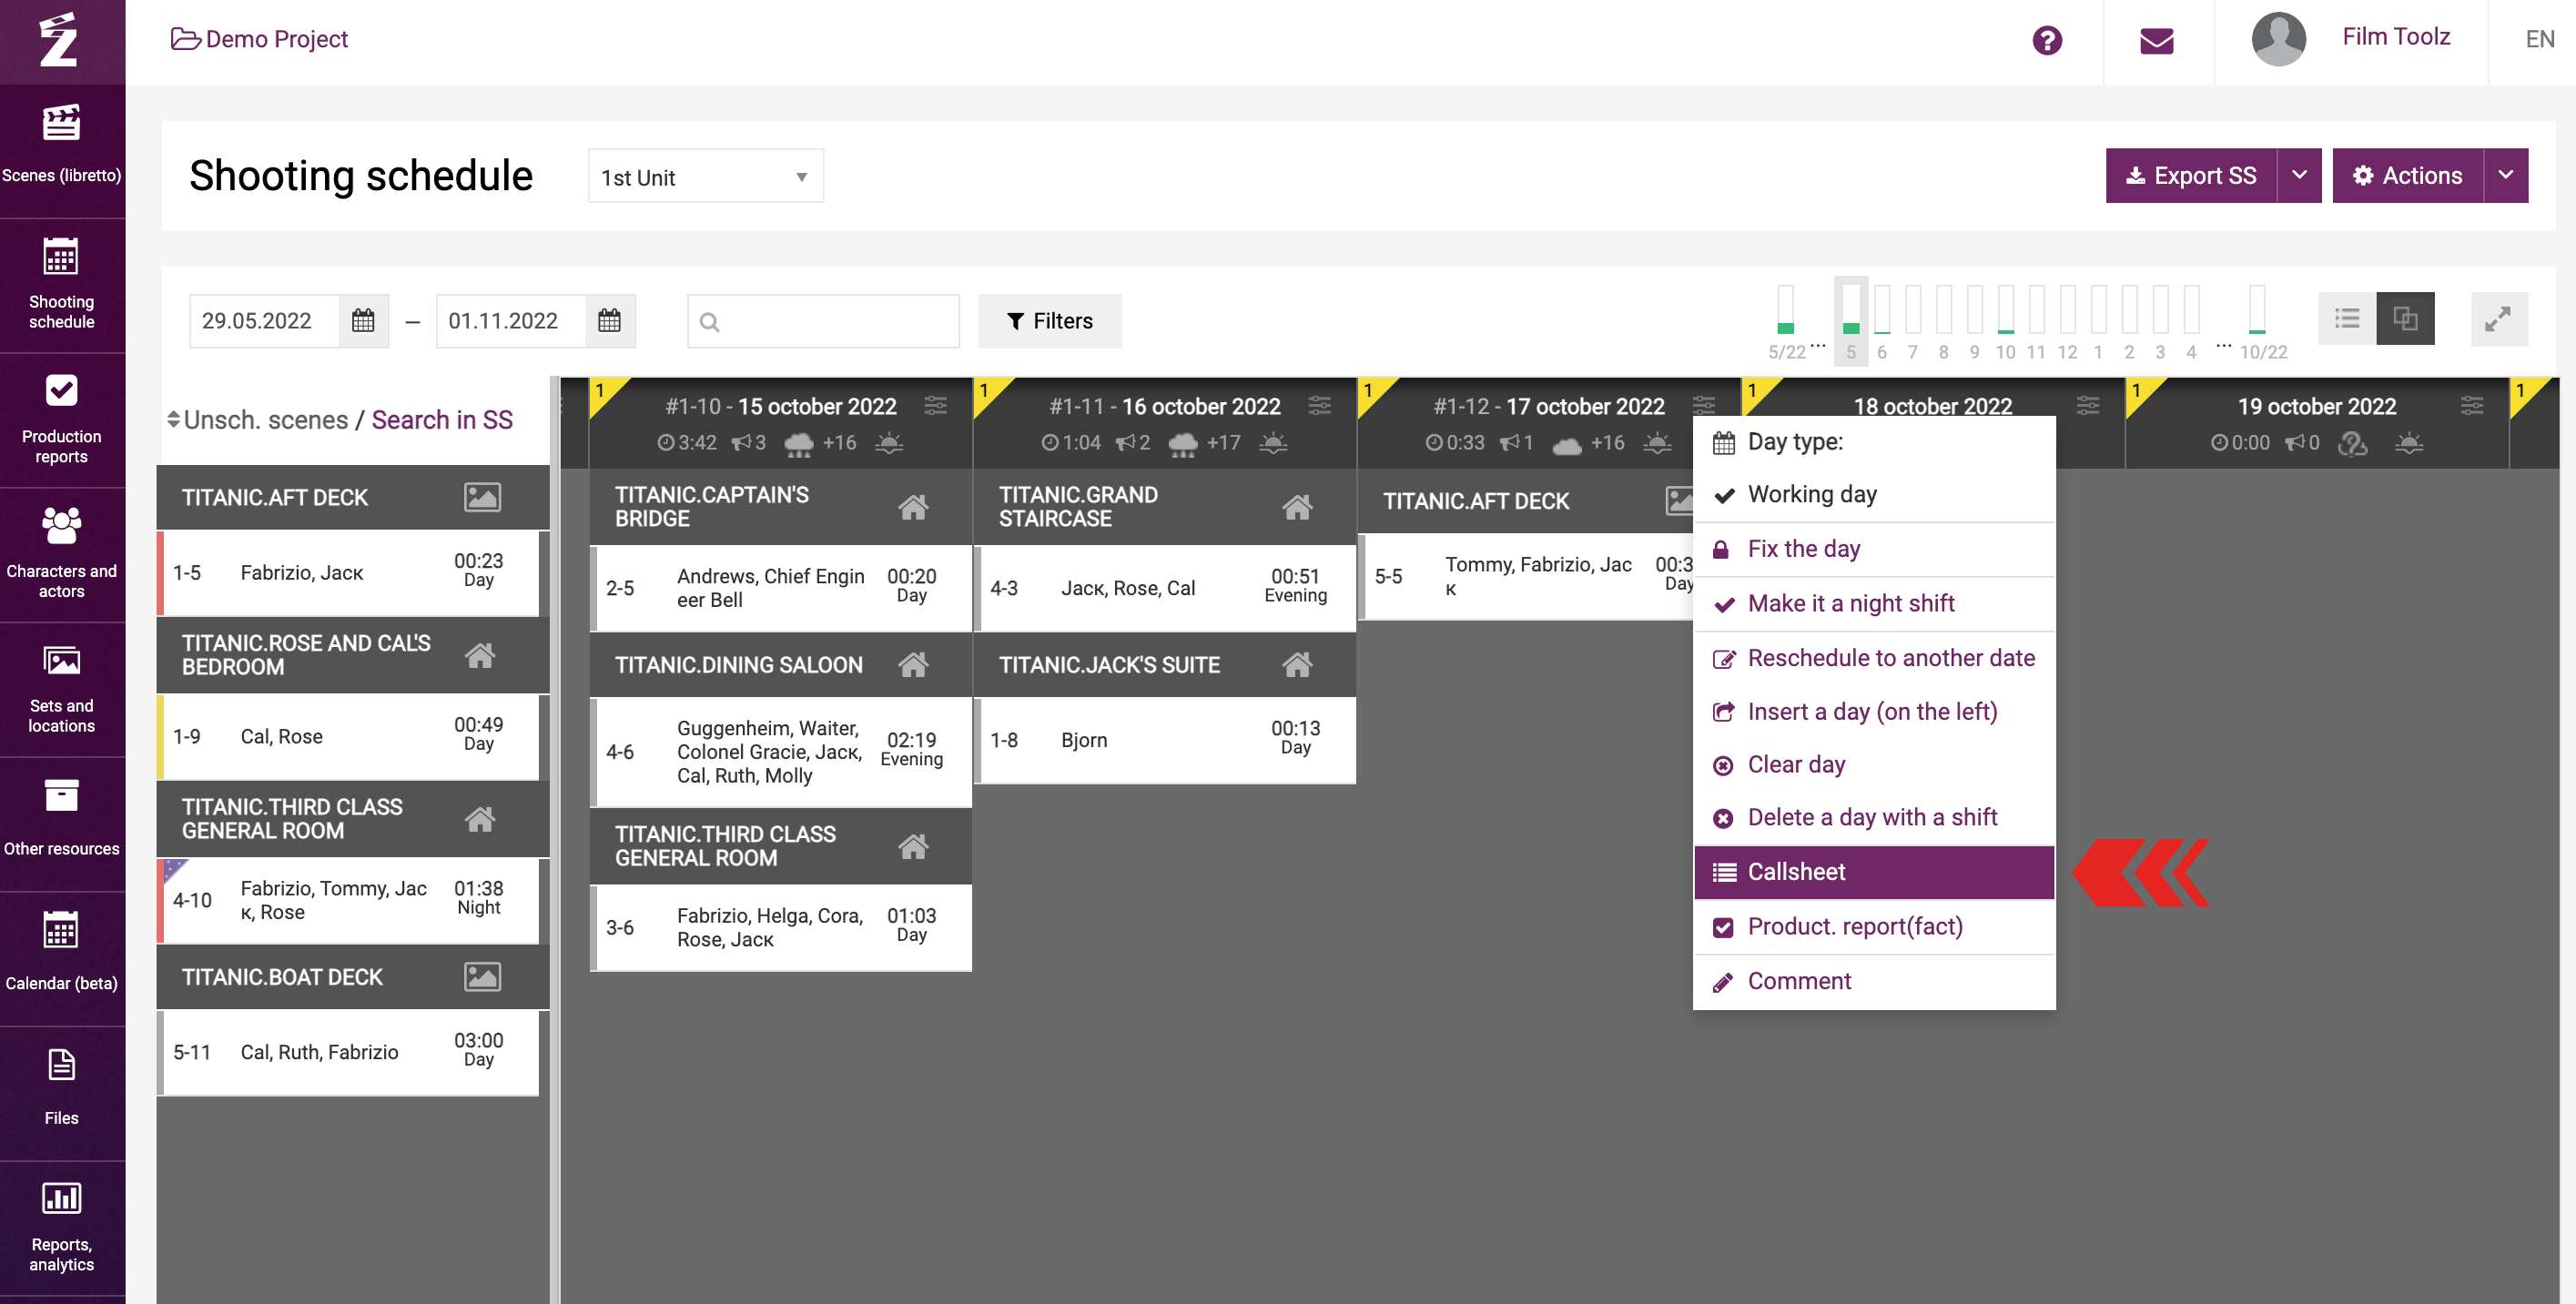
or to the production report form to enter actual data on the shoots.
If necessary, you can export the shooting schedule in Excel format to your PC anytime. To do so, click on “Export SS” in the upper right-hand corner, and the required file will be downloaded to your PC.

Searching for scenes in the shooting schedule
Furthermore, the shooting schedule makes it possible to search for a scheduled scene. To do so, switch to “Search in SS”, filter the desired scene, click on the date specified there, and you will see the scene in the shooting schedule highlighted in yellow.