Обучение
Creating Scenes
Scenes may be added to the system manually or by importing an existing script (learn more about the ways to import a script in the dedicated learning module).
We recommend that you enter the script into the system manually, as this is the method that helps the first assistant director to prevent errors and fill out the scene card as correctly as possible for all elements employed in such scene.
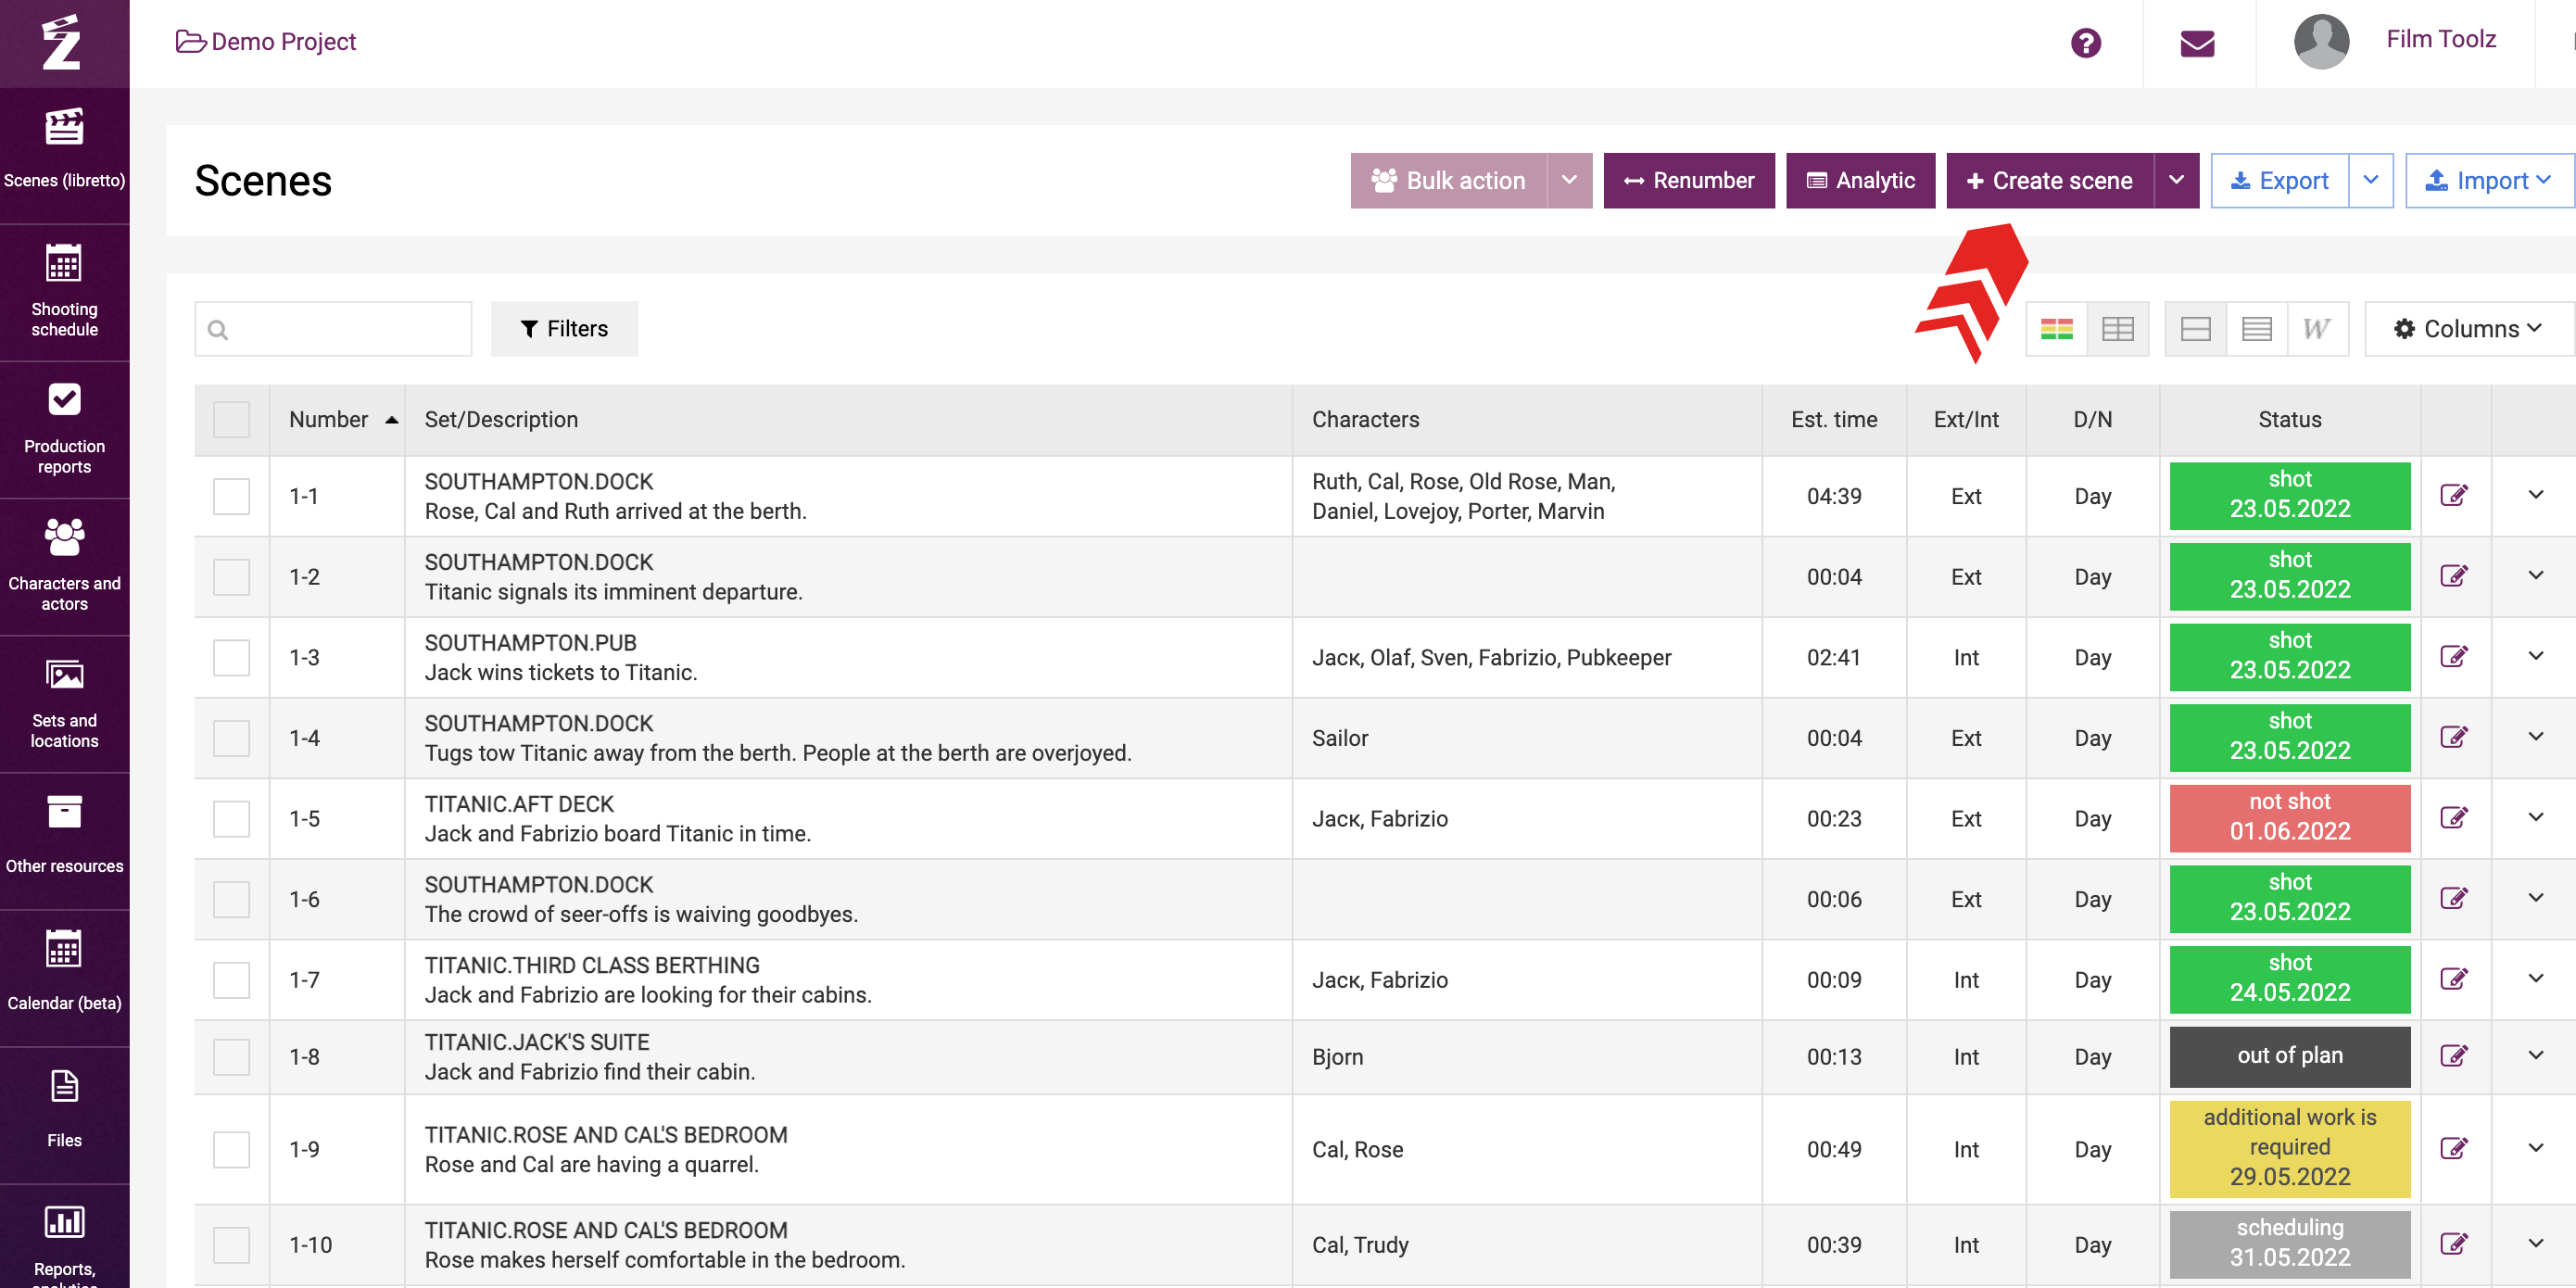
After you add a new scene, proceed to the list of scenes.
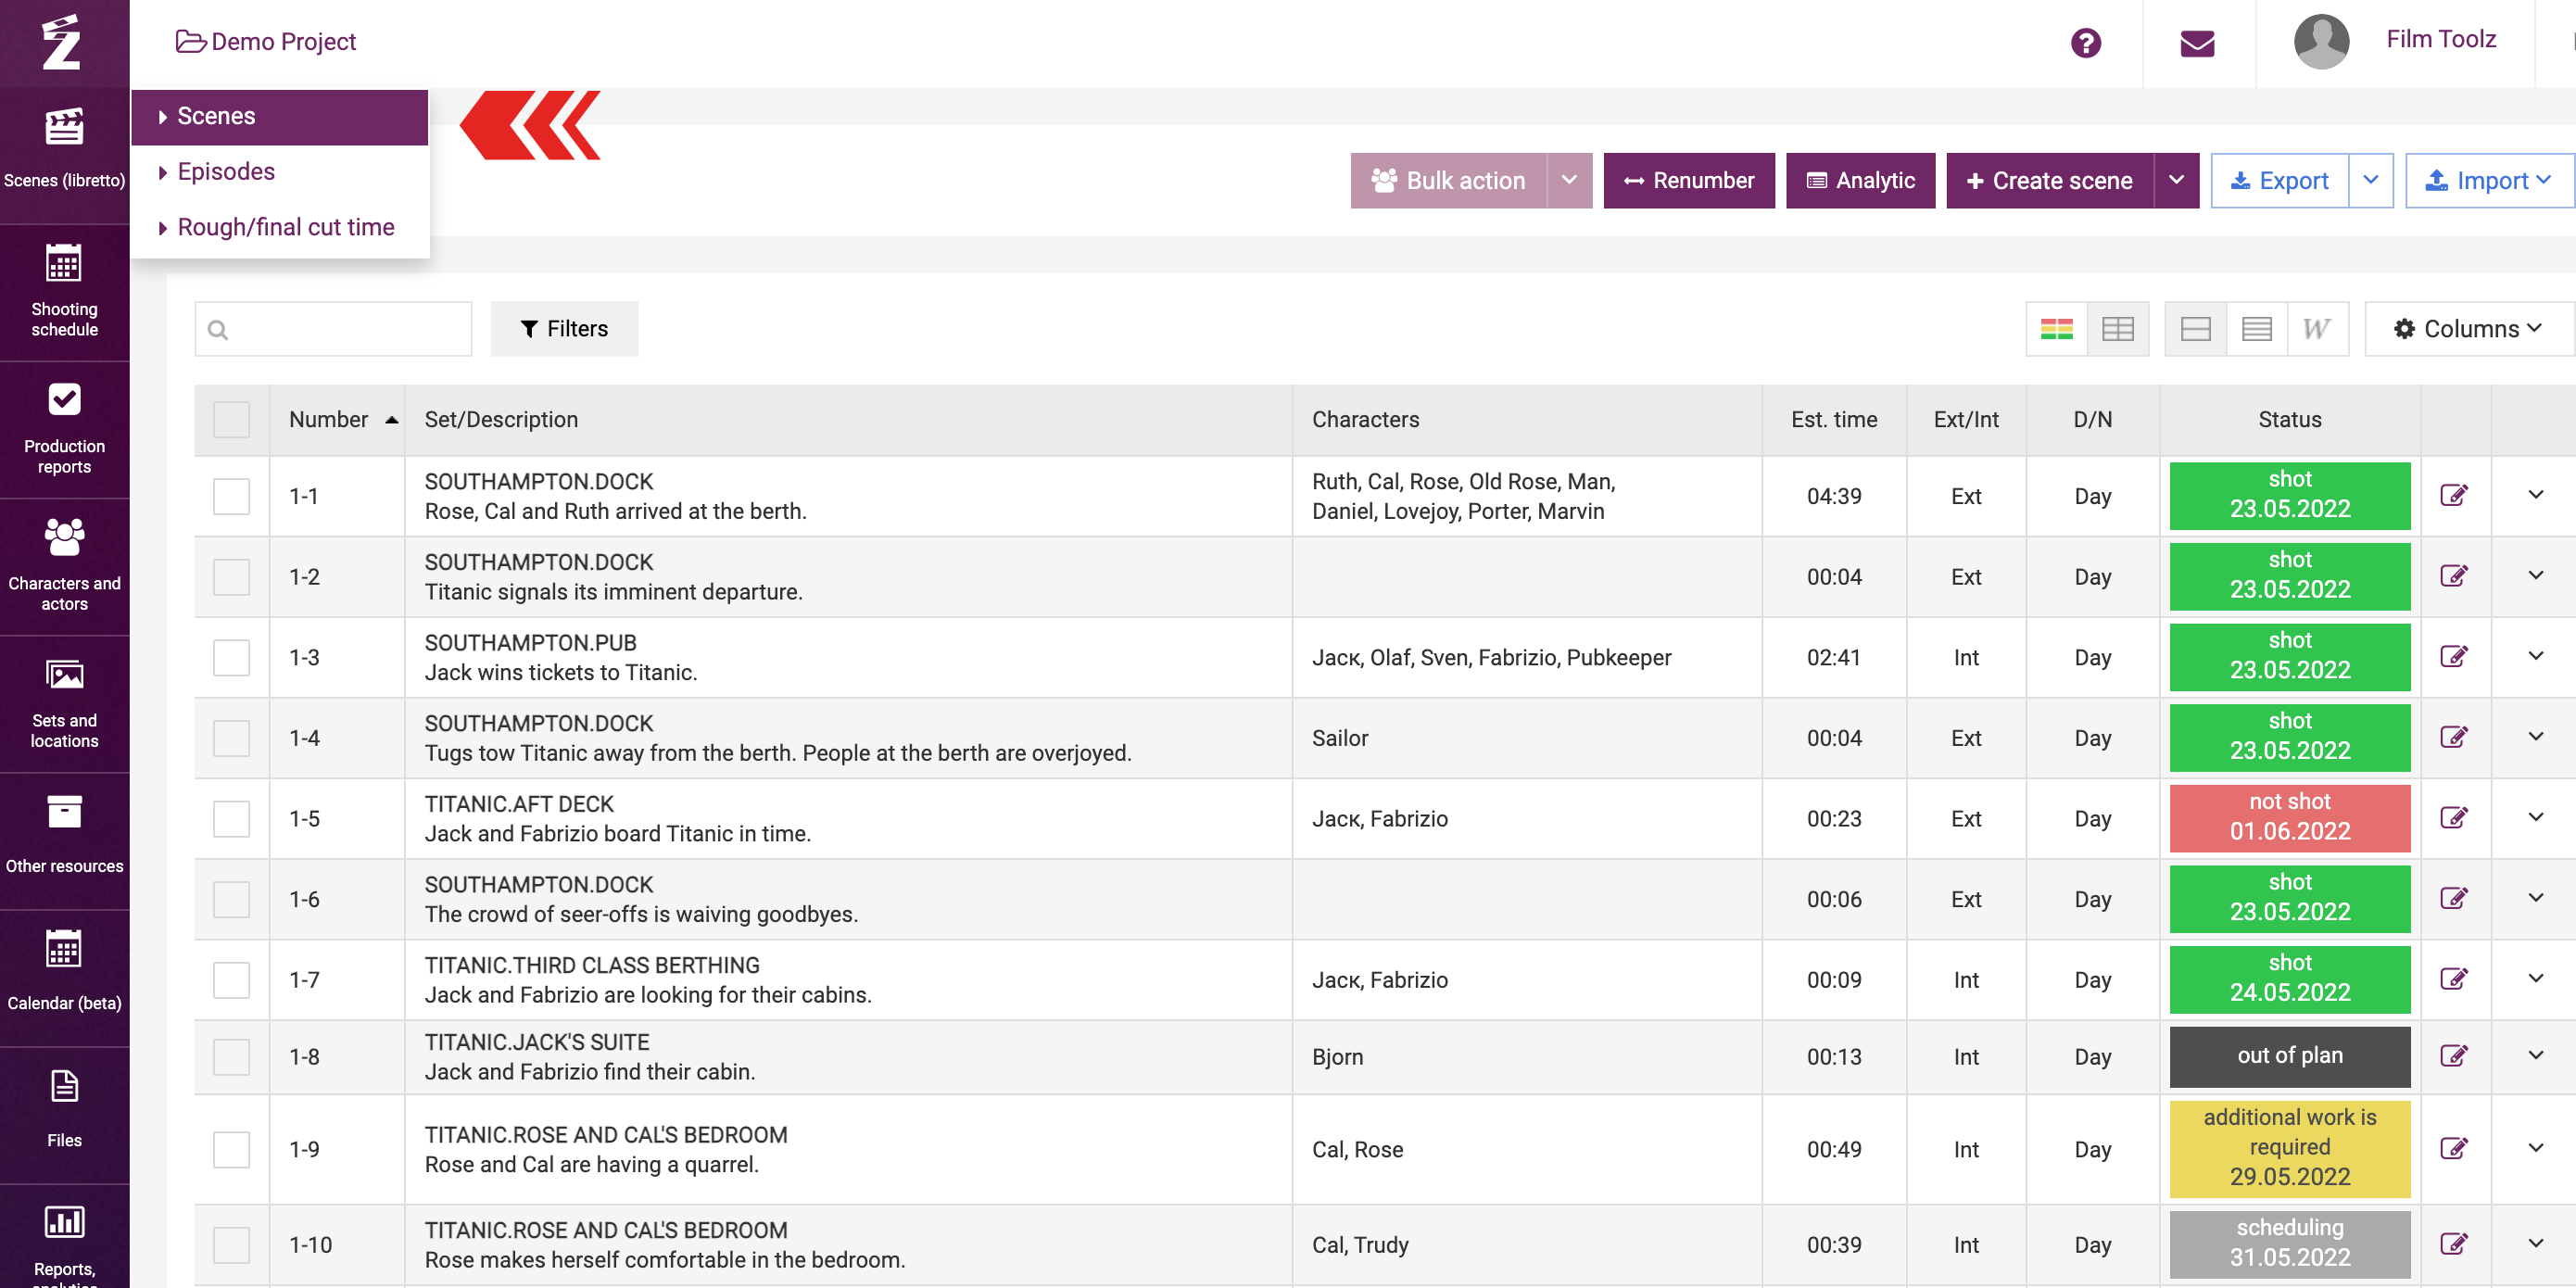
Click on “Create scene”.
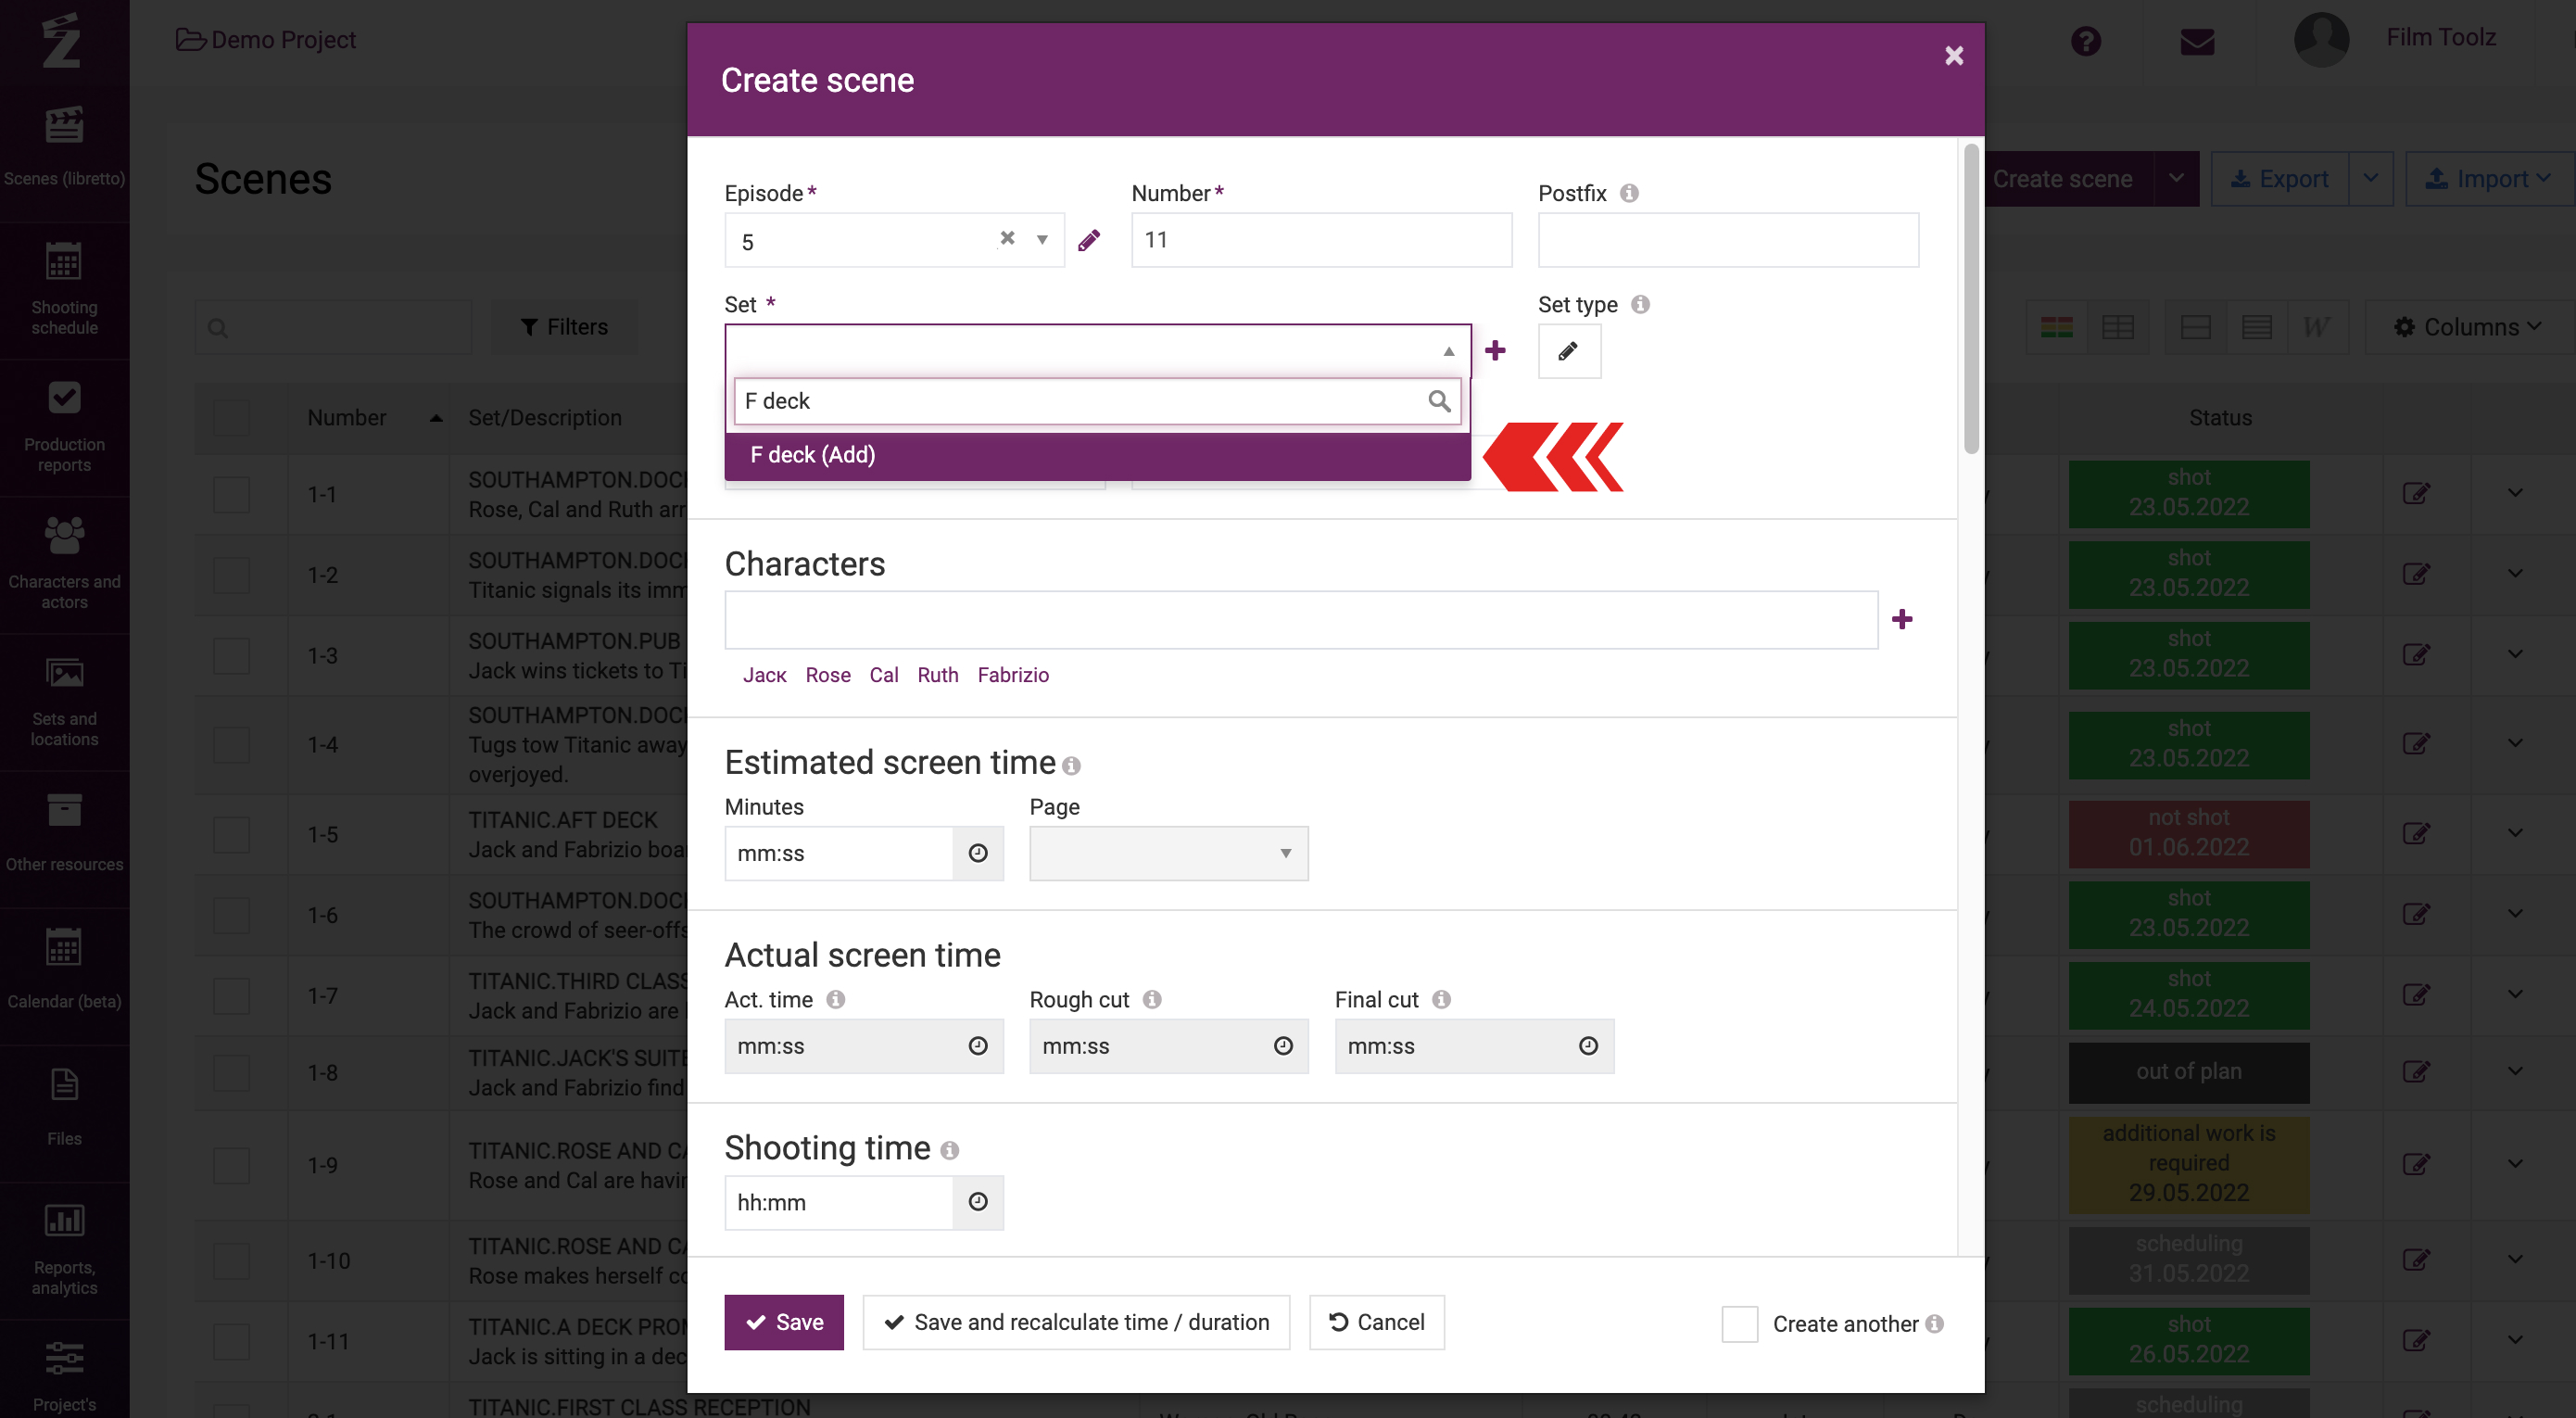
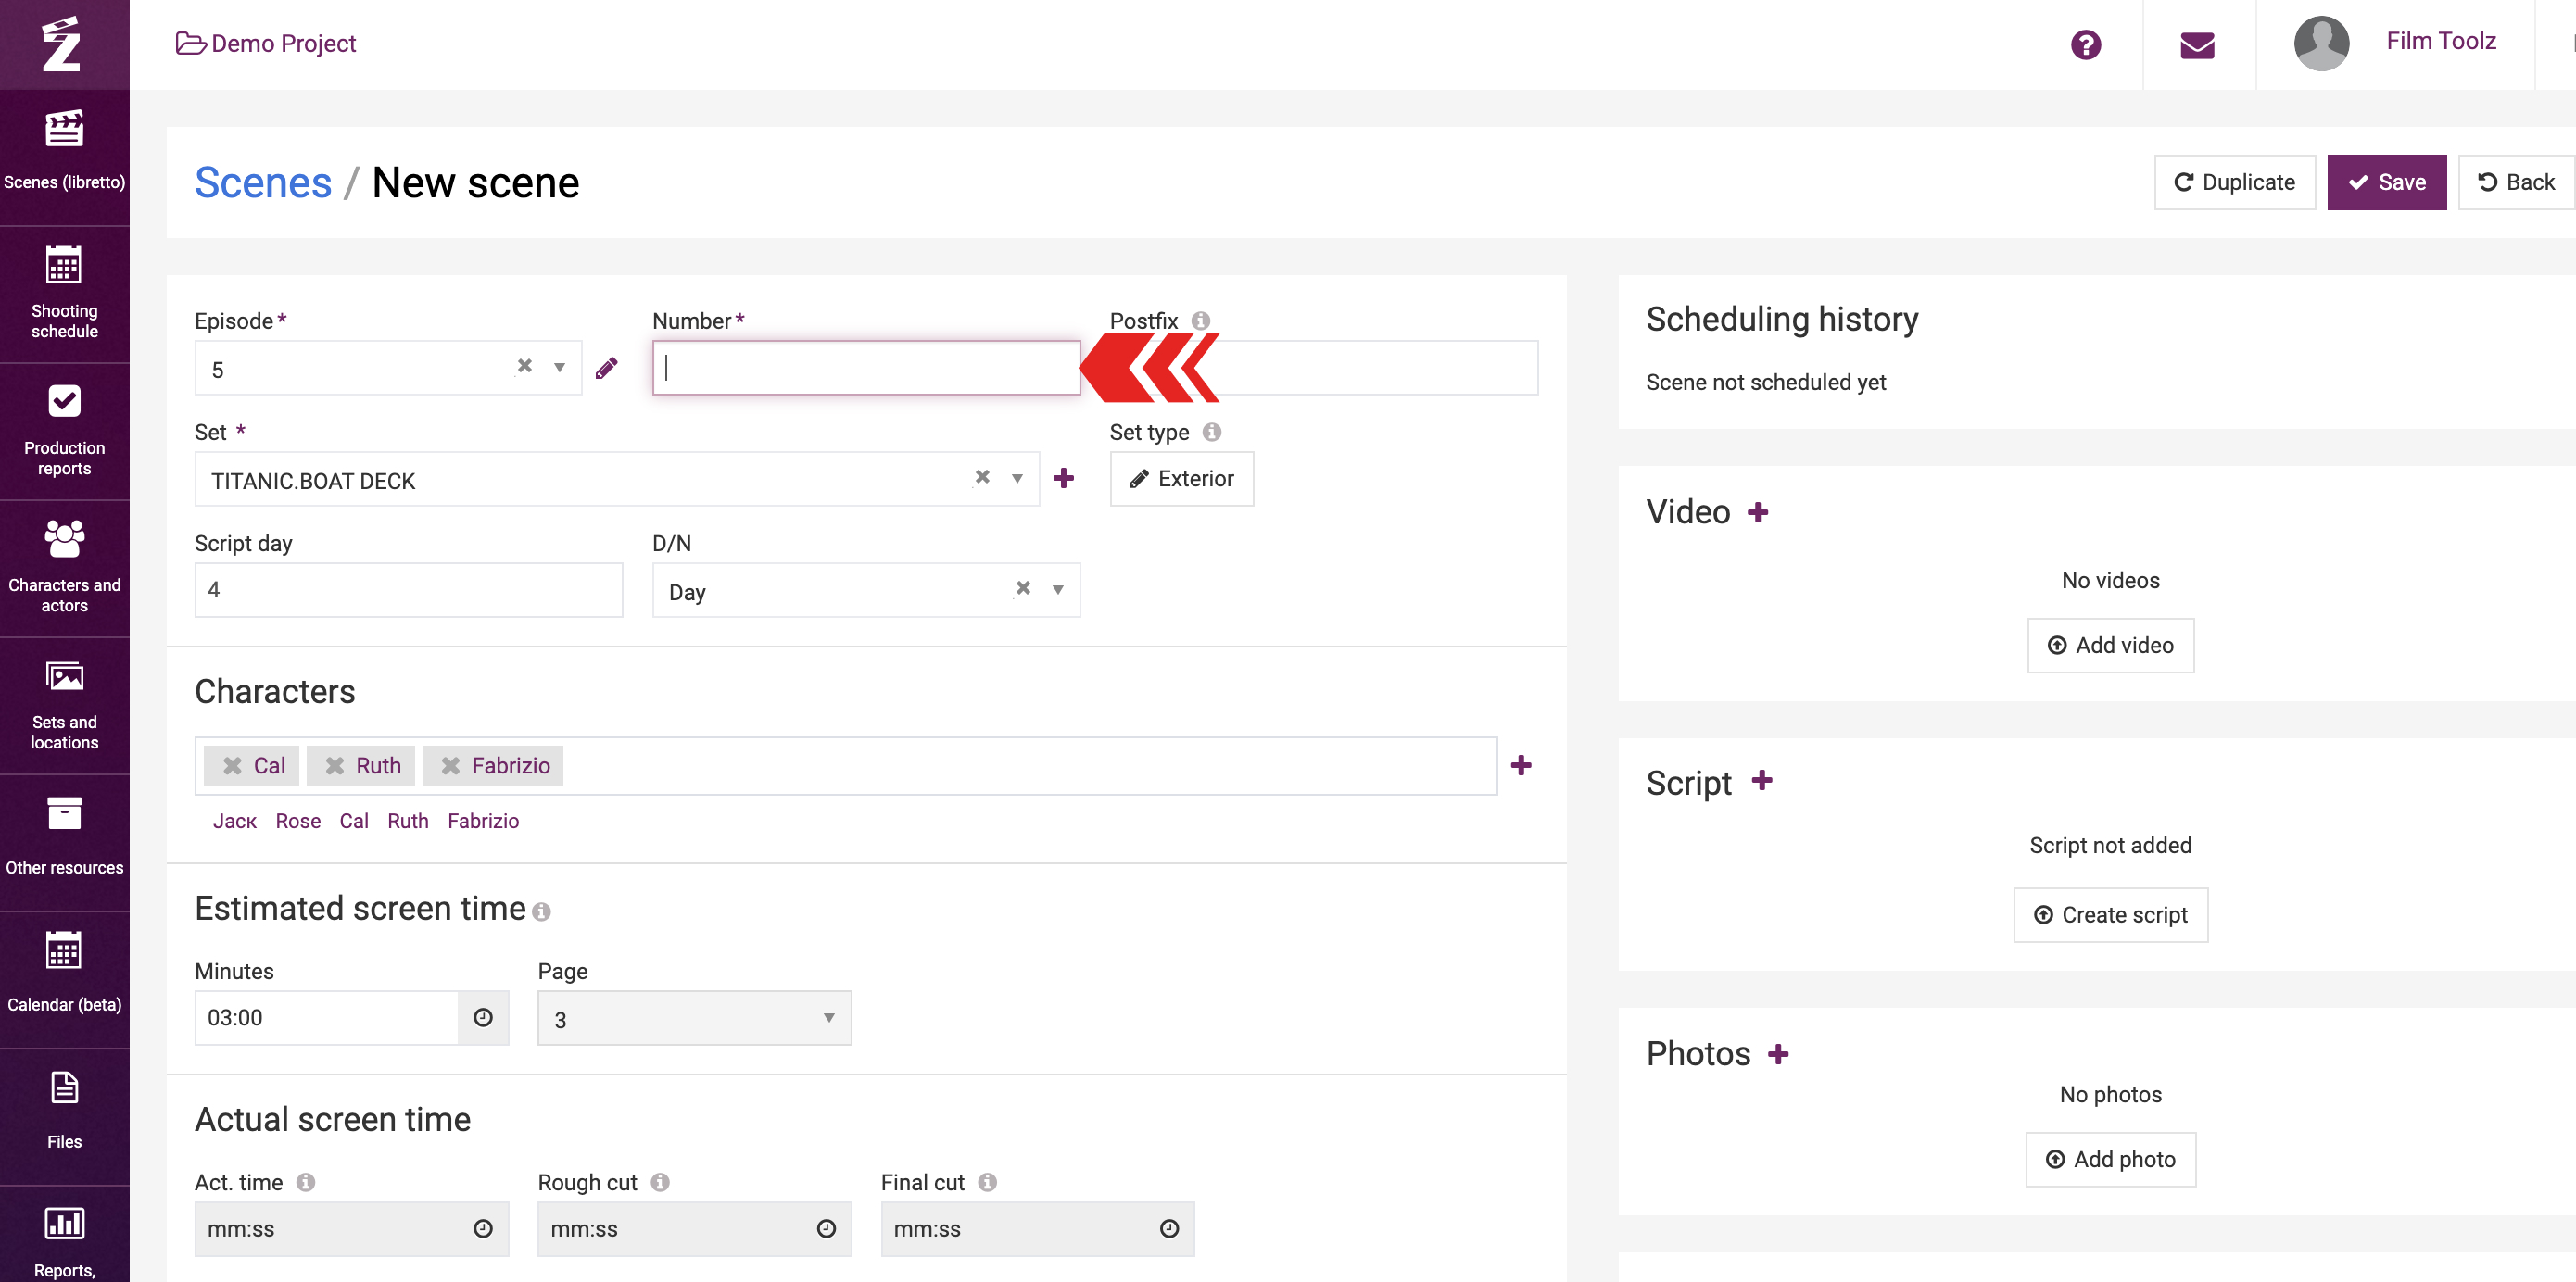
Specify the number of the episode and the number of the scene in the window. If necessary, enter the required postfix (for instance: 5-1-A). The window intended to create a new scene will by default show the number of the scene following the number of the scene you have added earlier.
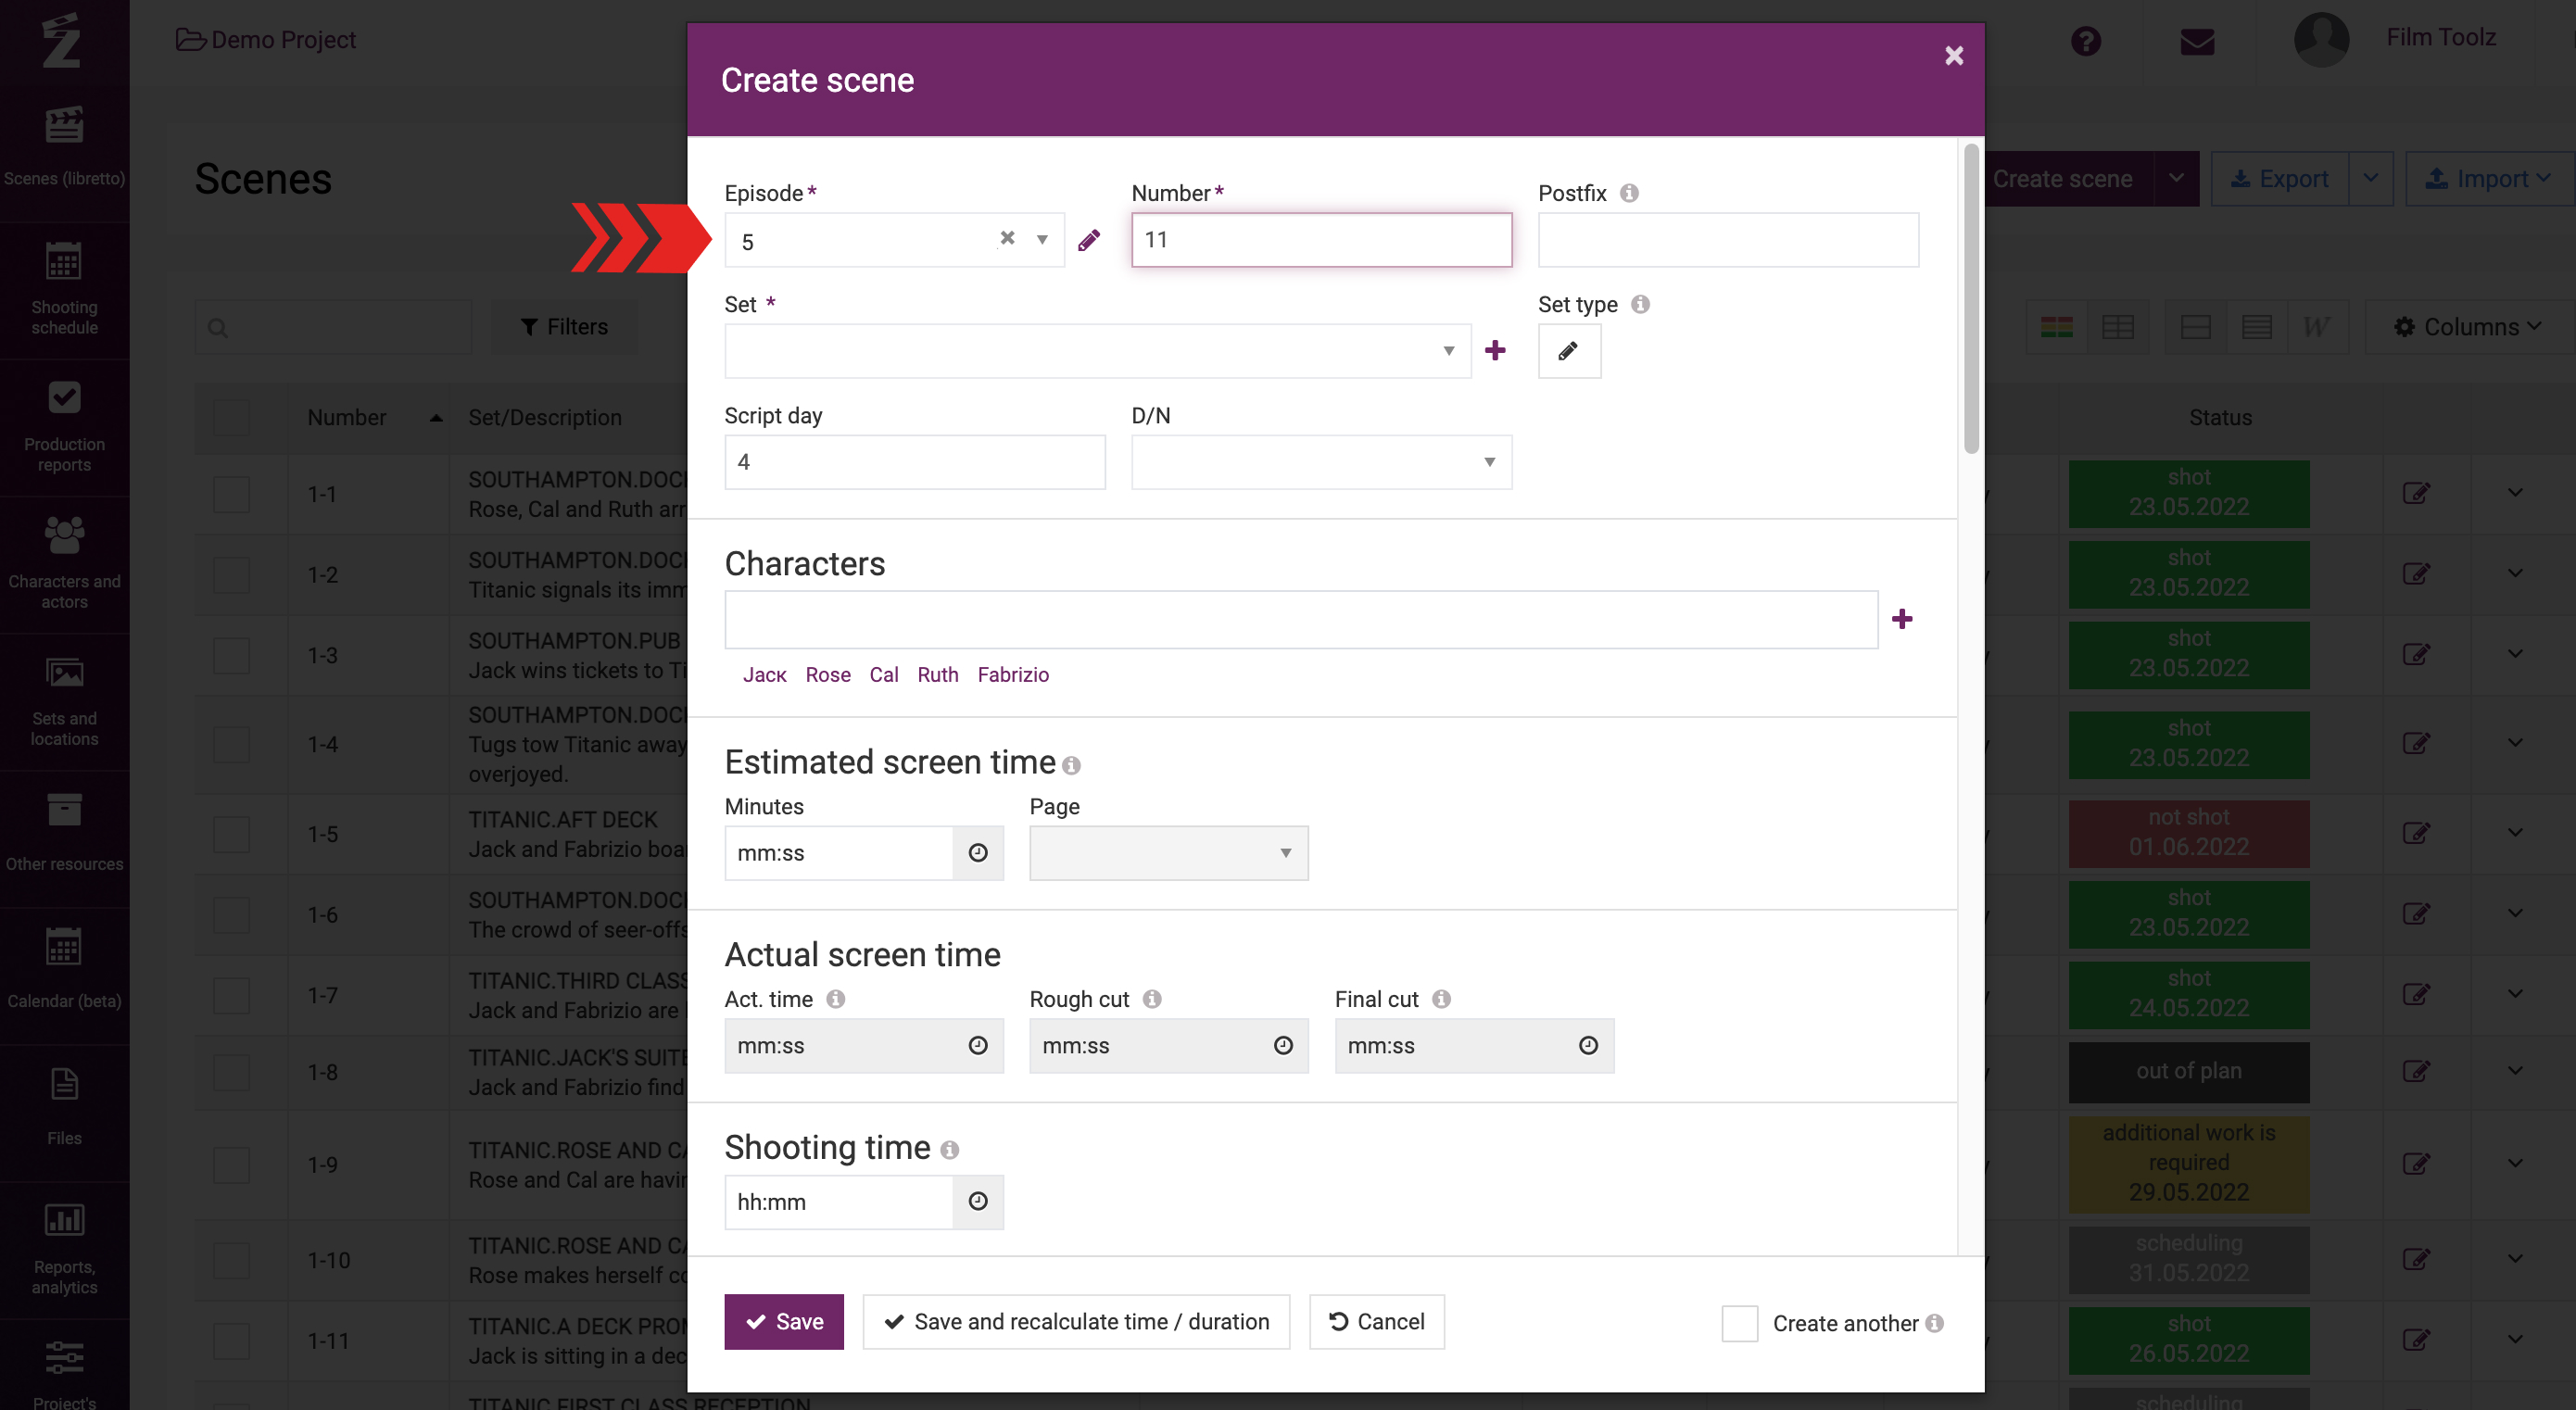
Postfixes should be used whenever you have a compound scene, for instance, a scene of a boxing or soccer match, and it is supposed to be shot on different days with different actors, props, etc.
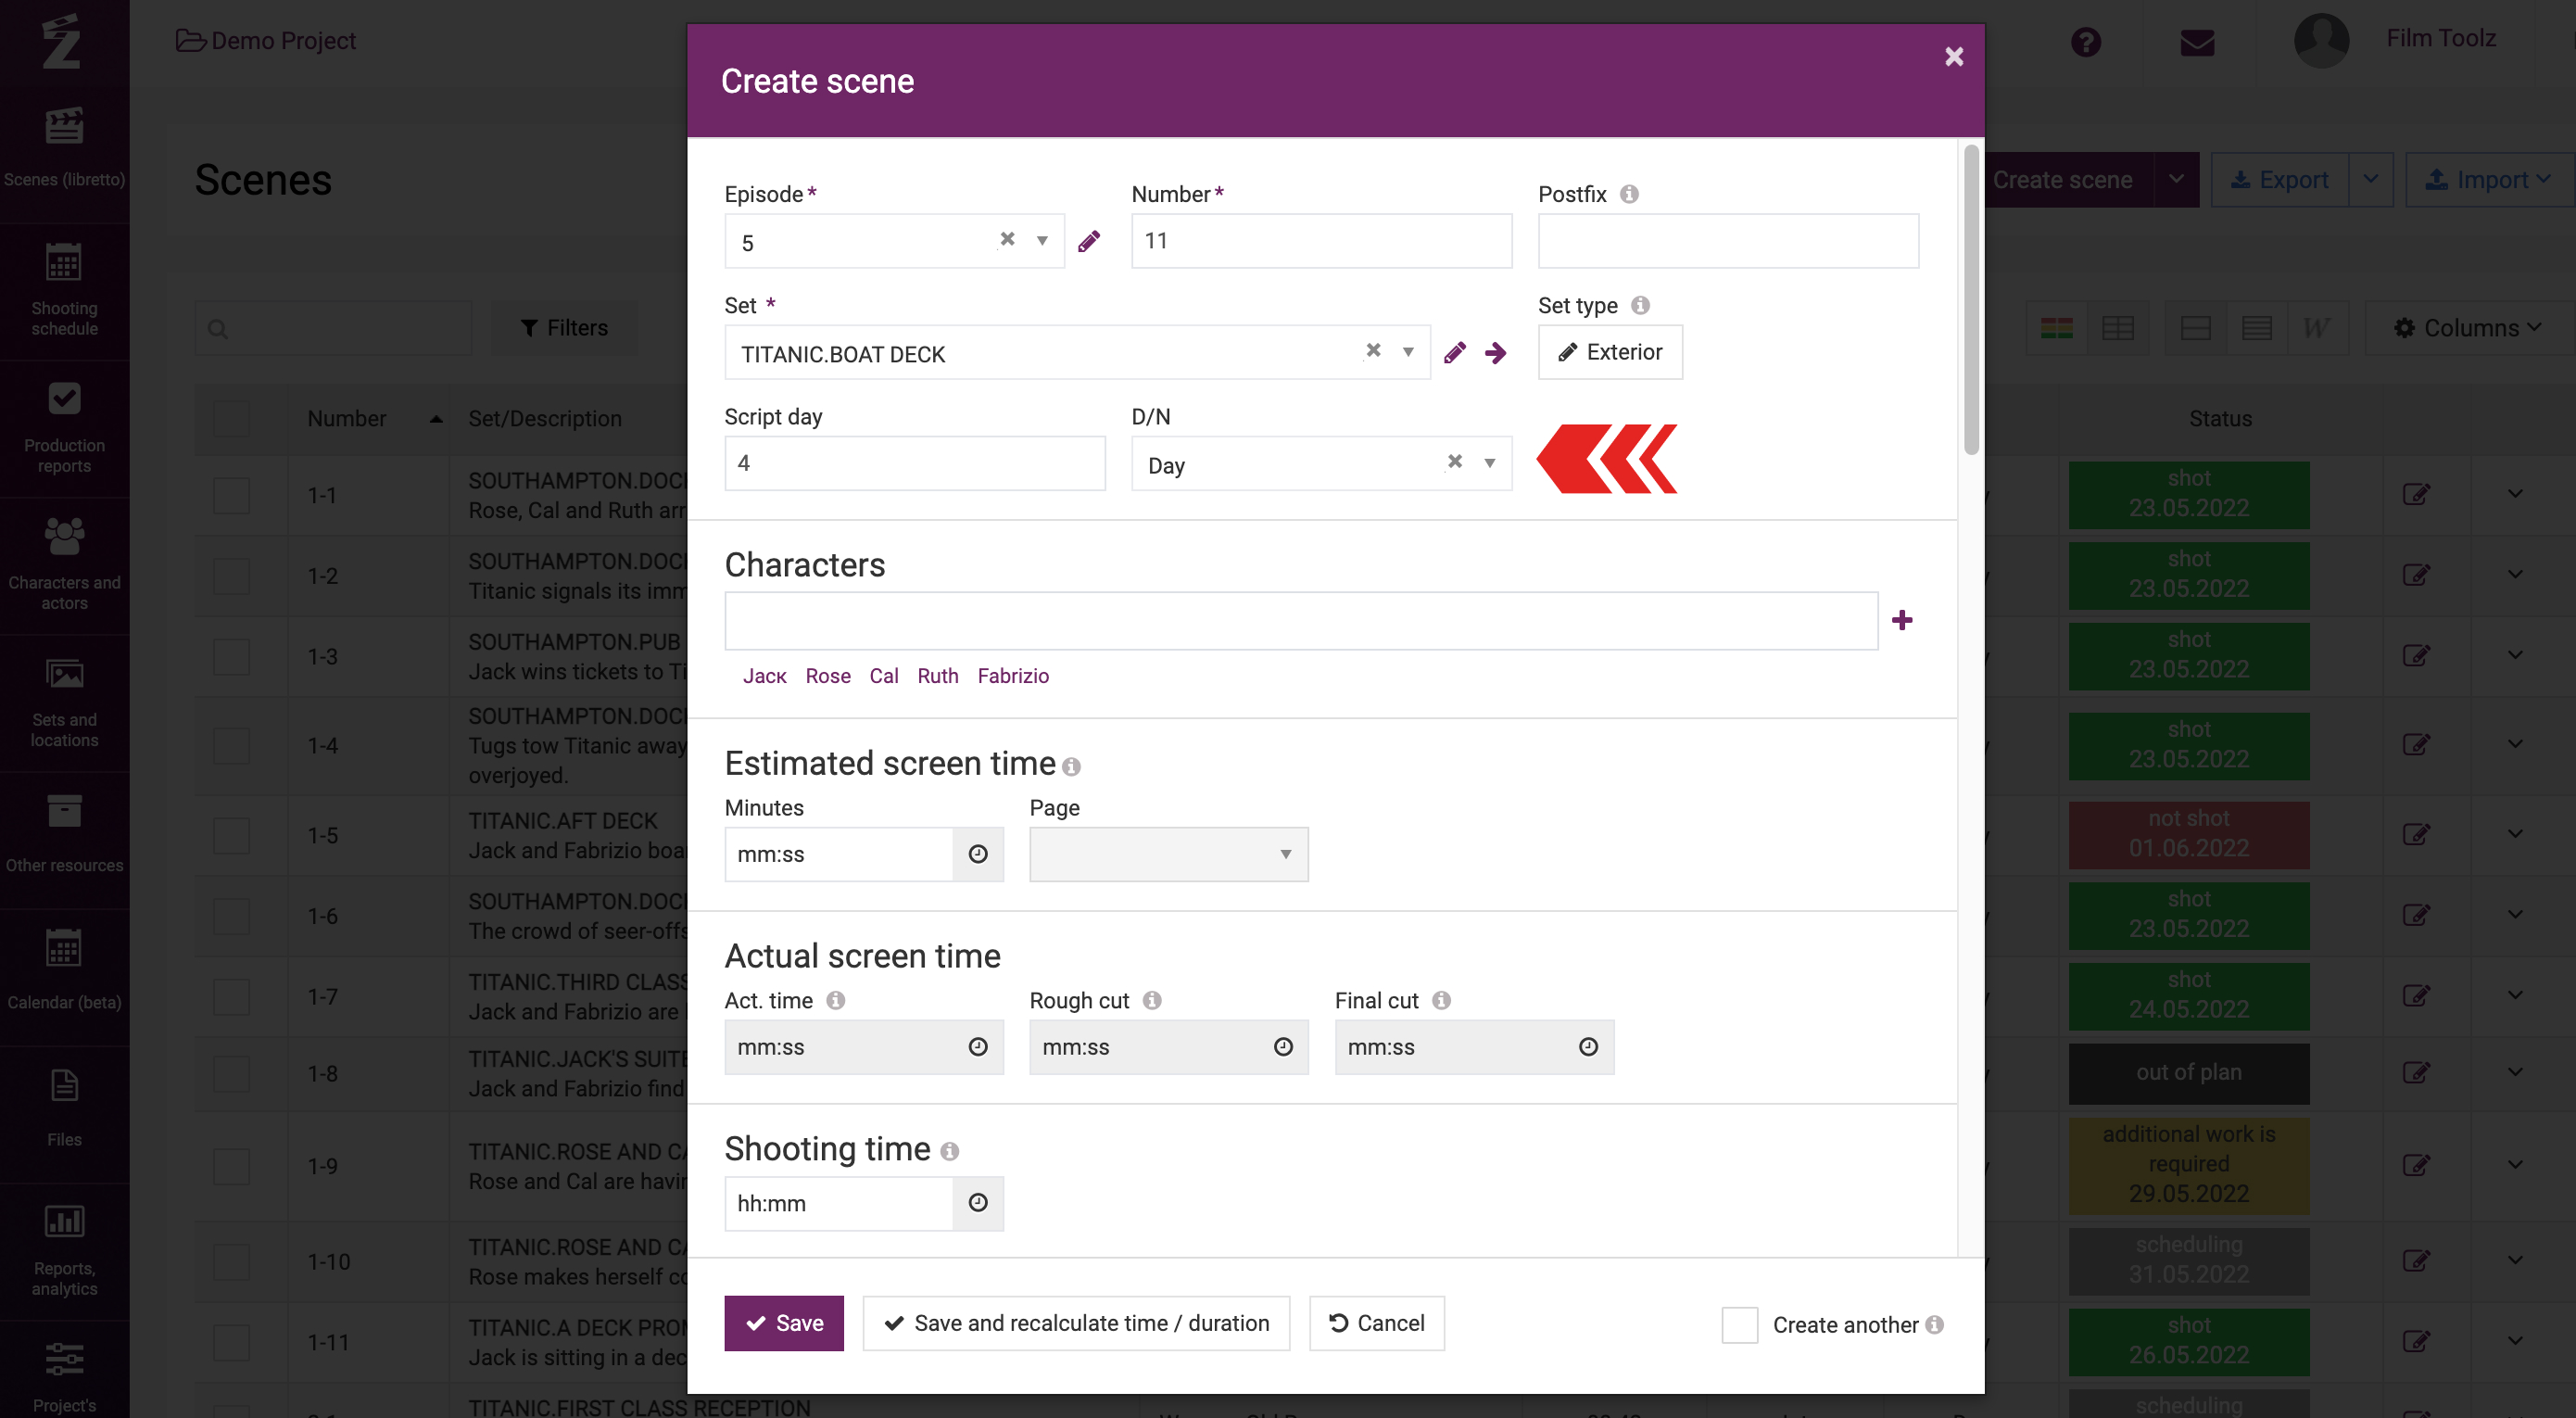
Fill out the "Set" field. Start entering the name of the set and the system will request you to select the set from the list of sets available in the system.
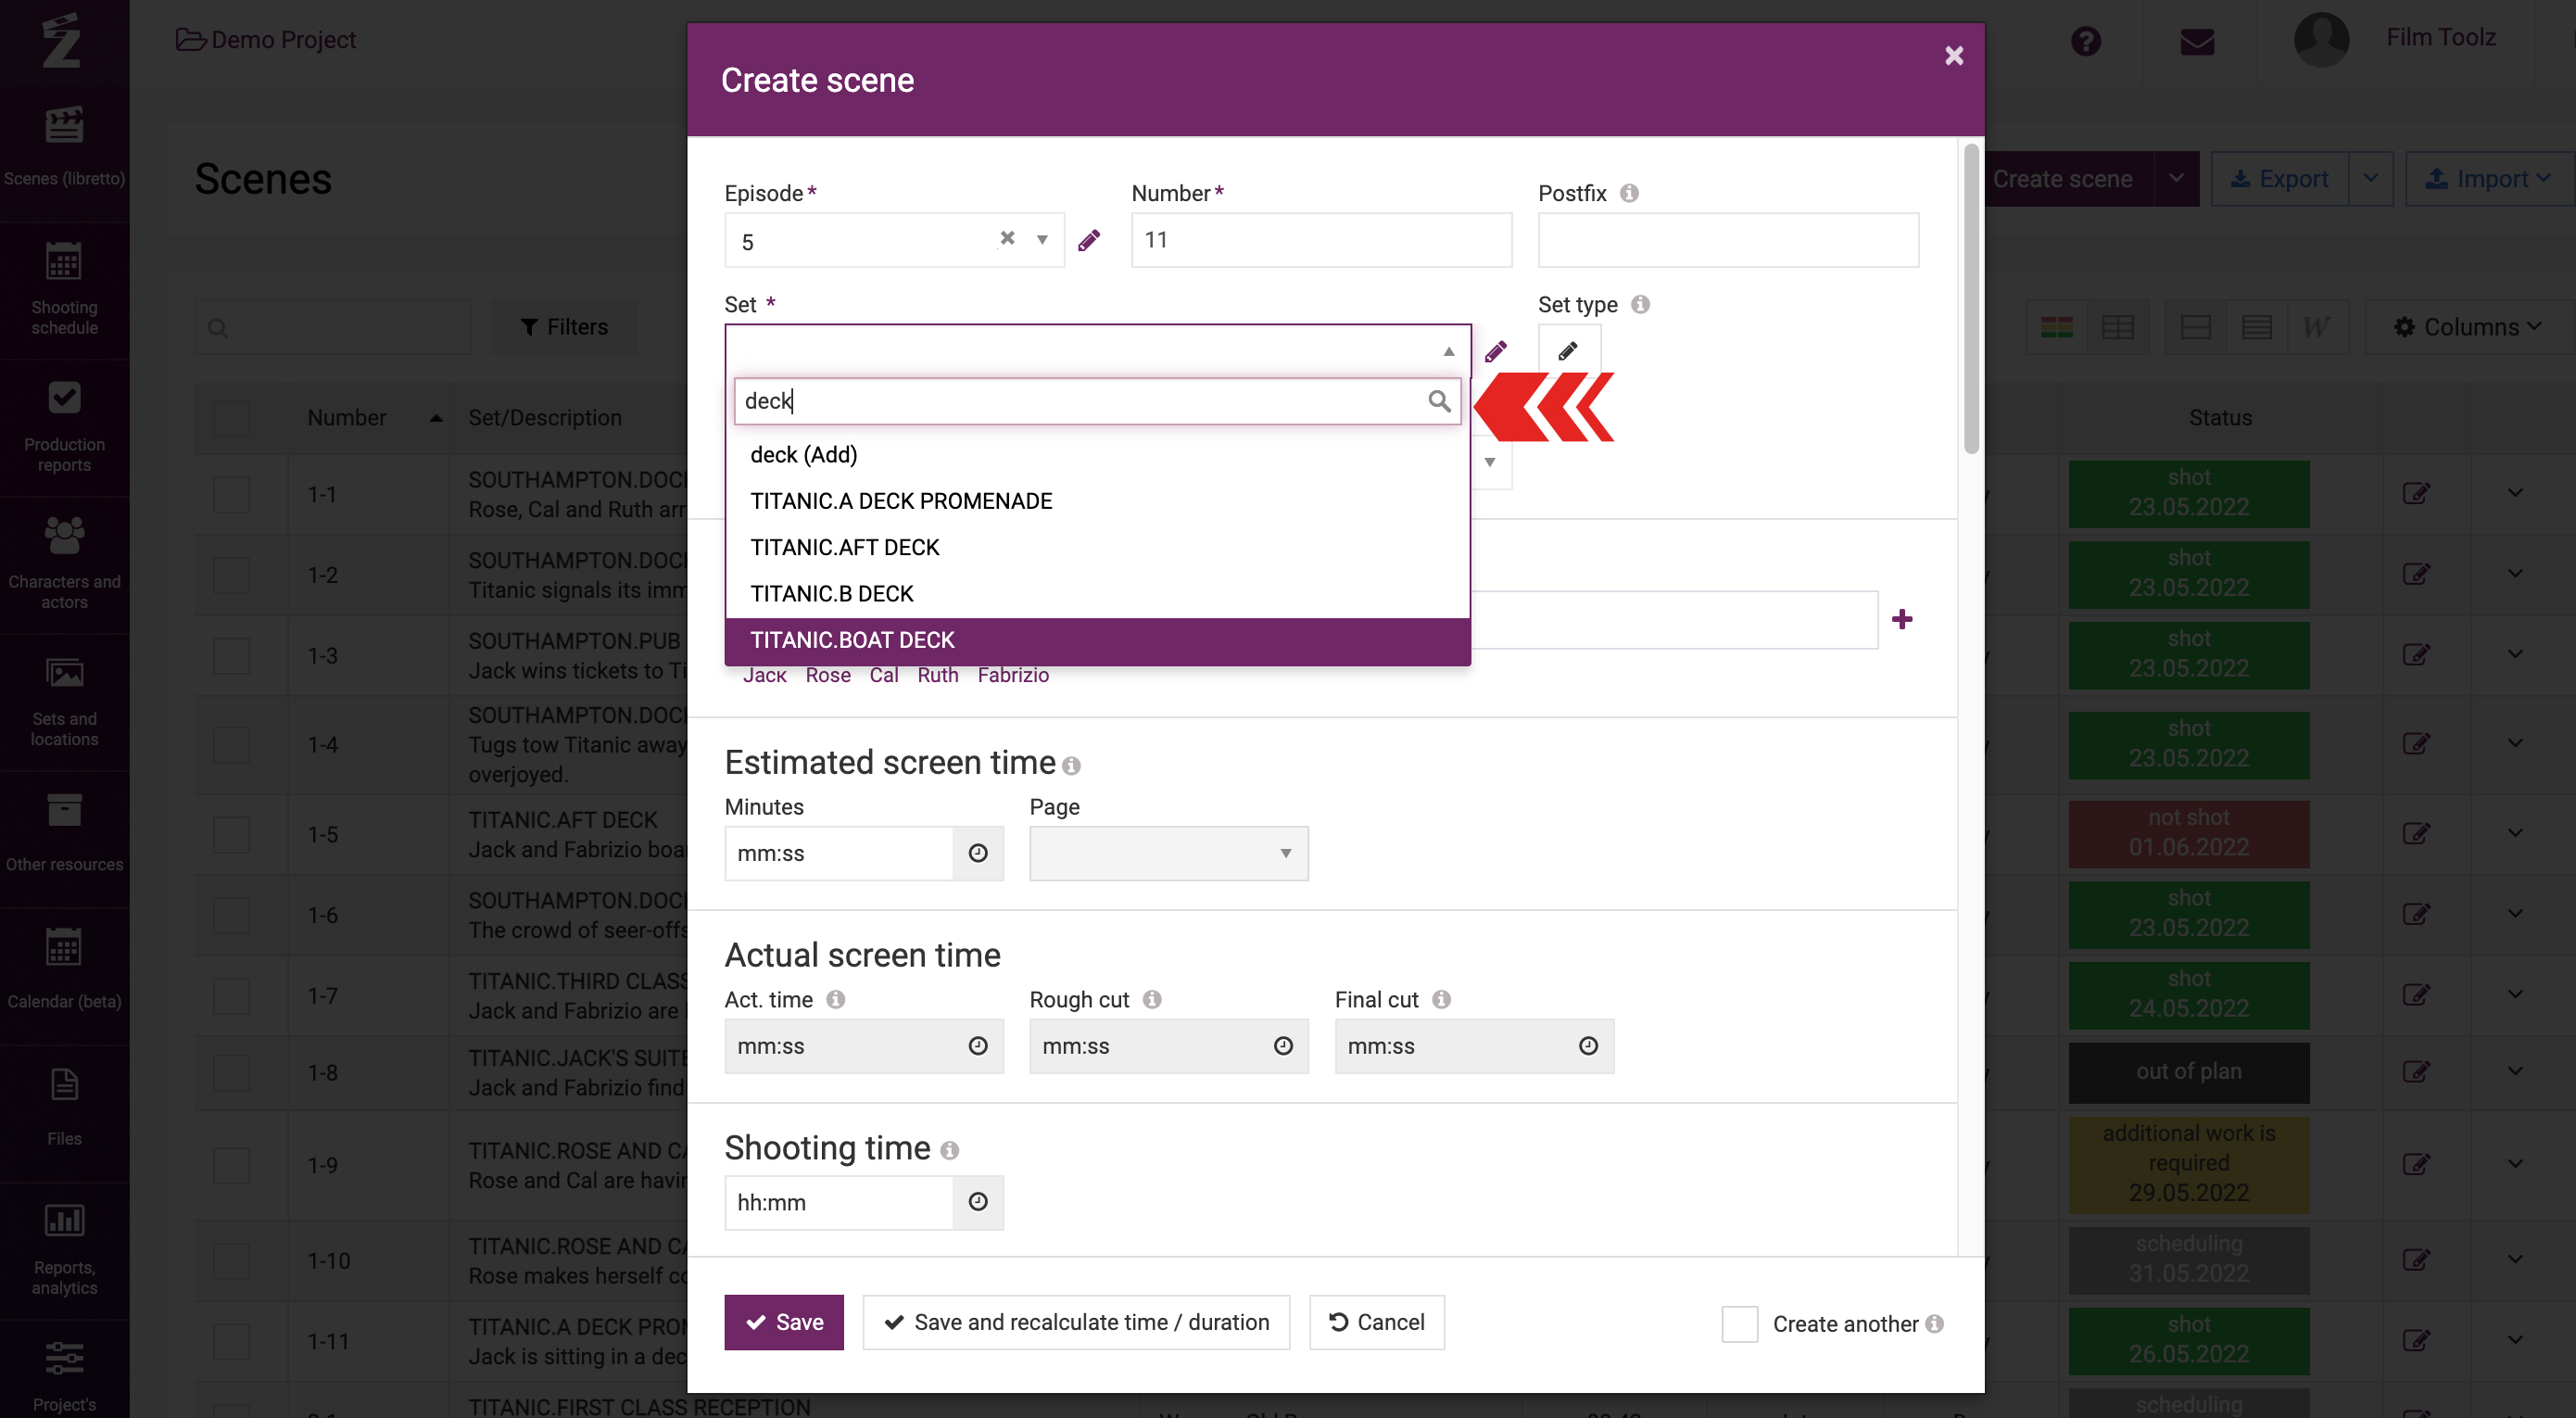
Alternatively, you will be requested to add a new set. To do so, simply press Enter and enter the information about the set in the pop-up window. Learn more about the ways to add sets in a dedicated learning module.
Specify the number of the script day and day time for the scene.
To add characters, start entering their names in the relevant field, and the system will suggest for you to select the characters from the list of available characters or to add a new character.
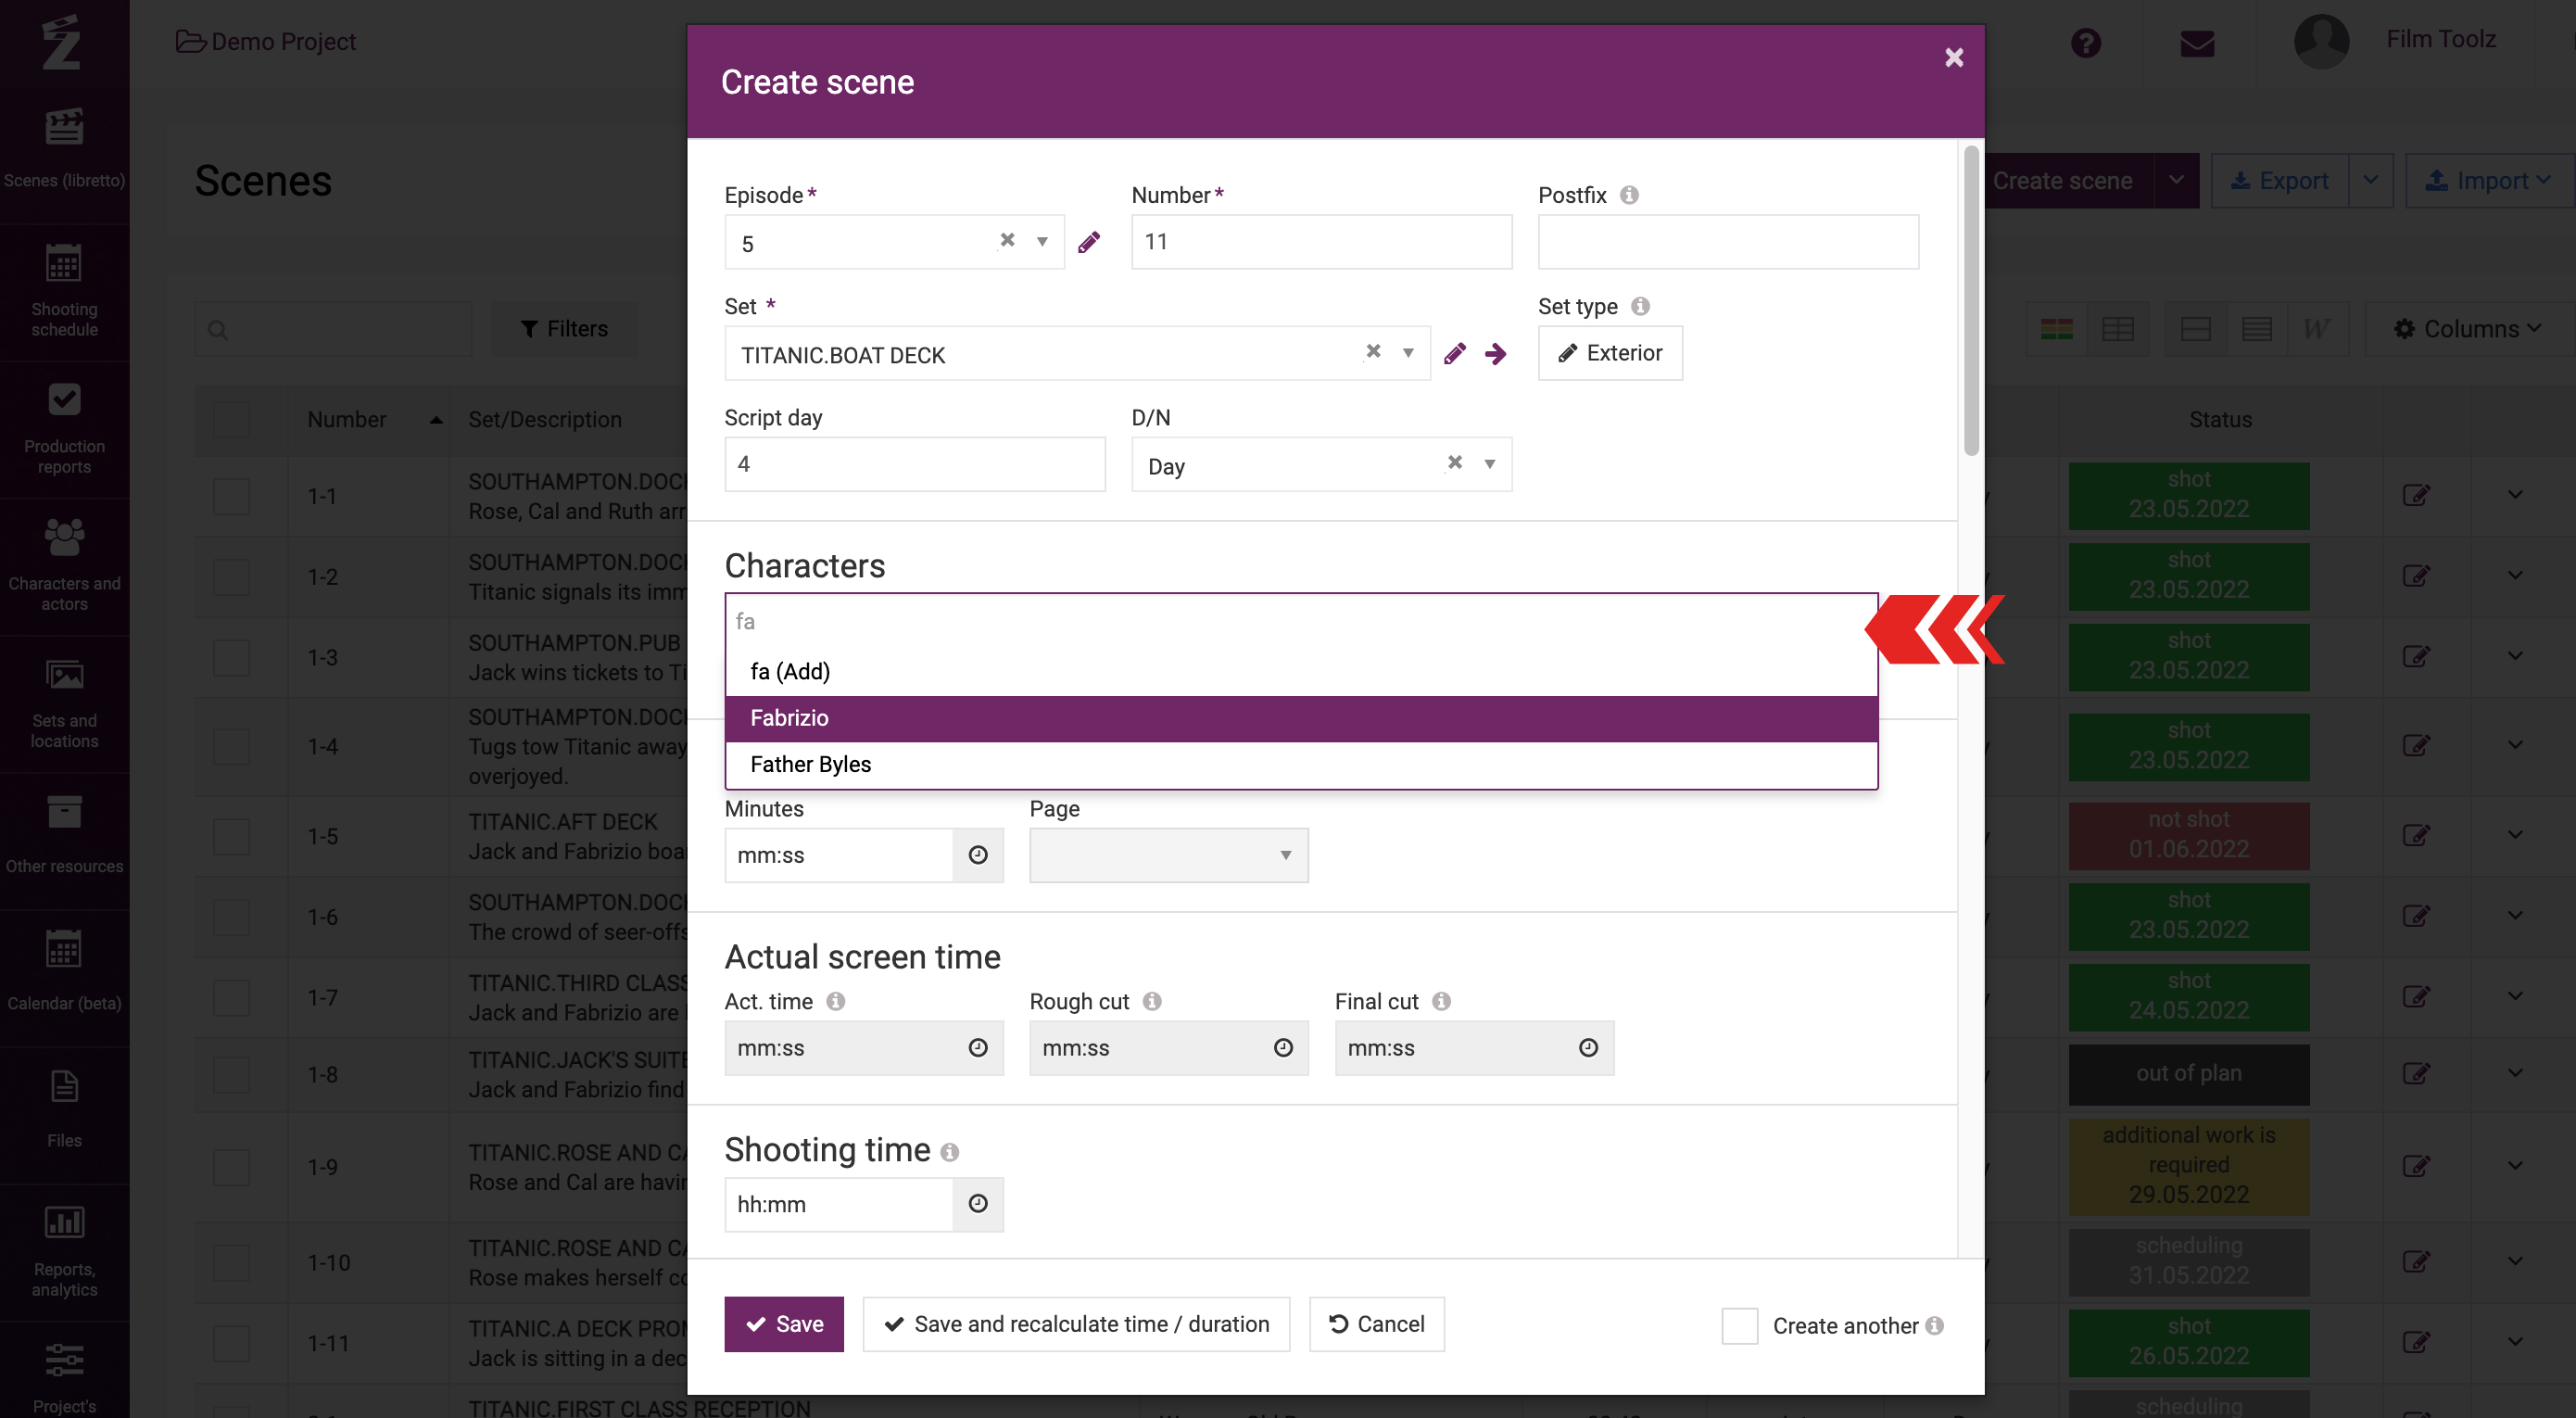
In addition, the system will suggest a list of characters most frequently used in the script below the input field. Just click on the name in order to add the character.

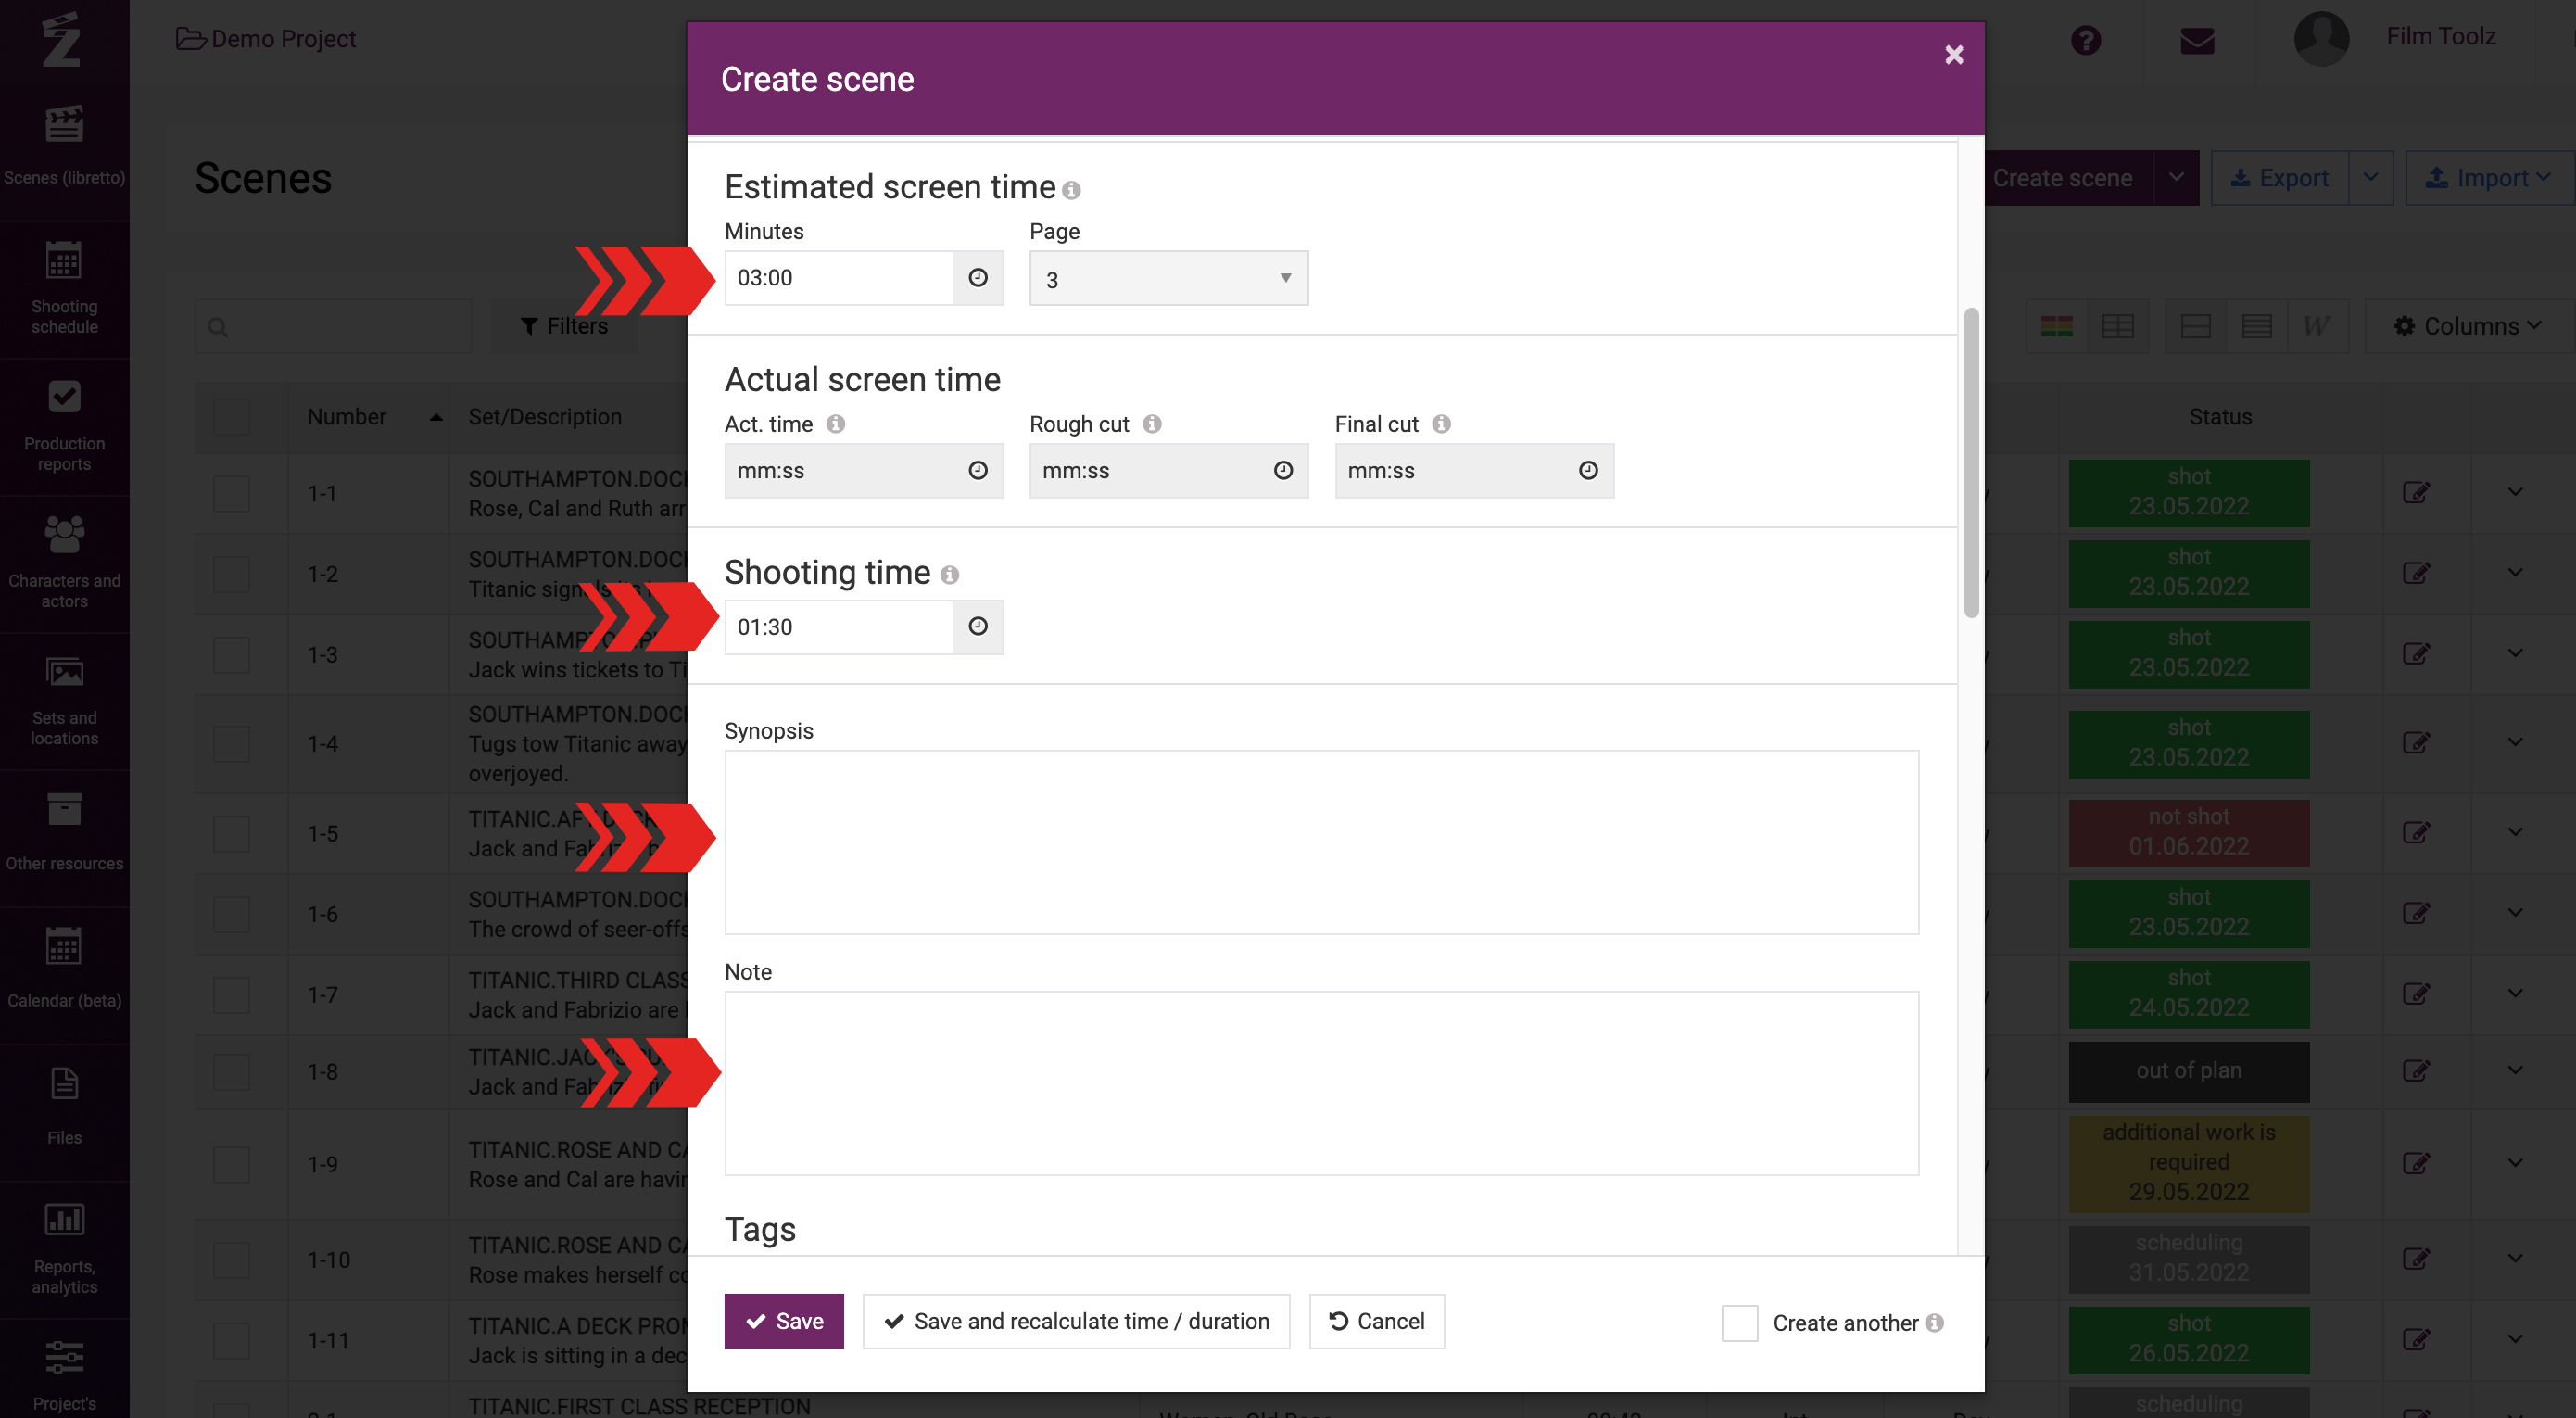
Indicate the pages number of the scene (or estimated screen time if you prefer minutes instead of pages - this can be adjusted in the project settings) of the scene, shooting time, a synopsis, and any notes (if necessary).
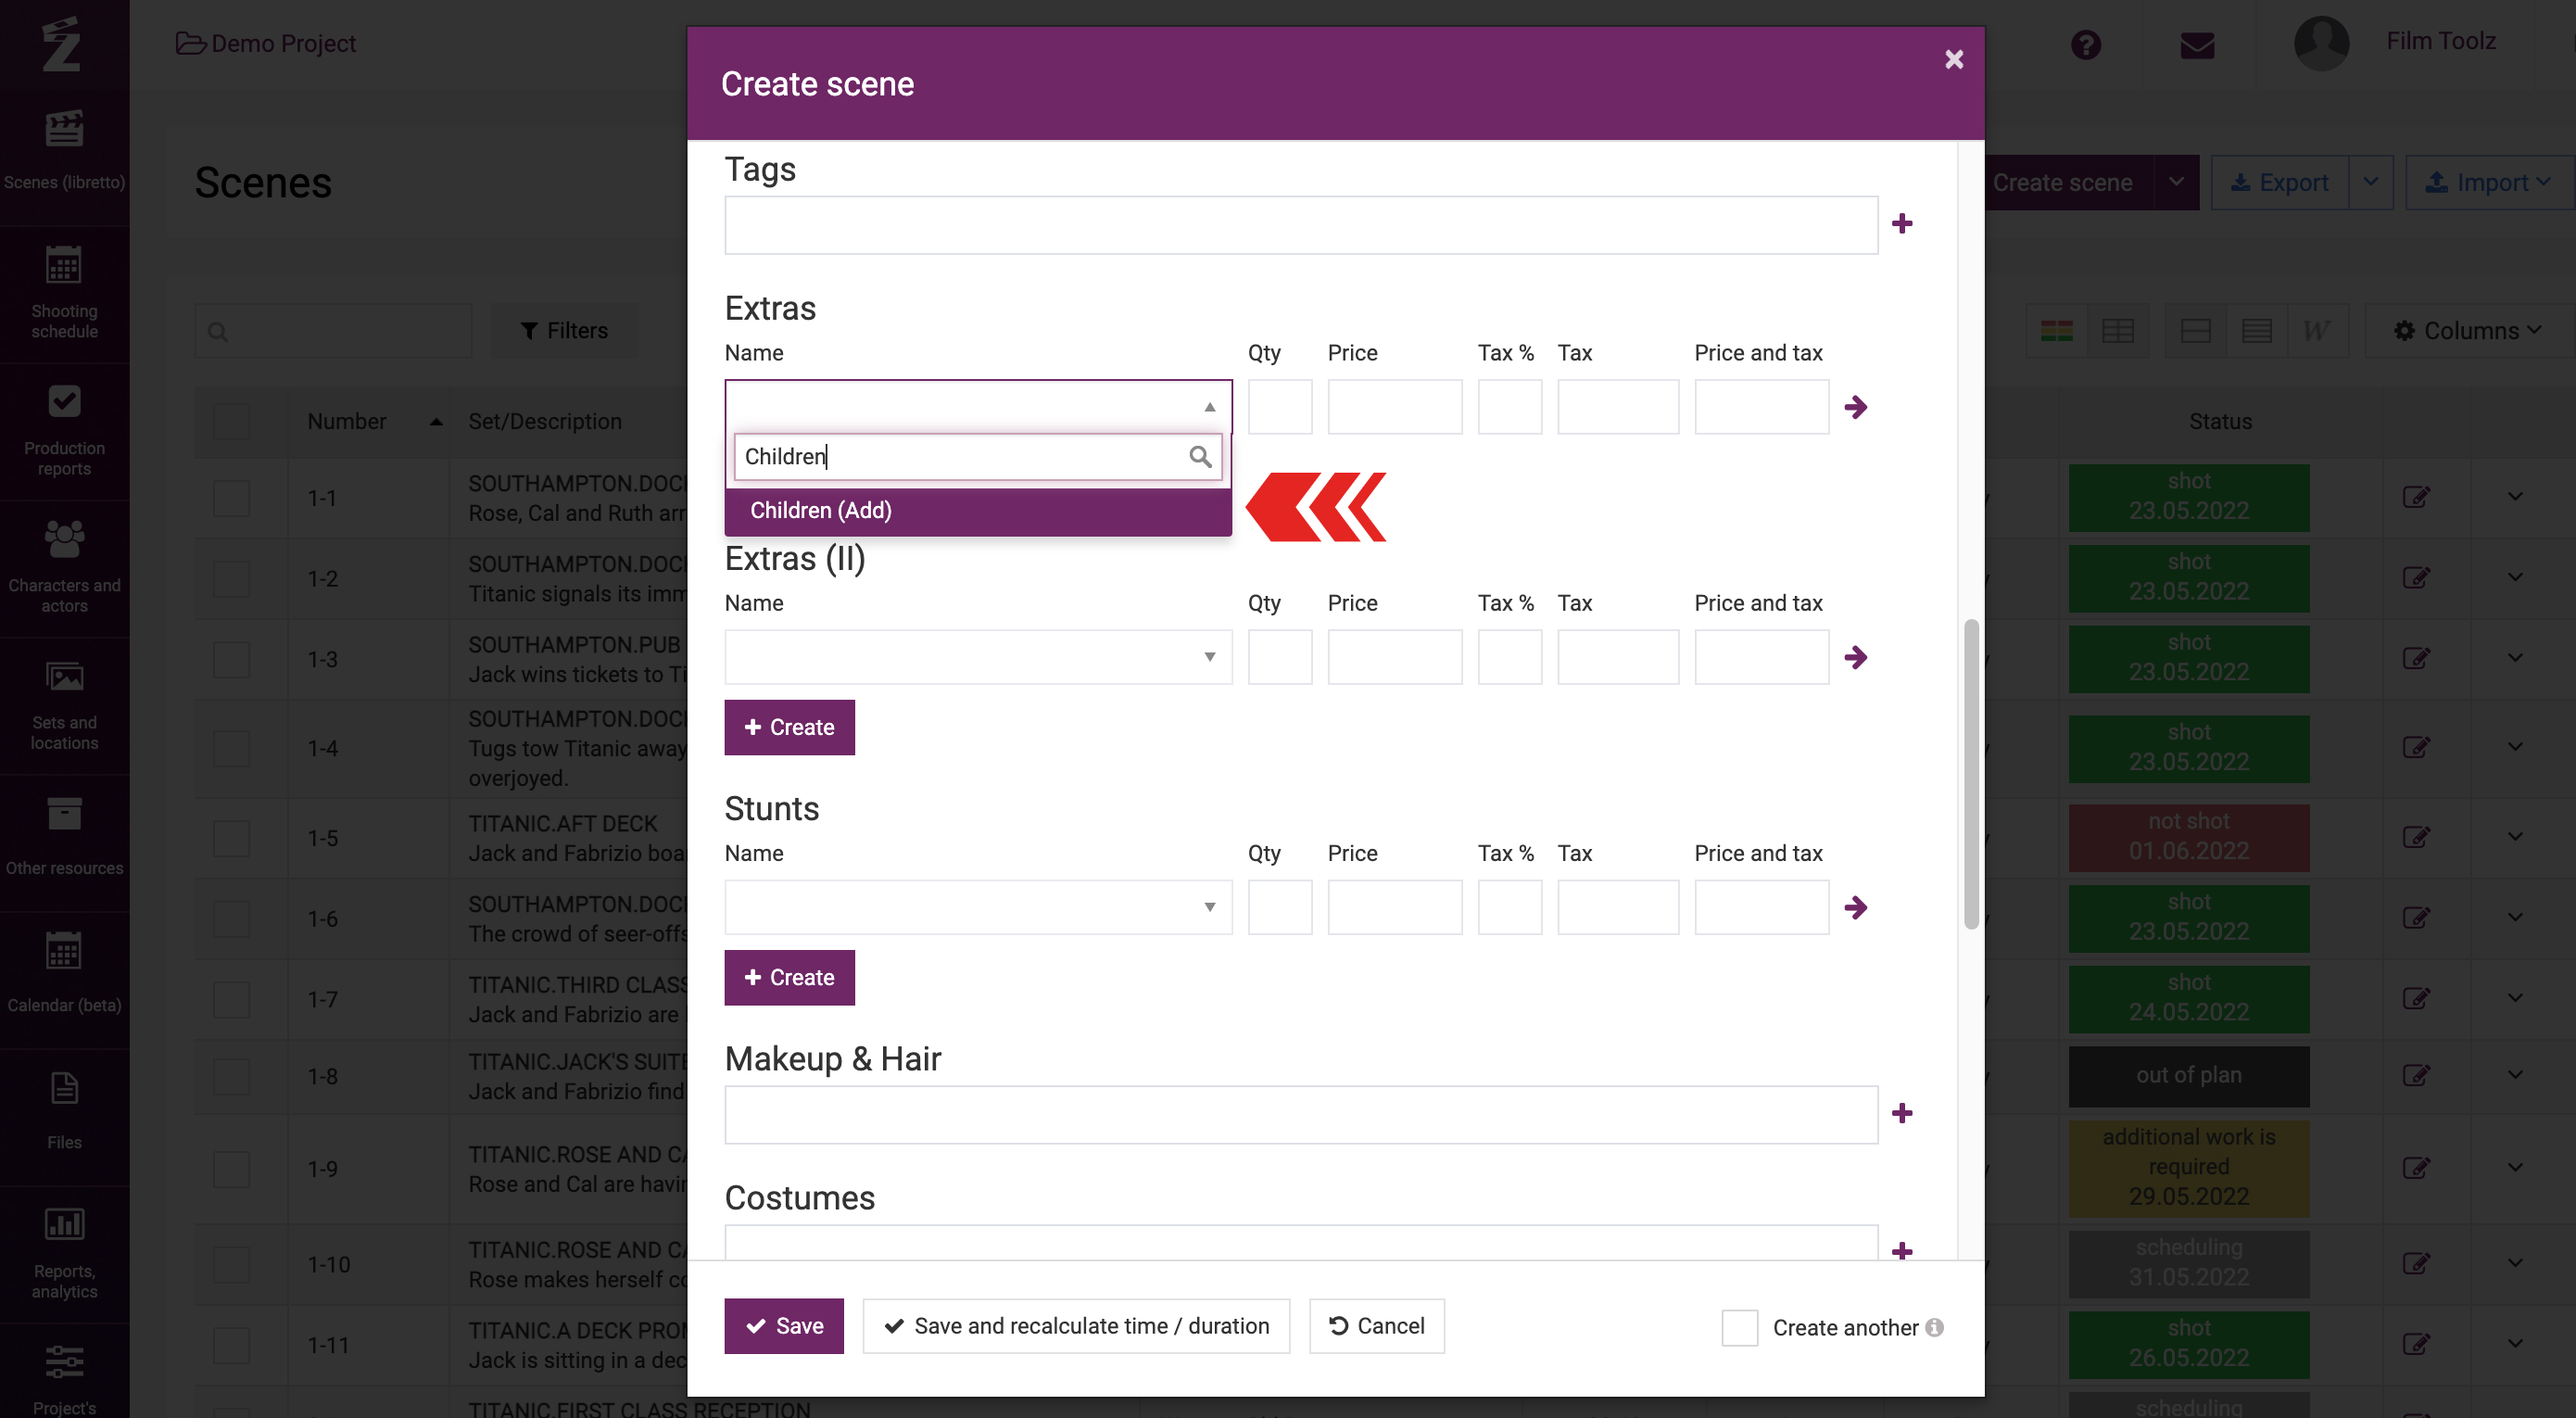
Then specify the elements used in the scene. If an item has been previously used in the project, the system will suggest it in the drop-down menu after you enter the first letters.
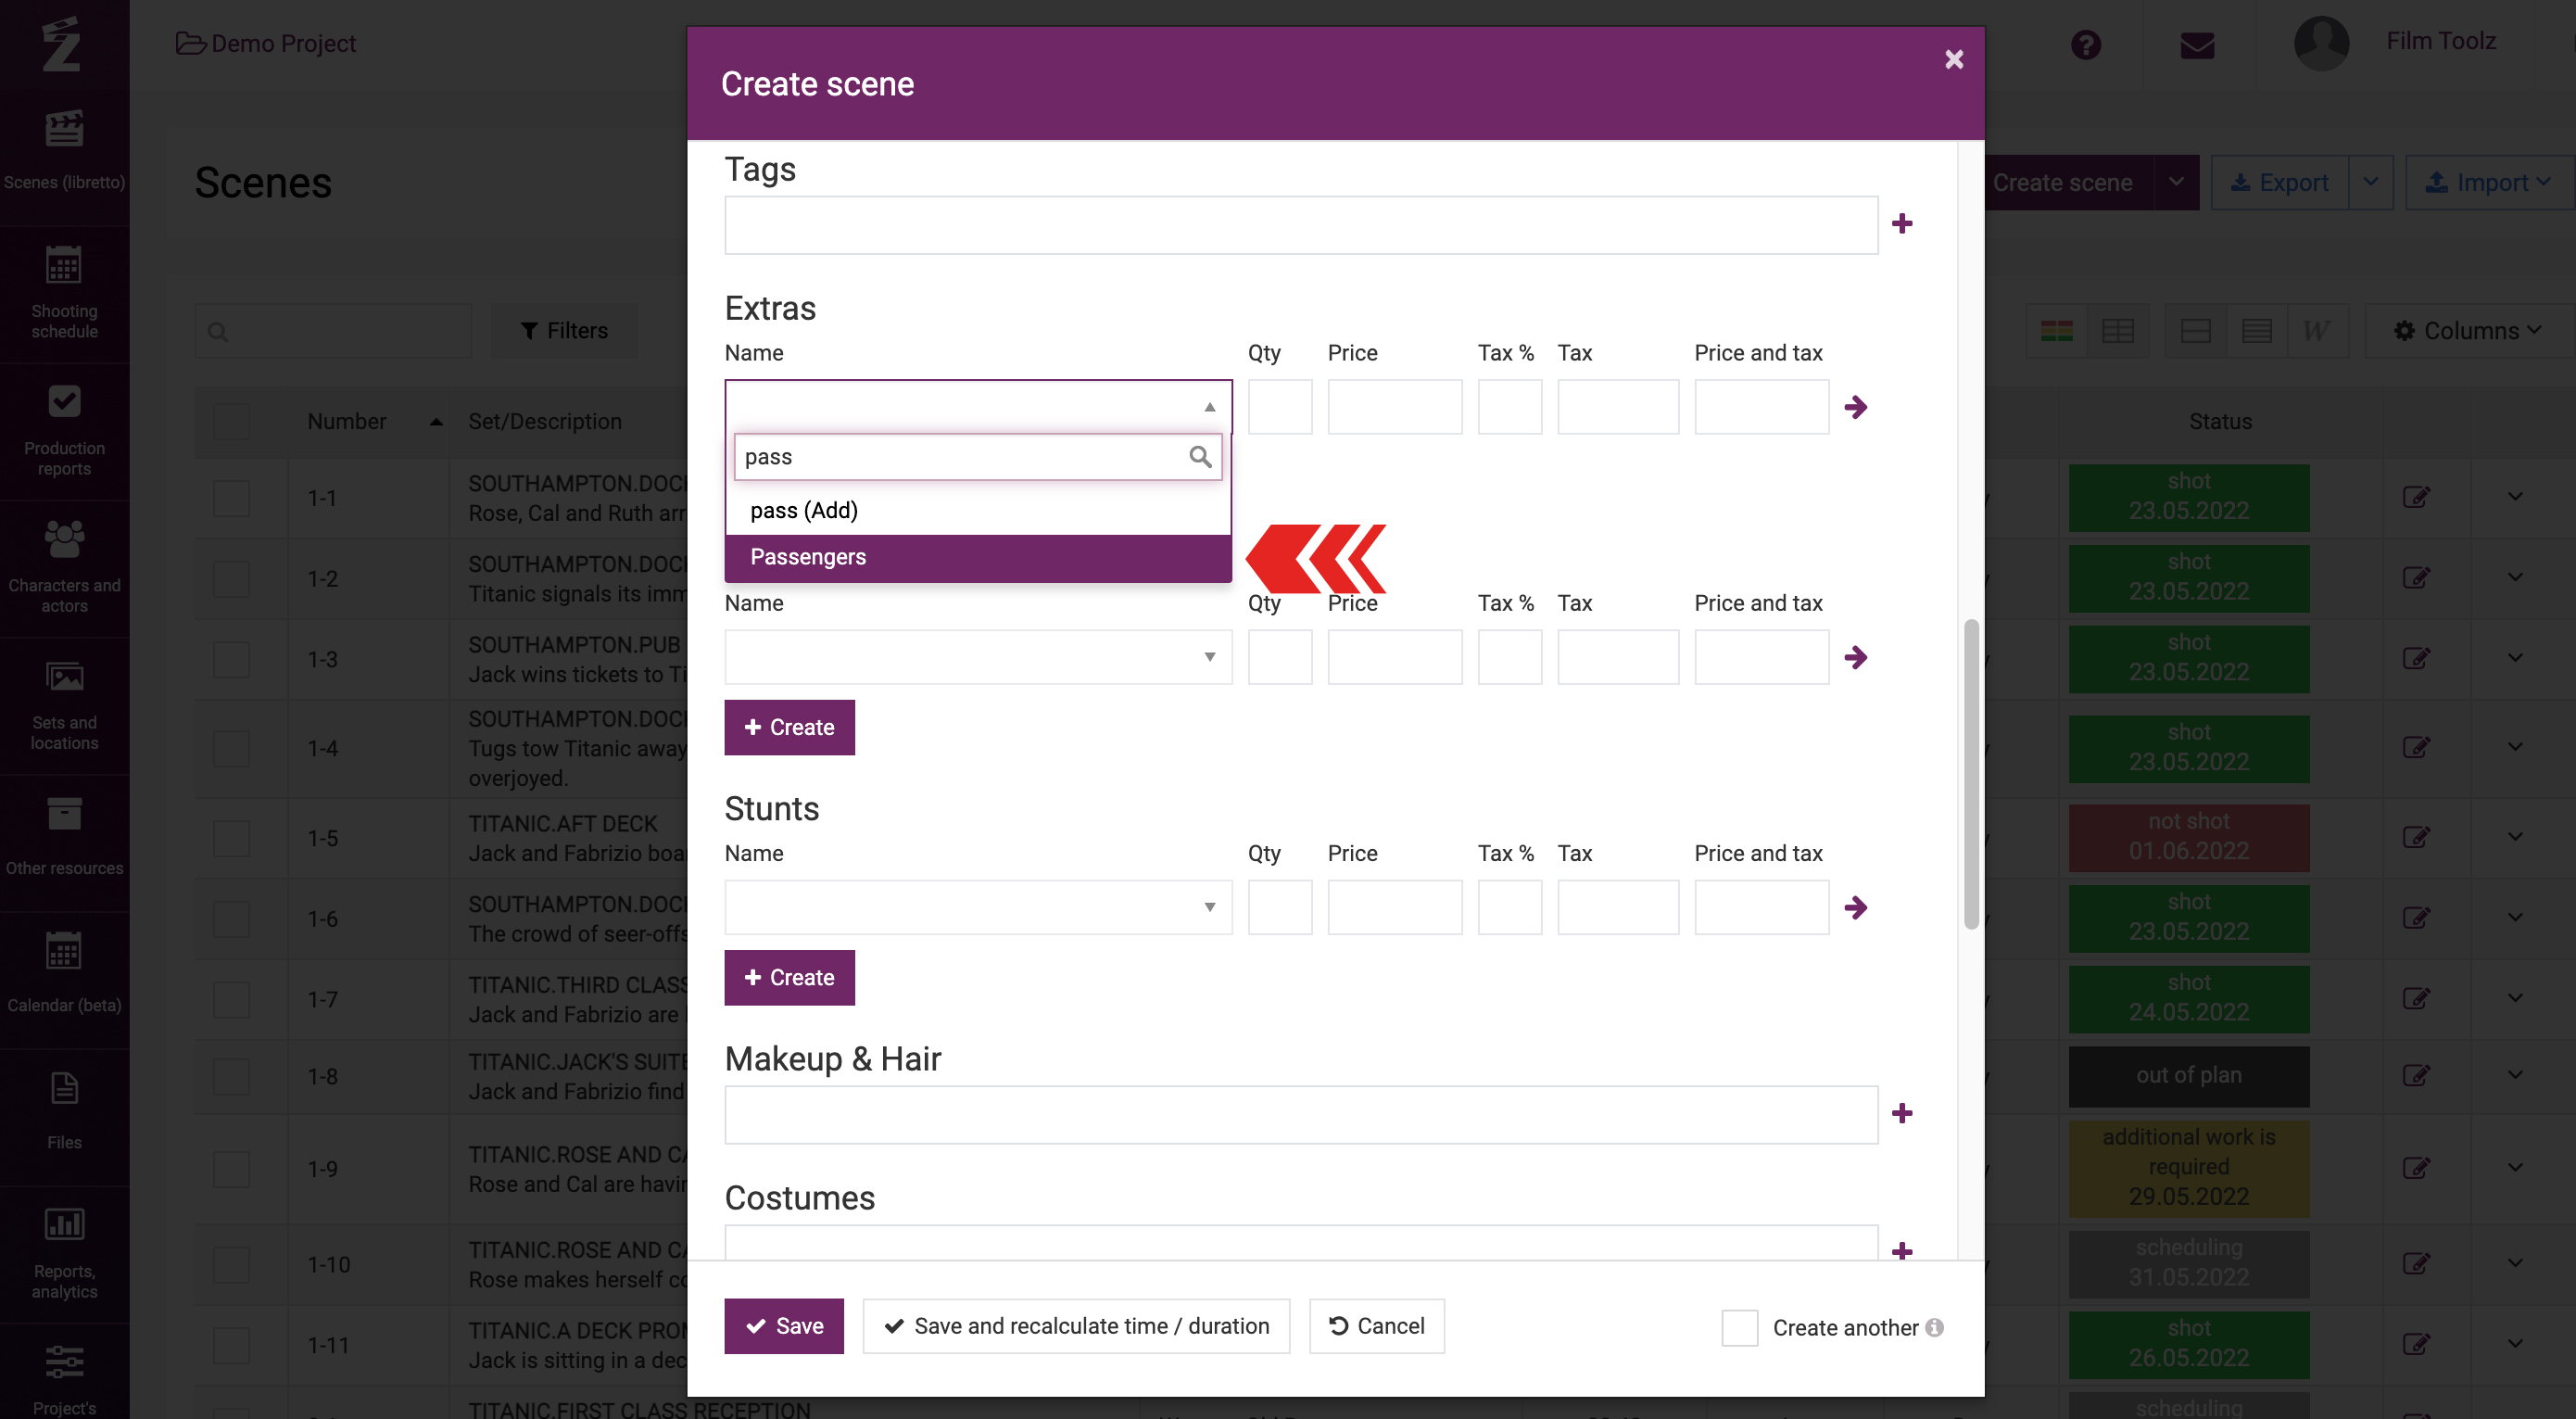
To add a new item of the element, just enter its name and press Enter.
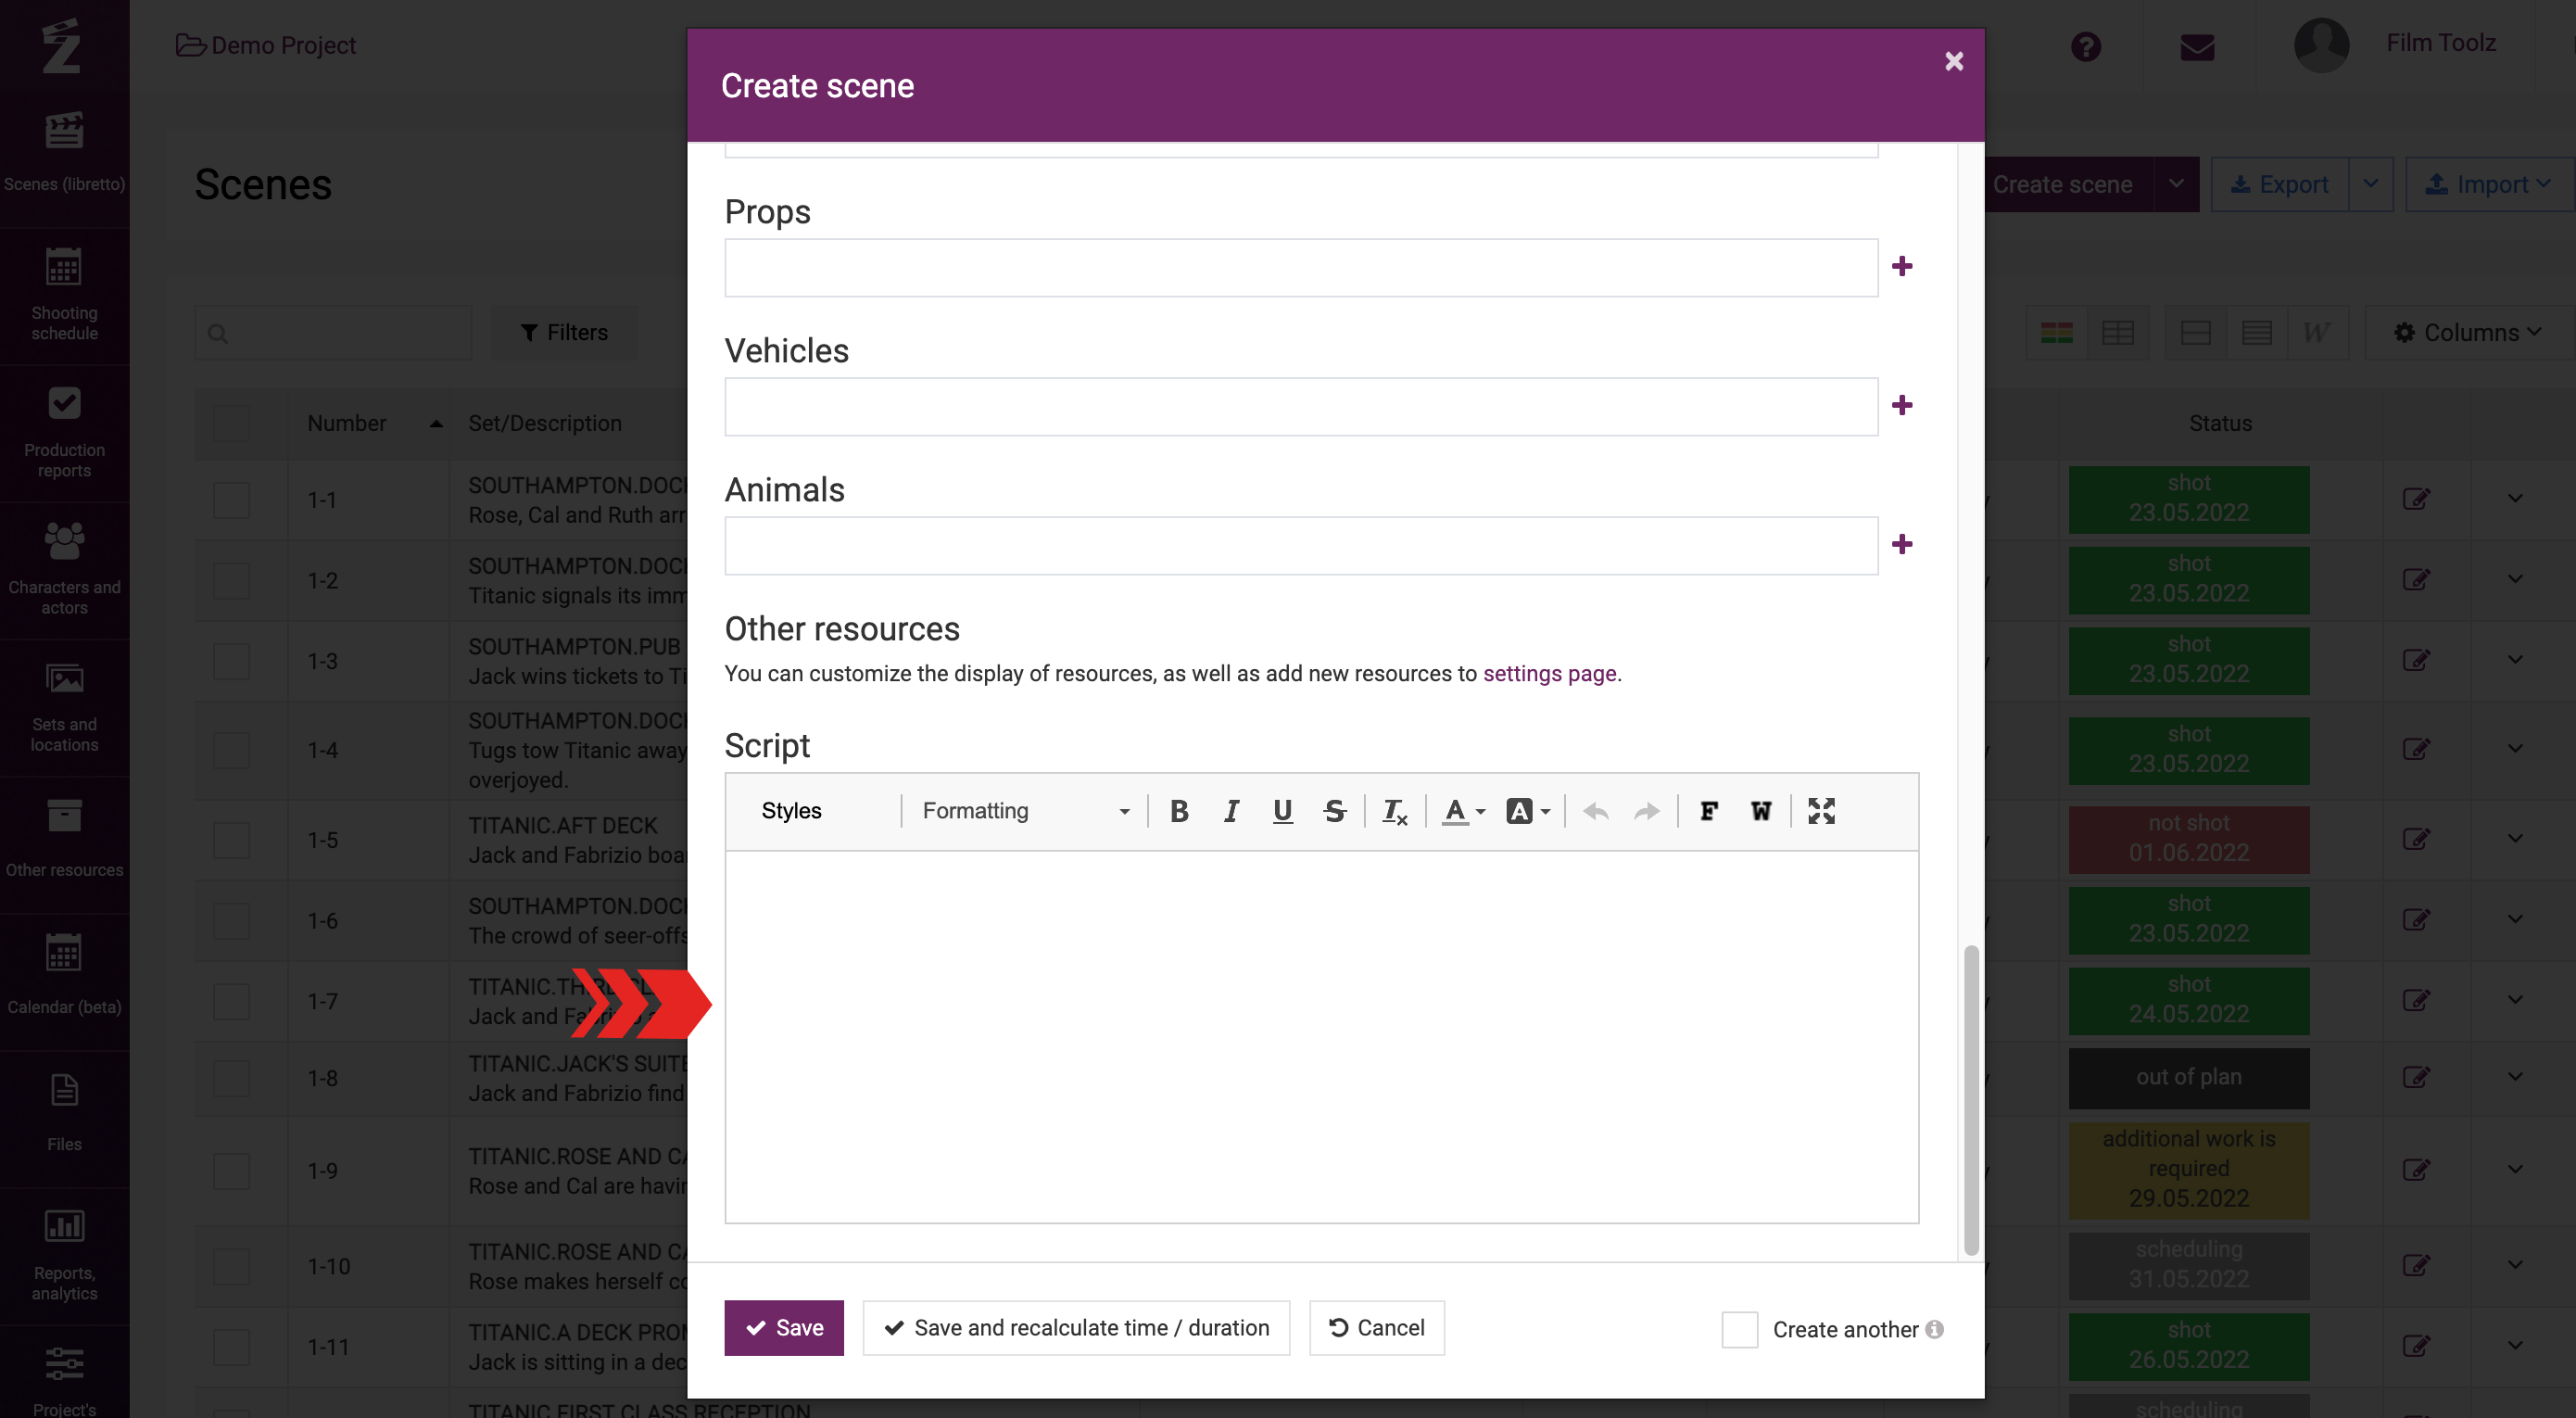
You can use the “Script” field to copy the text of your script for this scene. In this case, FilmToolz will set the text to be copied free of any unnecessary formatting by default and bring it in conformity with the international standard. Learn more about the ways to copy and edit the text in a dedicated learning module.
In order to avoid opening the “Create scene” window every single time when adding multiple scenes in a row, tick the “Create another” checkbox.
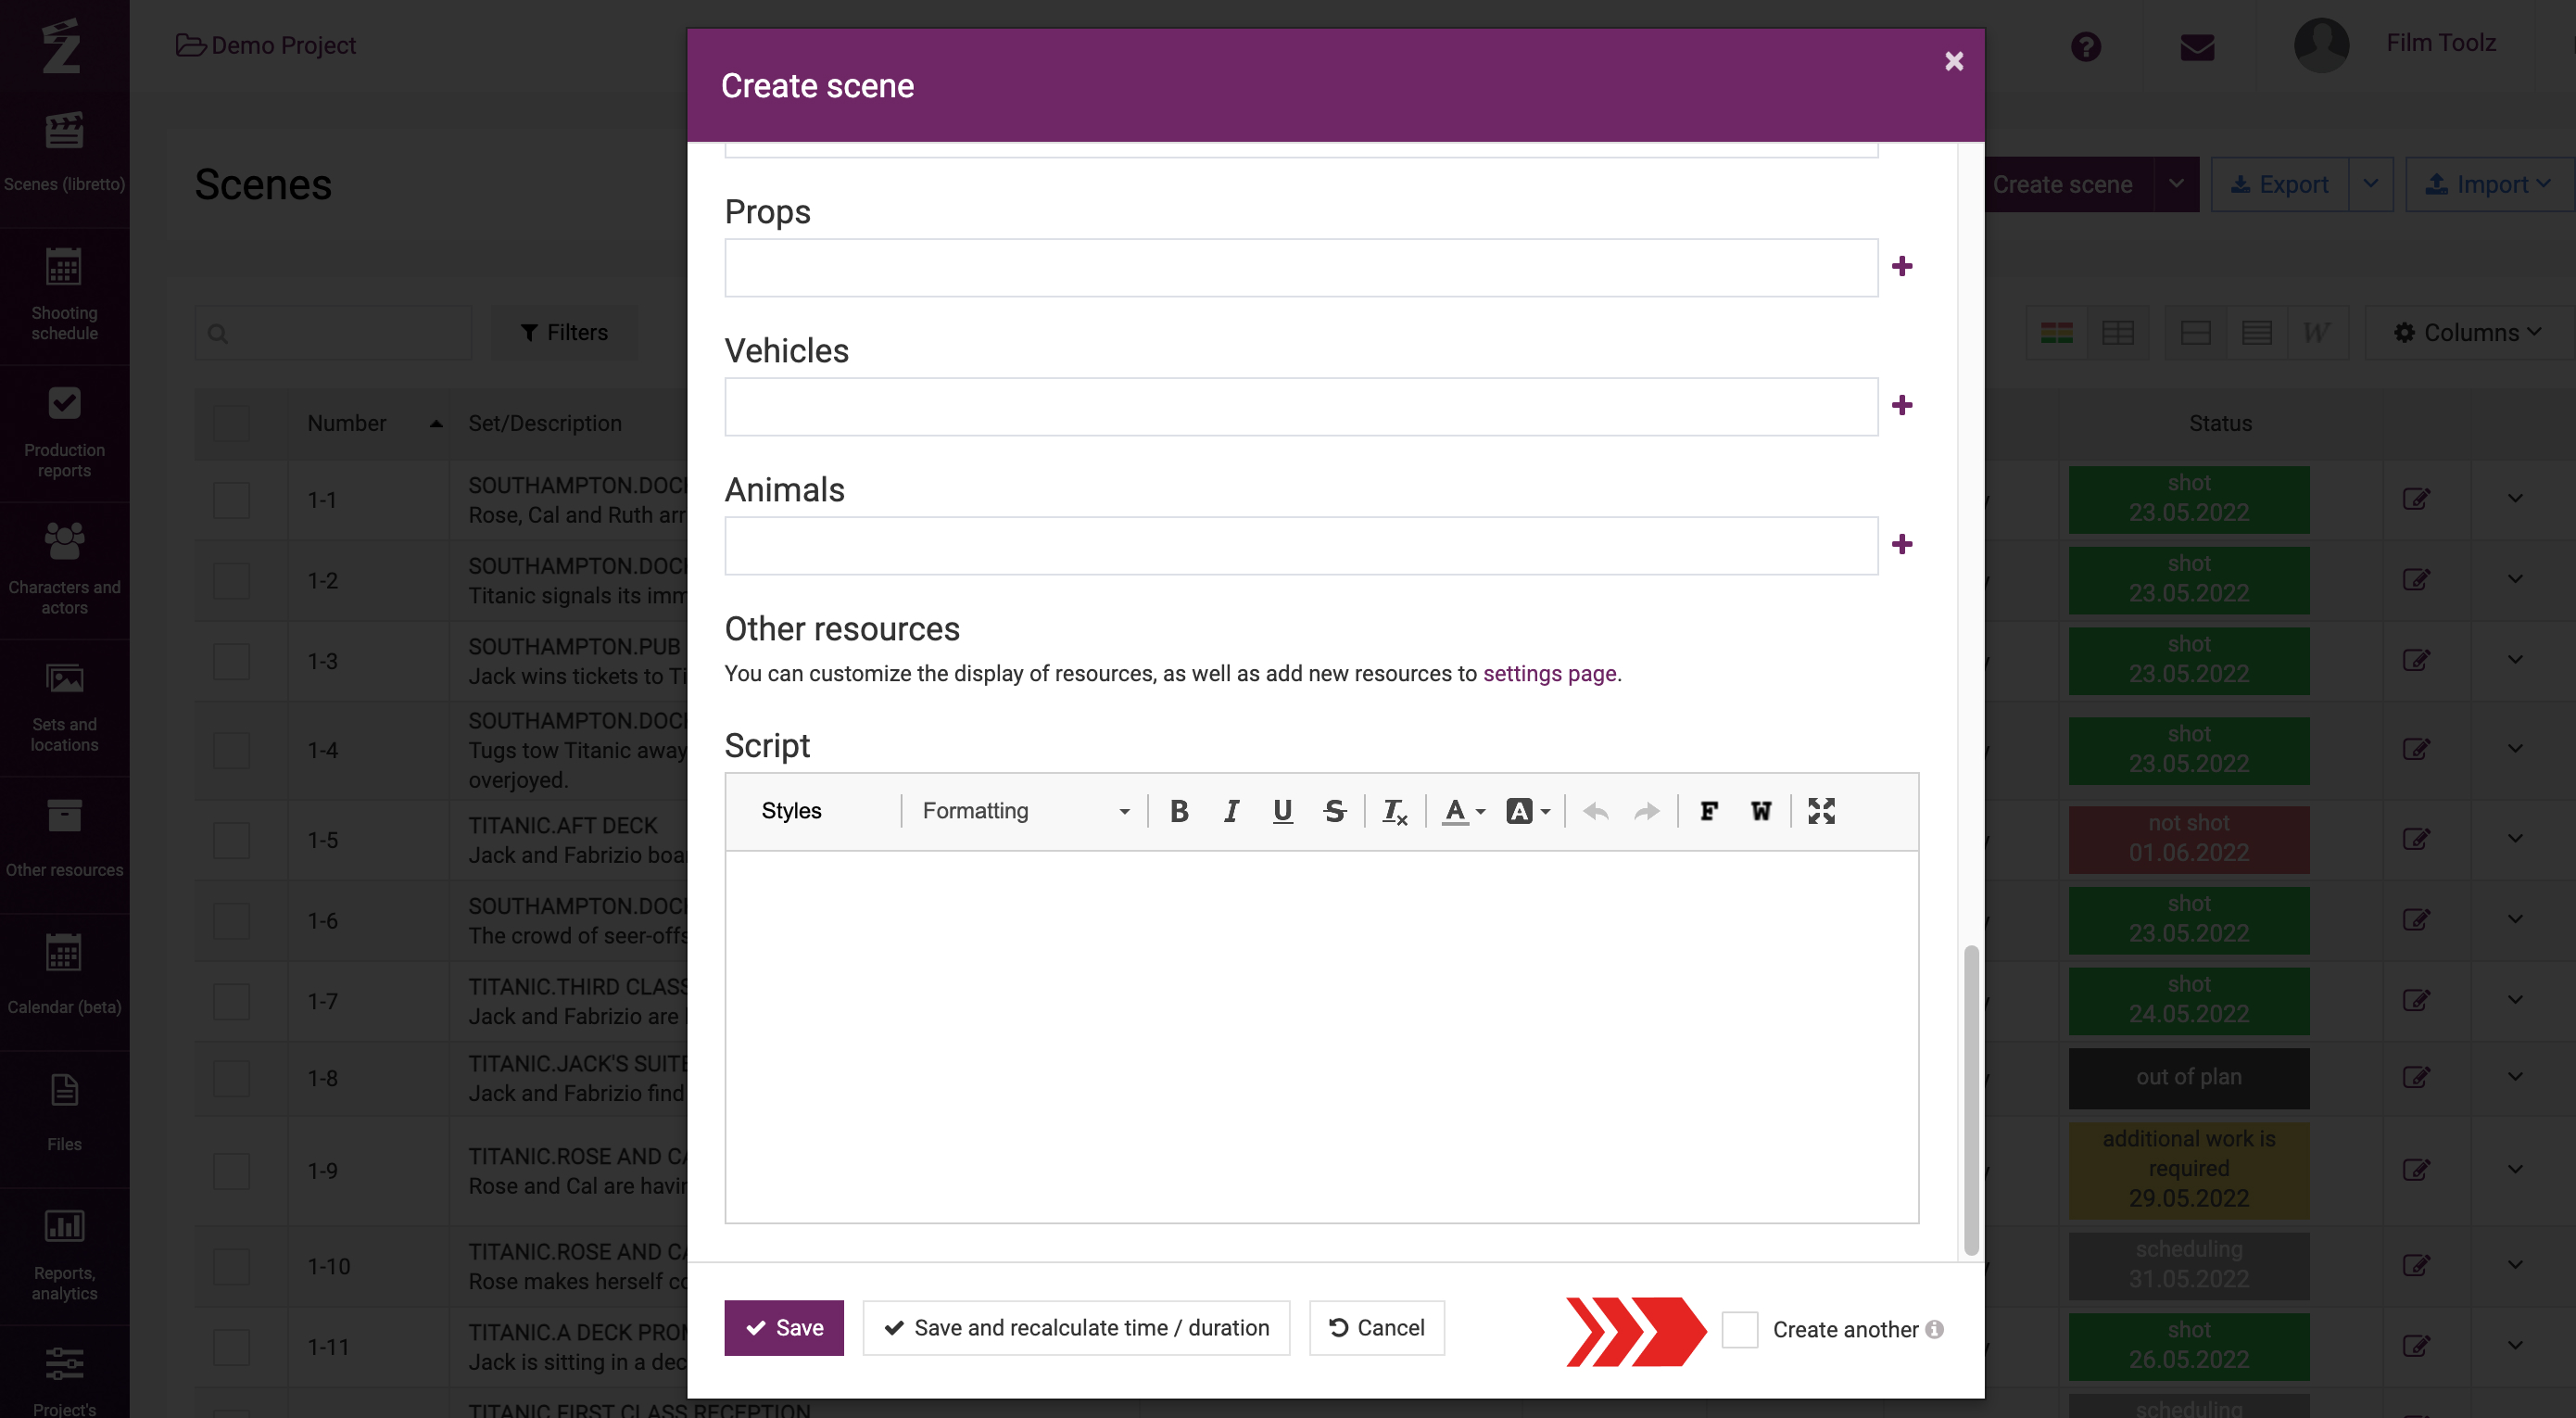
In this case, after you save the scene, the window will not close, and you will be able to proceed to adding the next scene without delay.
You can edit a scene you have created earlier by clicking on the scene in the list of scenes.
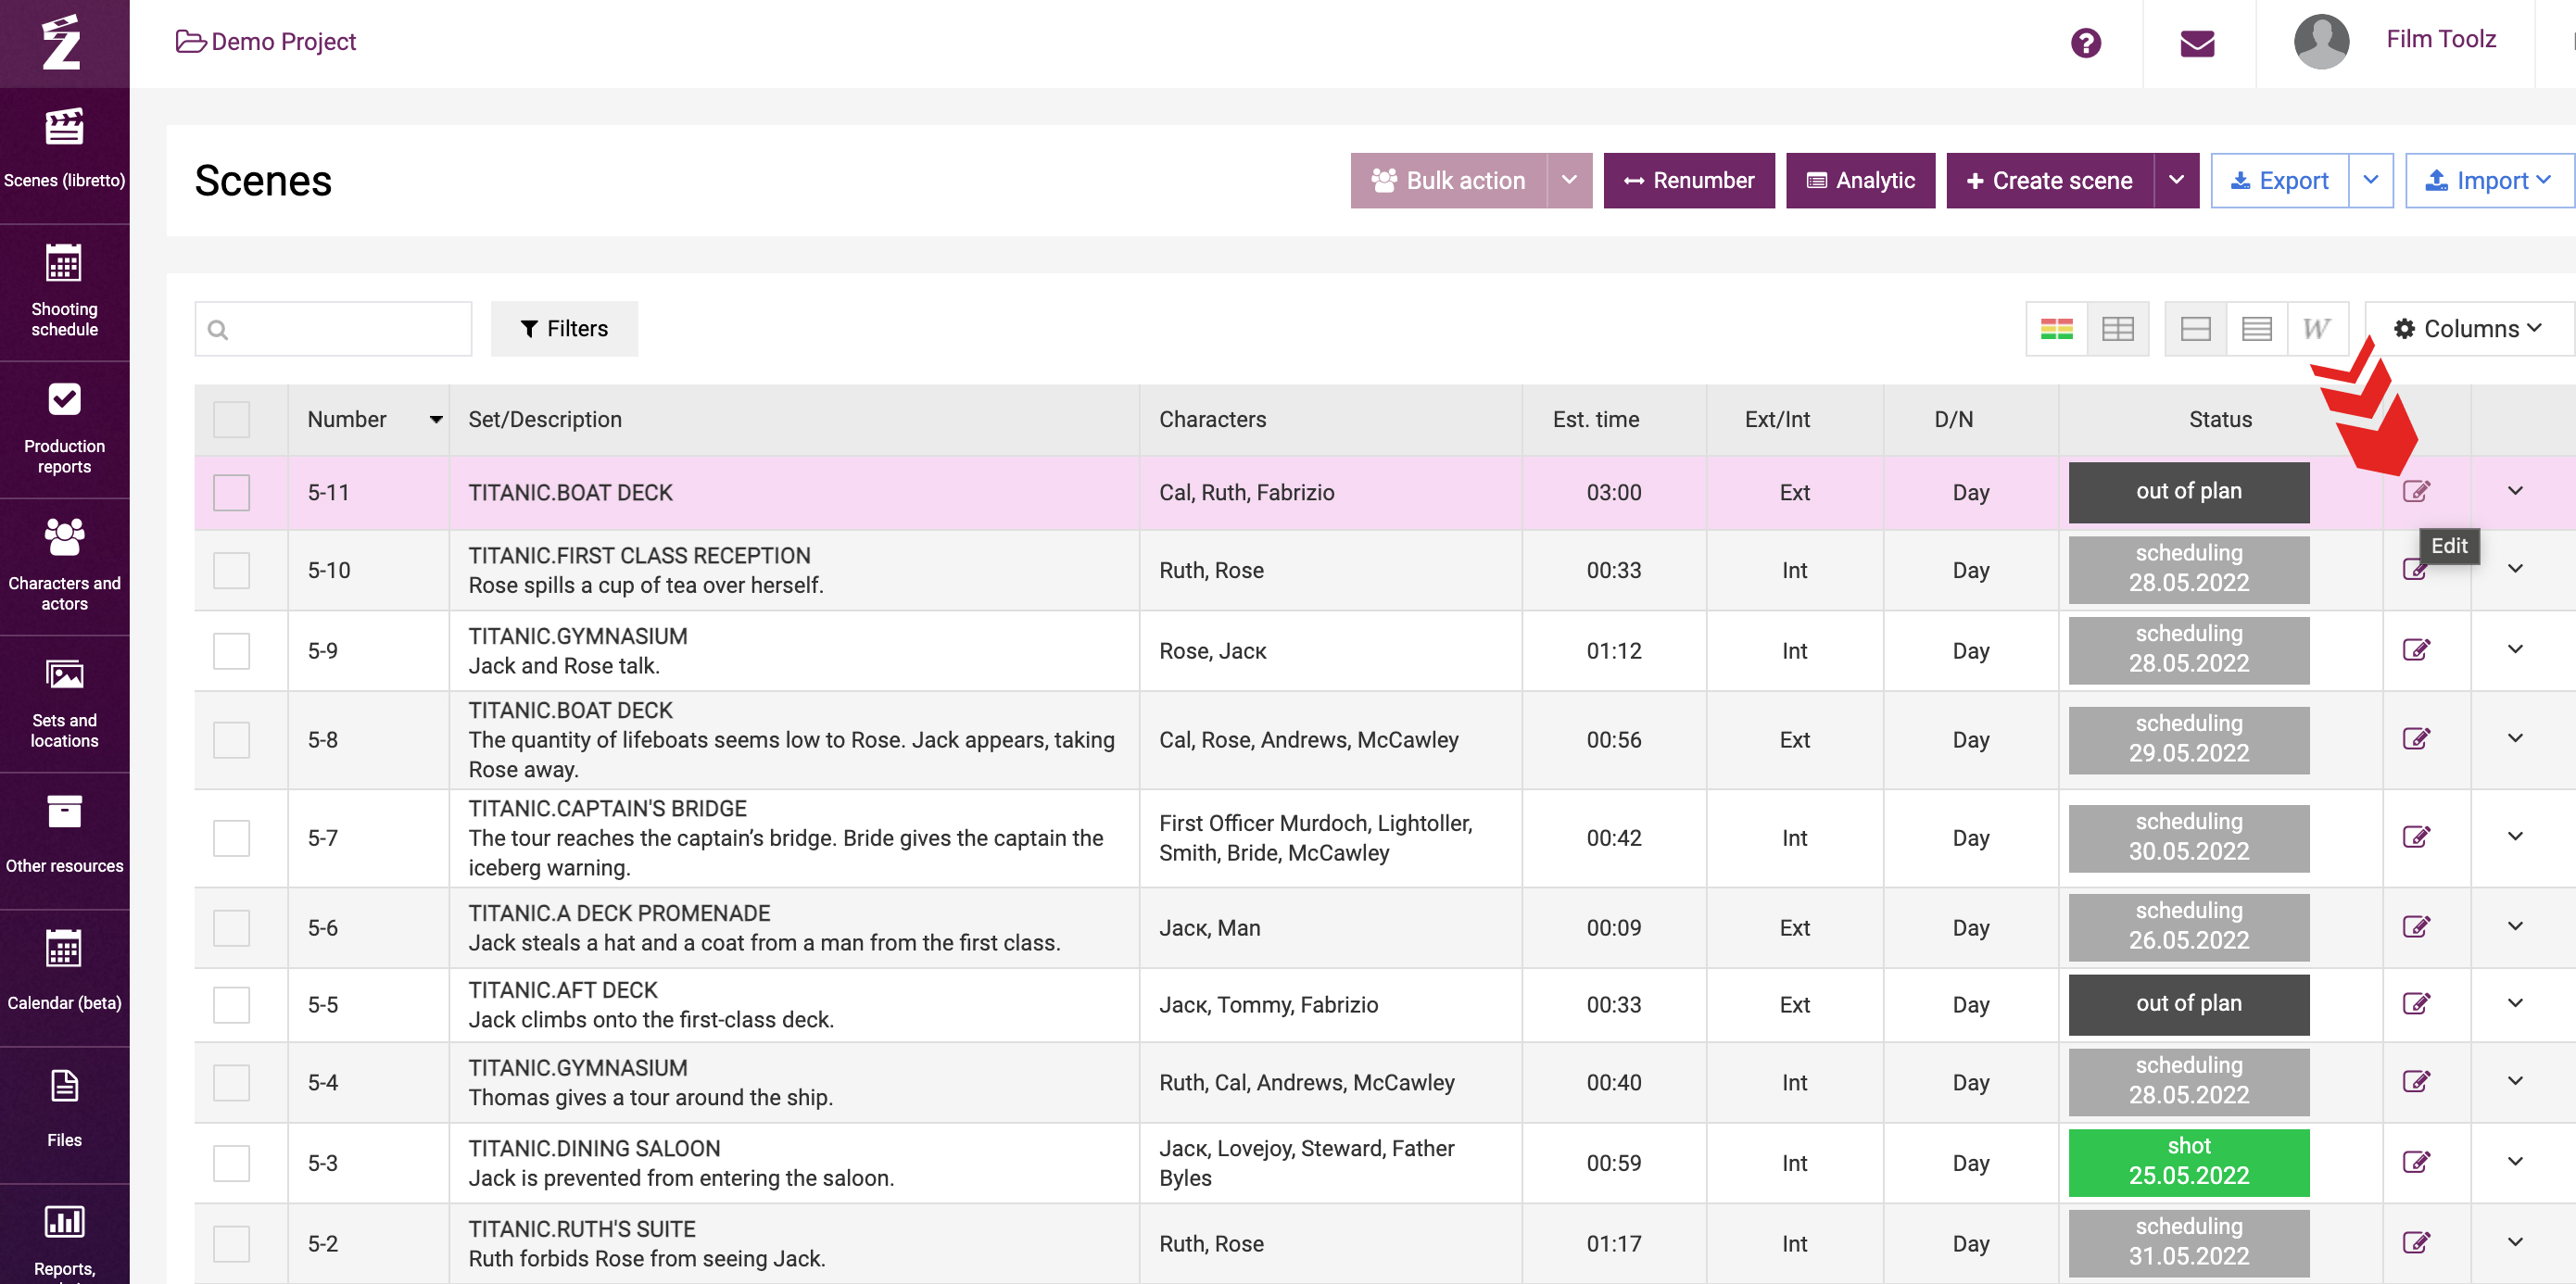
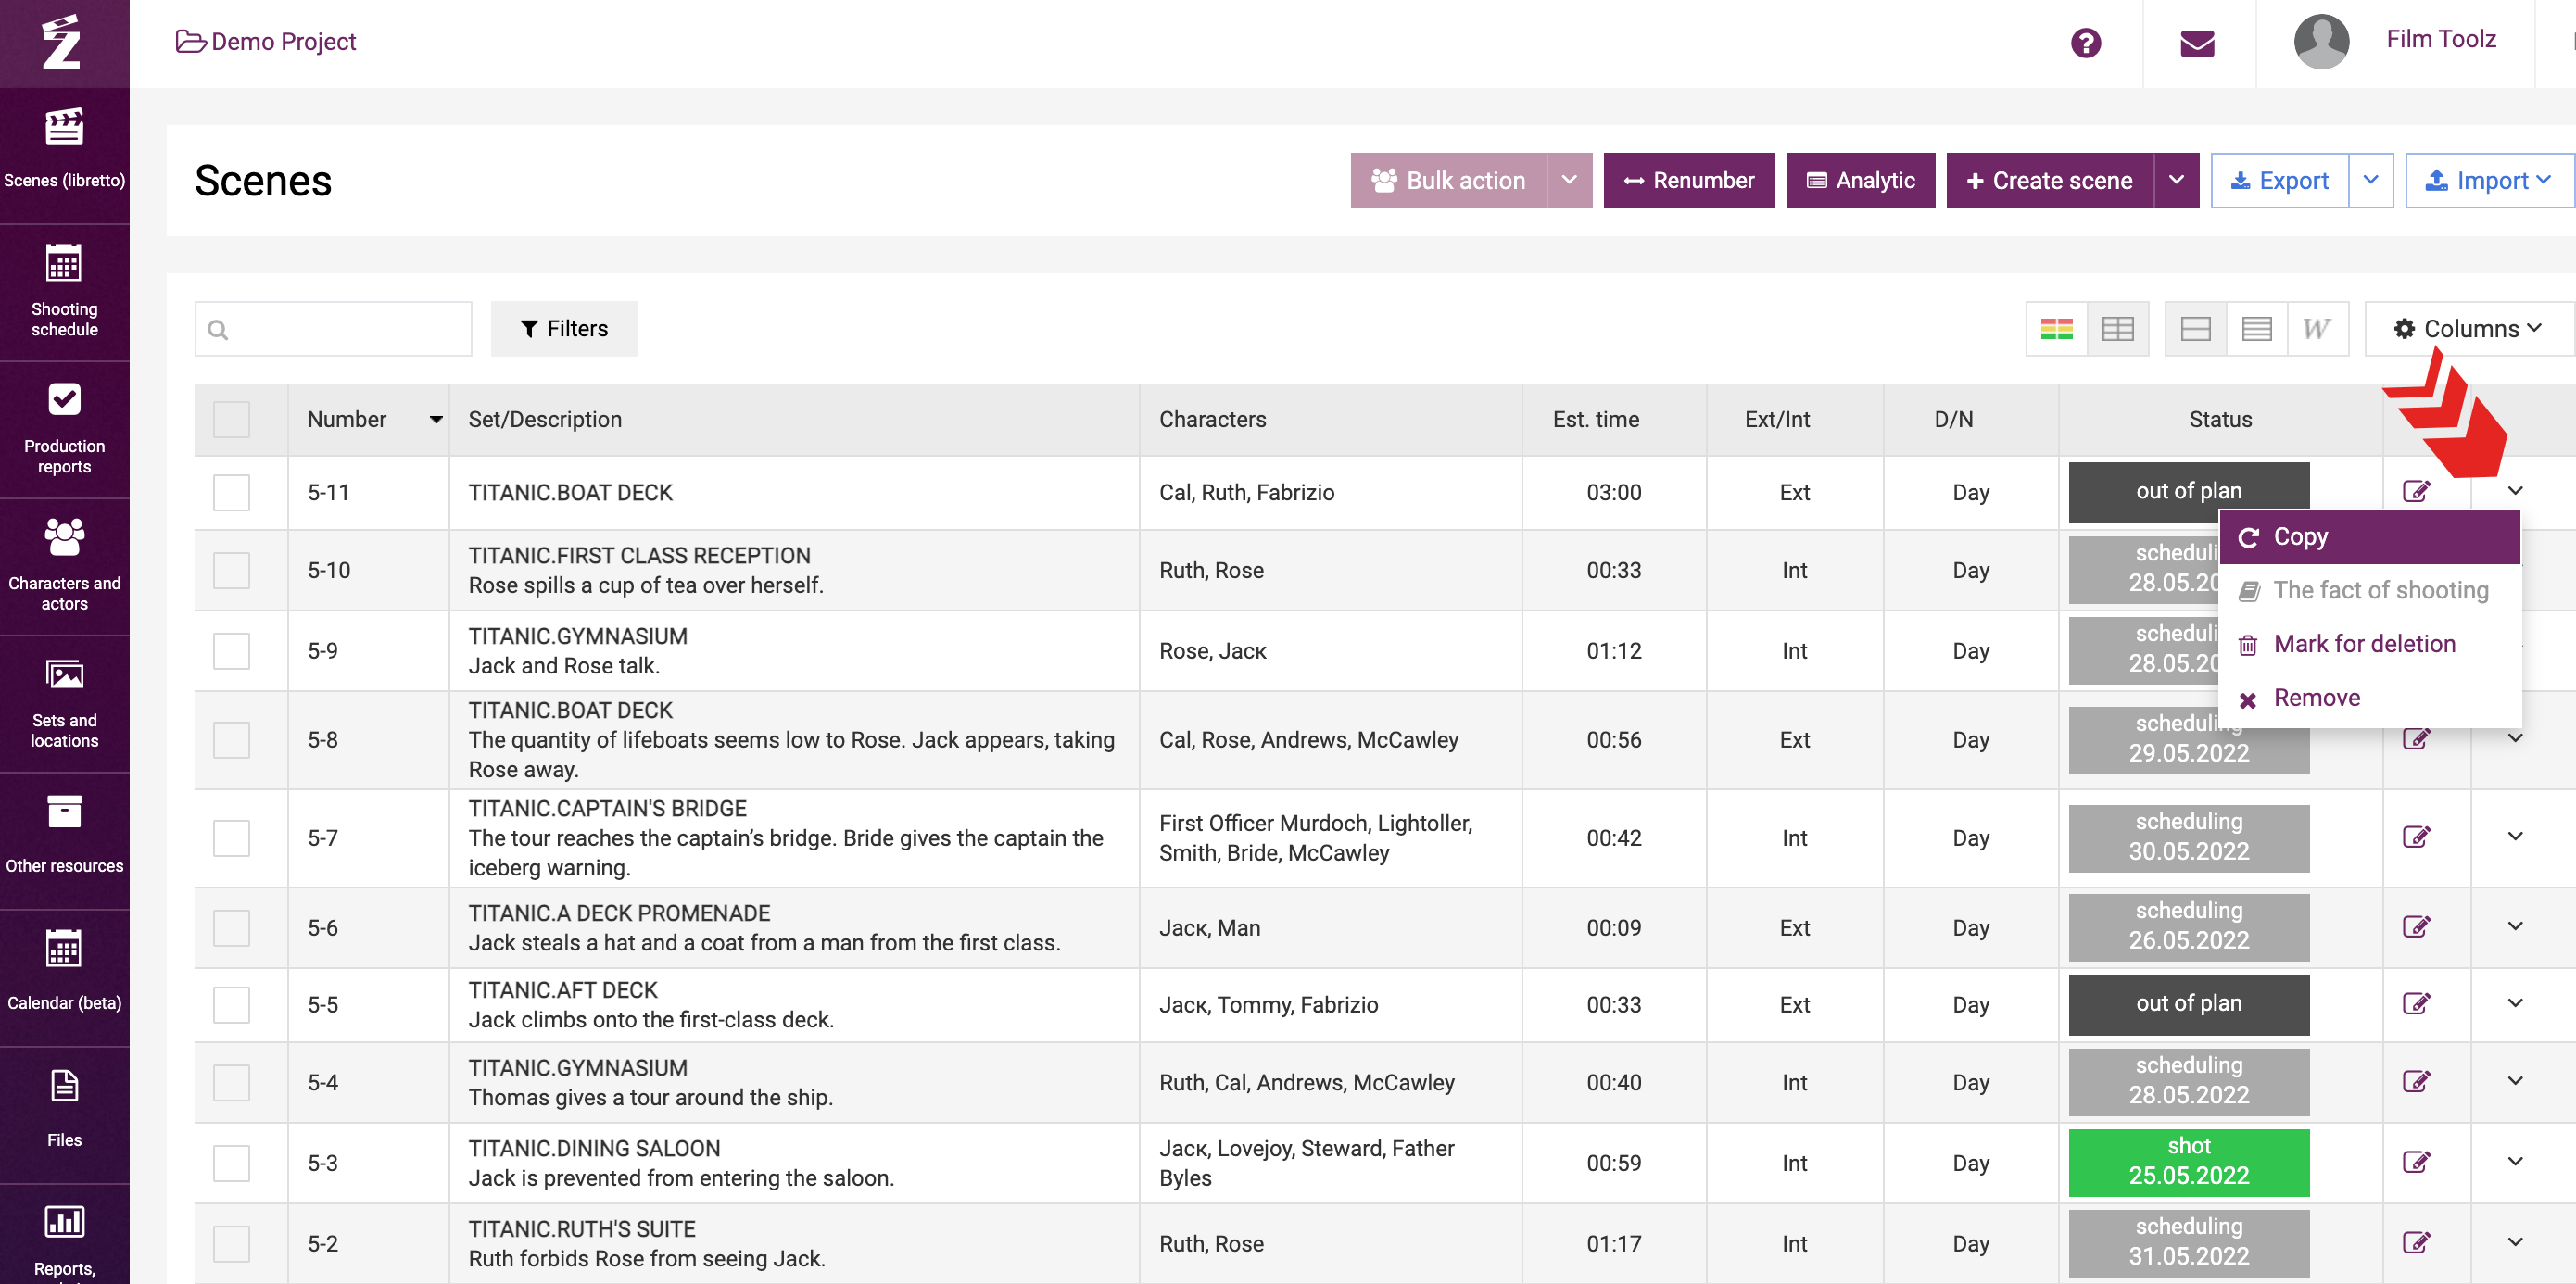
To duplicate a scene, click on “Copy” in the drop-down menu of the scene in the list of scenes.
Alternatively, click on “Duplicate” on the page of the scene itself.
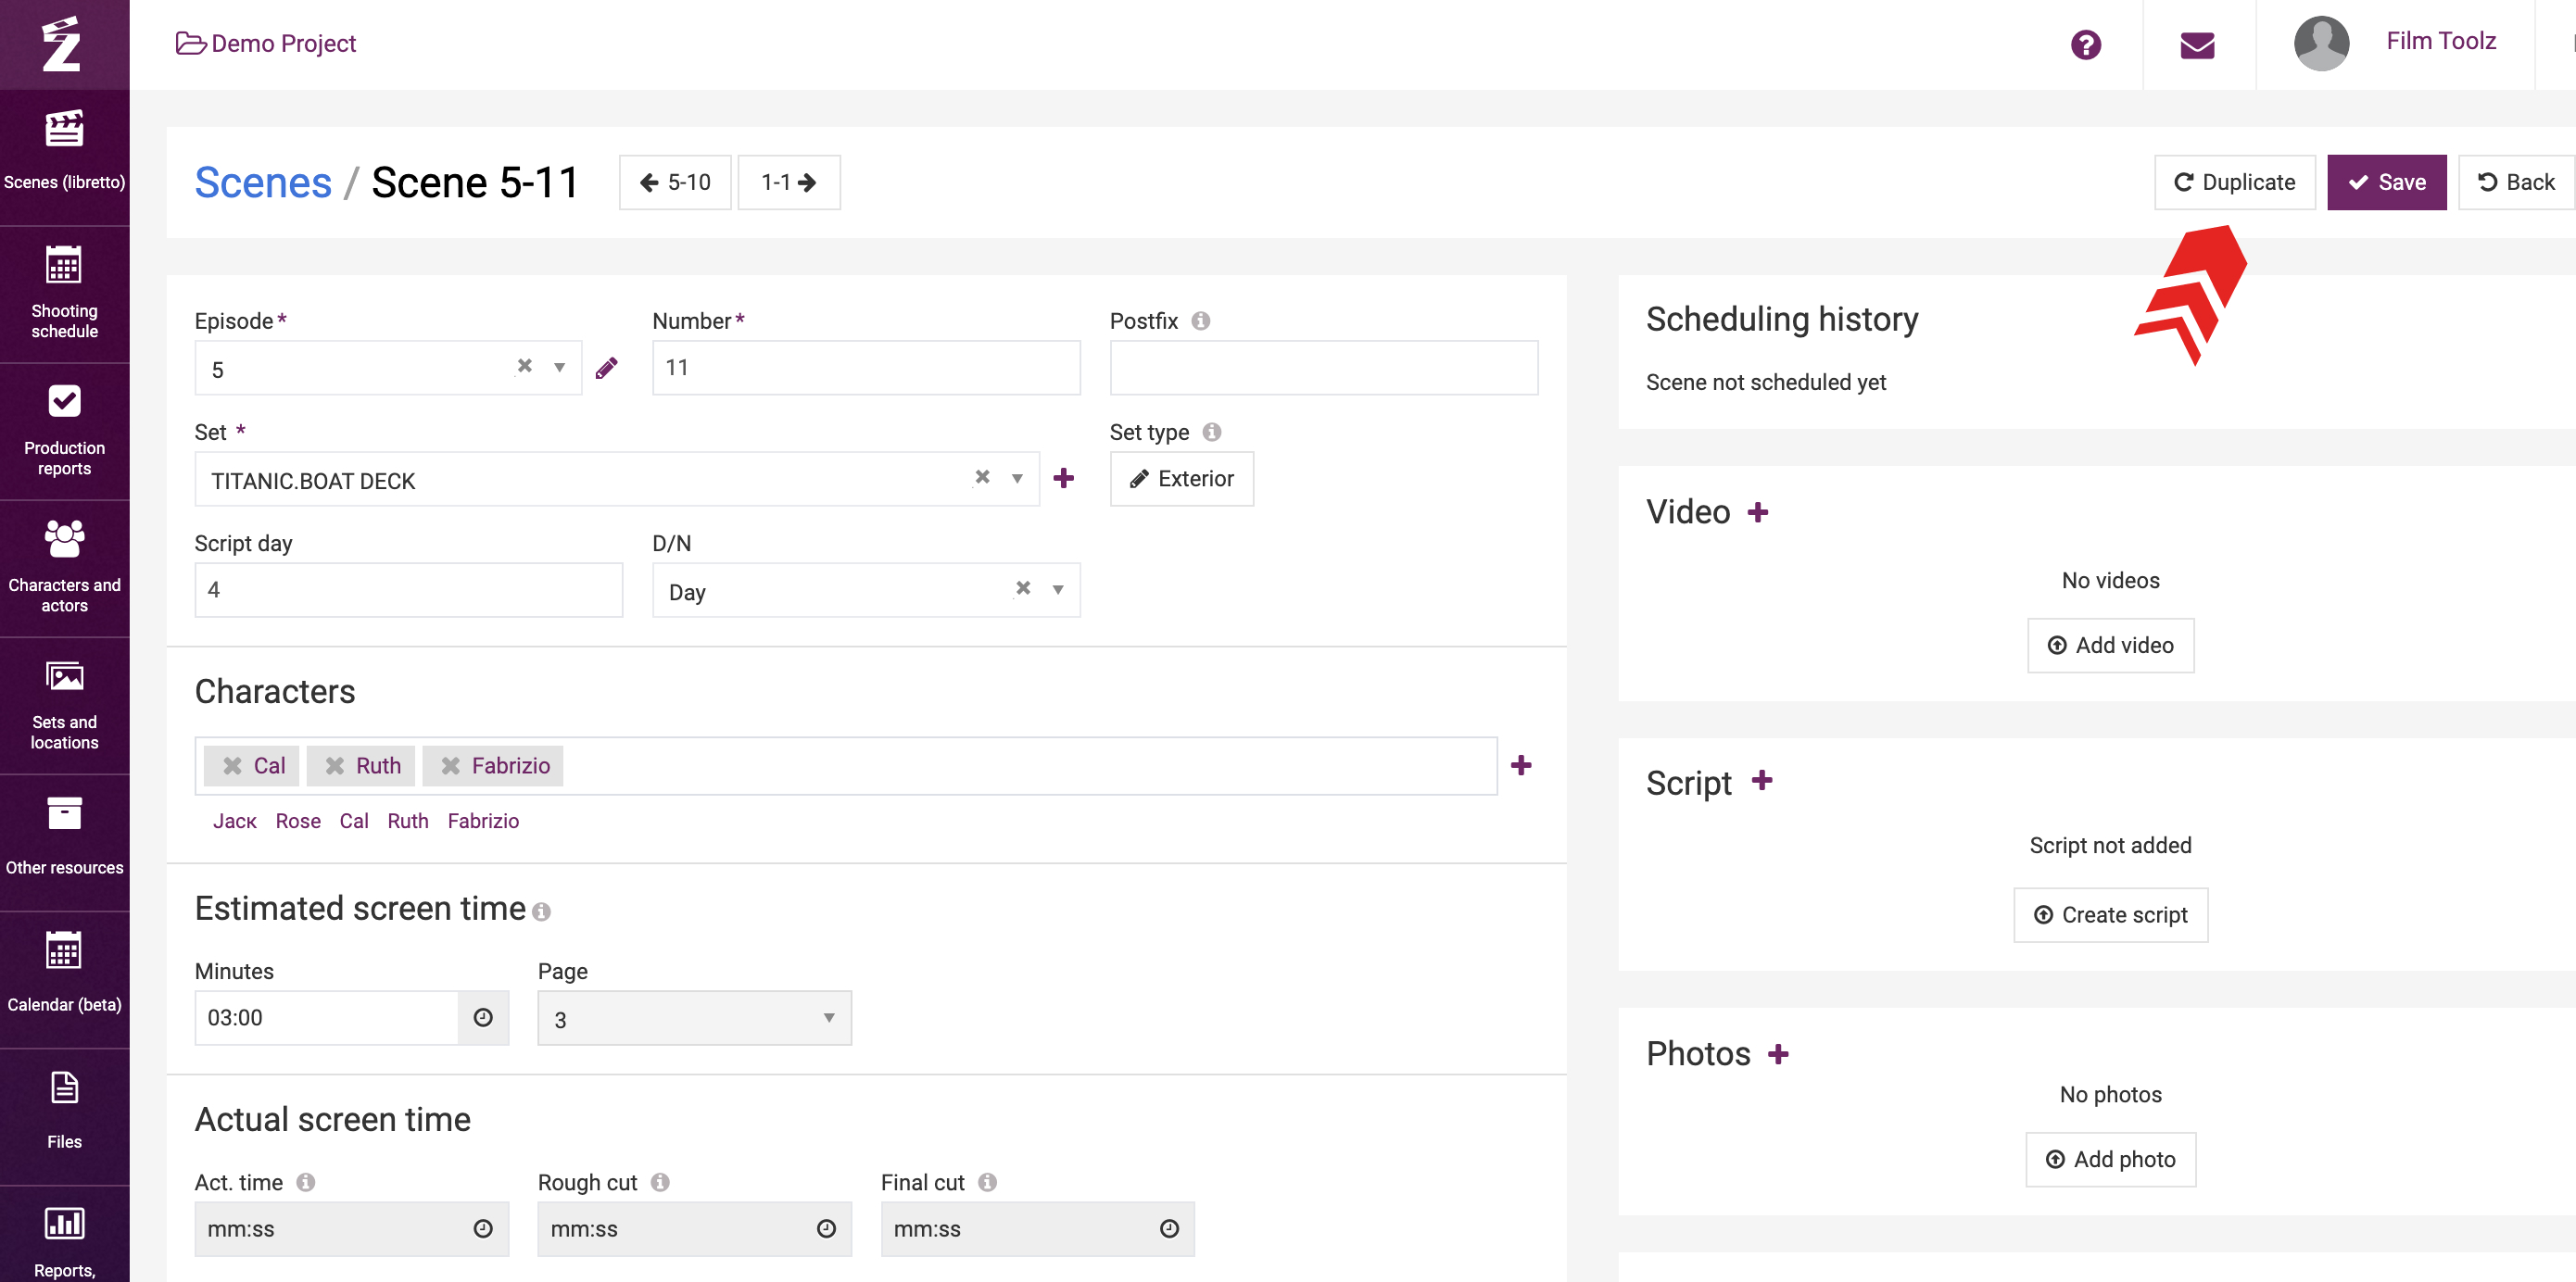
In this case, the system will create a scene with identical parameters, except for the number that you will have to add on your own.
In addition, you can delete any scene or mark any scene for deletion. Learn more about this option in the learning module entitled “Deleting a Scene and Marking a Scene for Deletion”.