Обучение
Configuring Roles
FilmToolz allows to set up roles and restrict access rights for different users. You can permit one user to only enter shooting day costs, another user to enter payments (without viewing the entire estimate) and another one to edit the project.
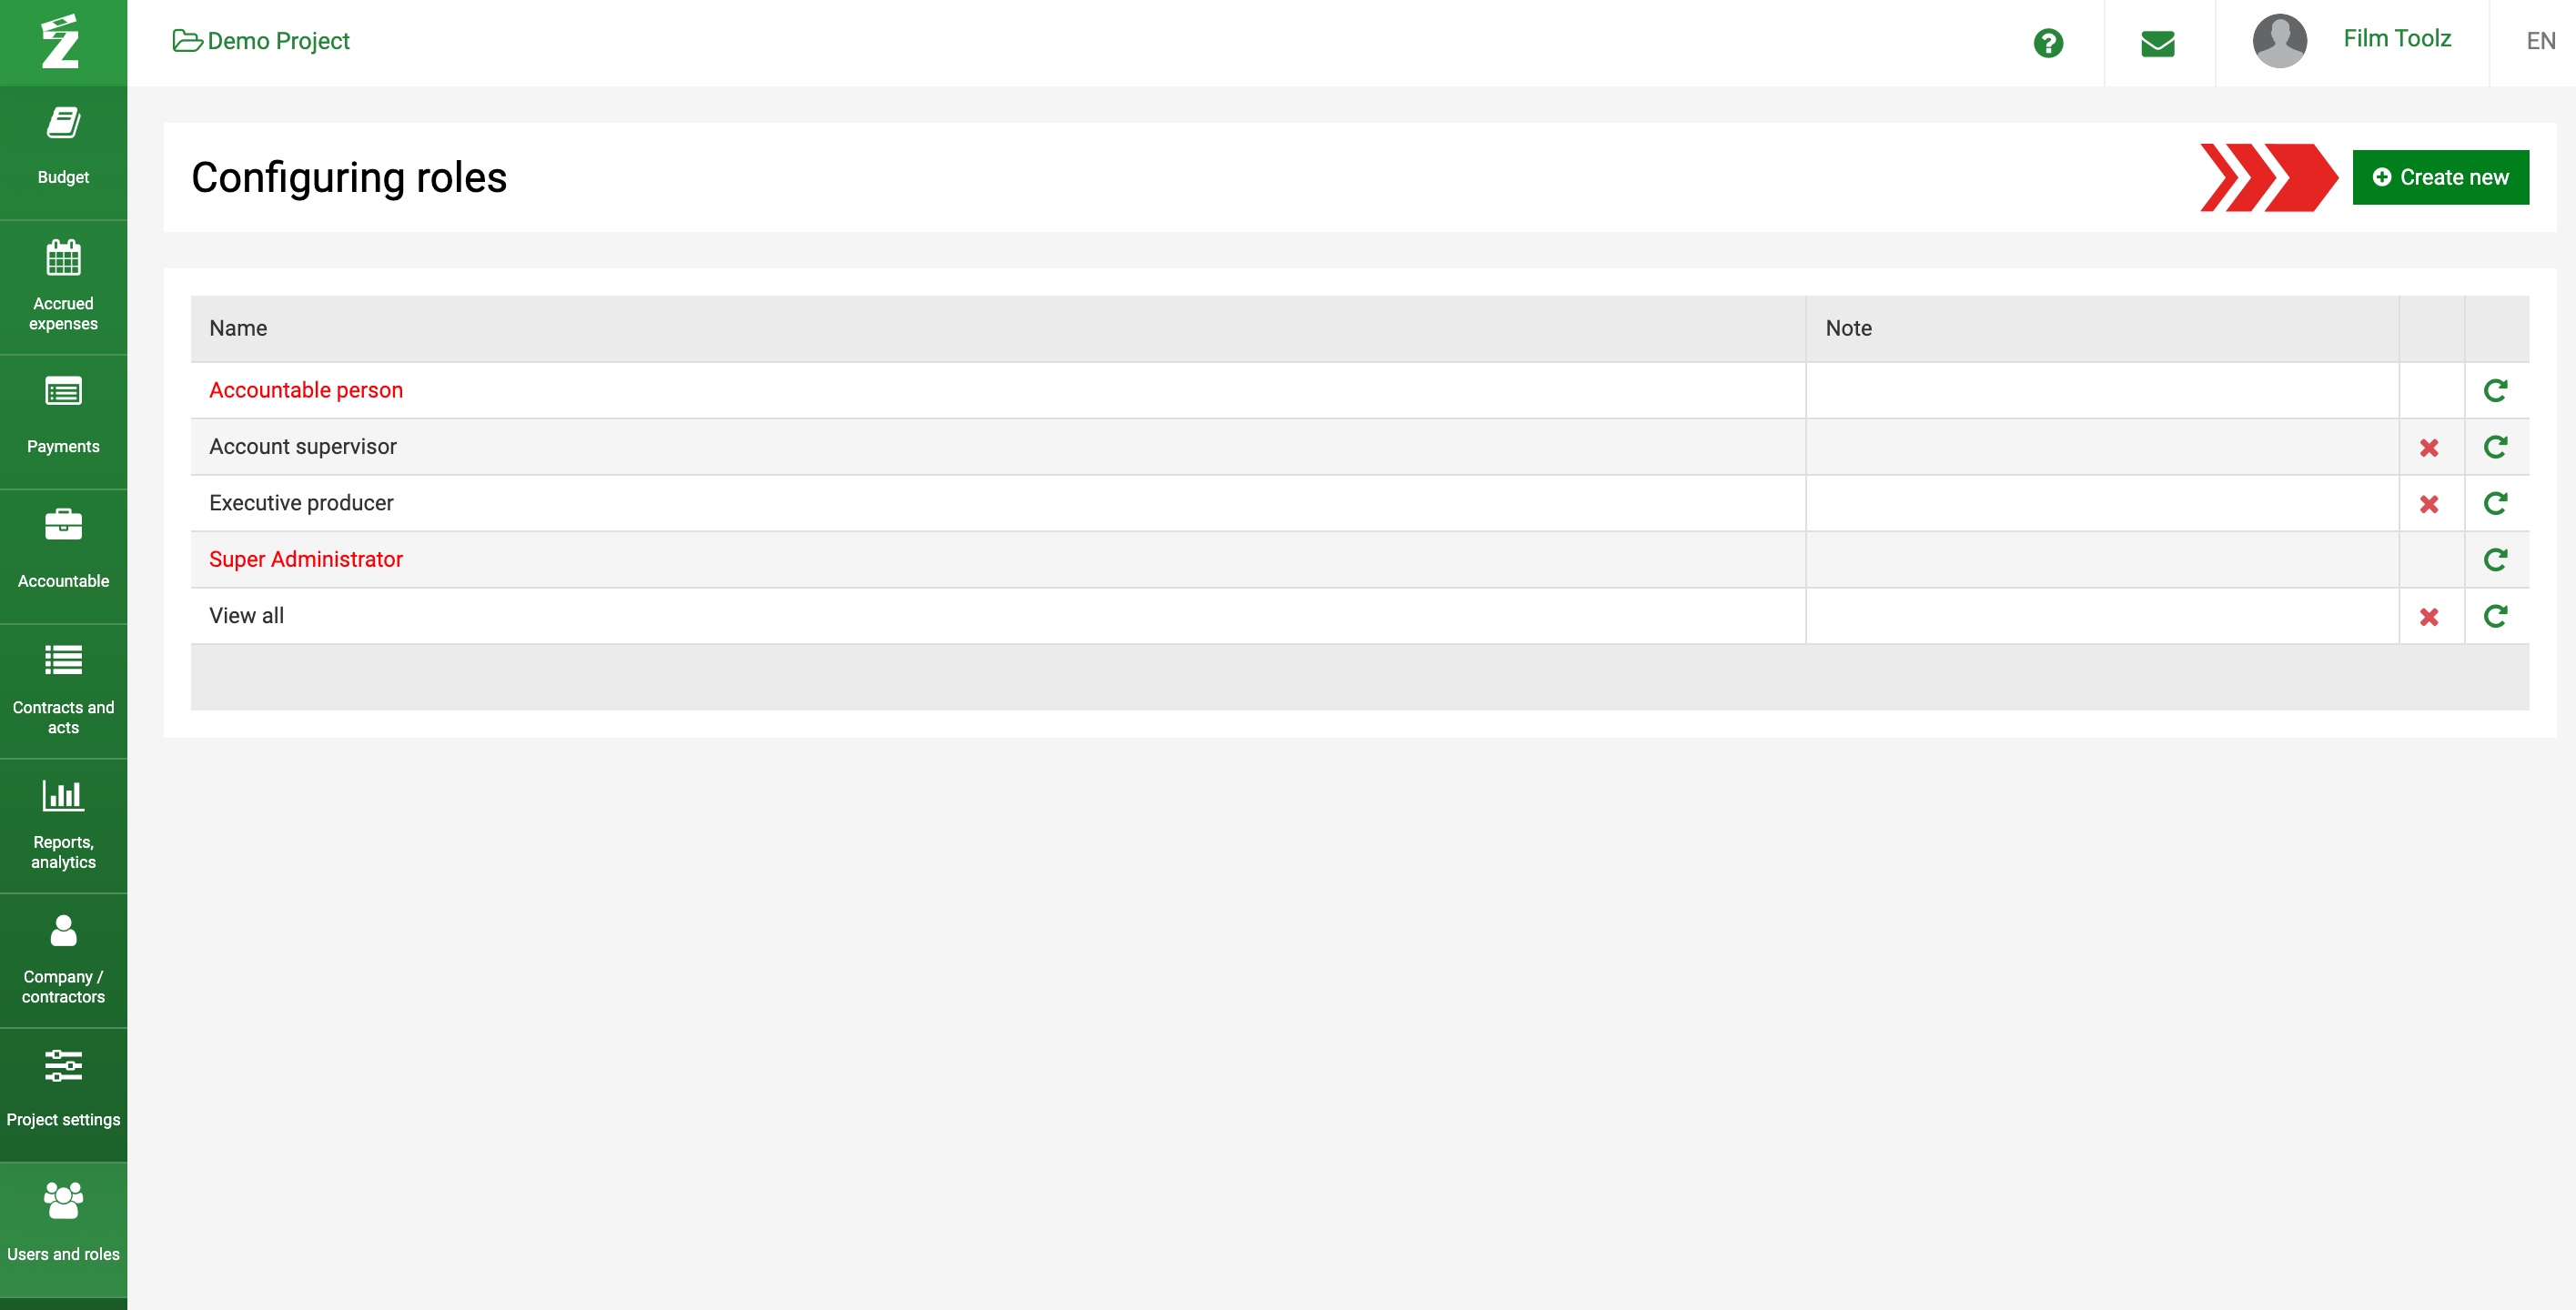
To configure roles, go to the Users and roles menu and select Roles & permissions.
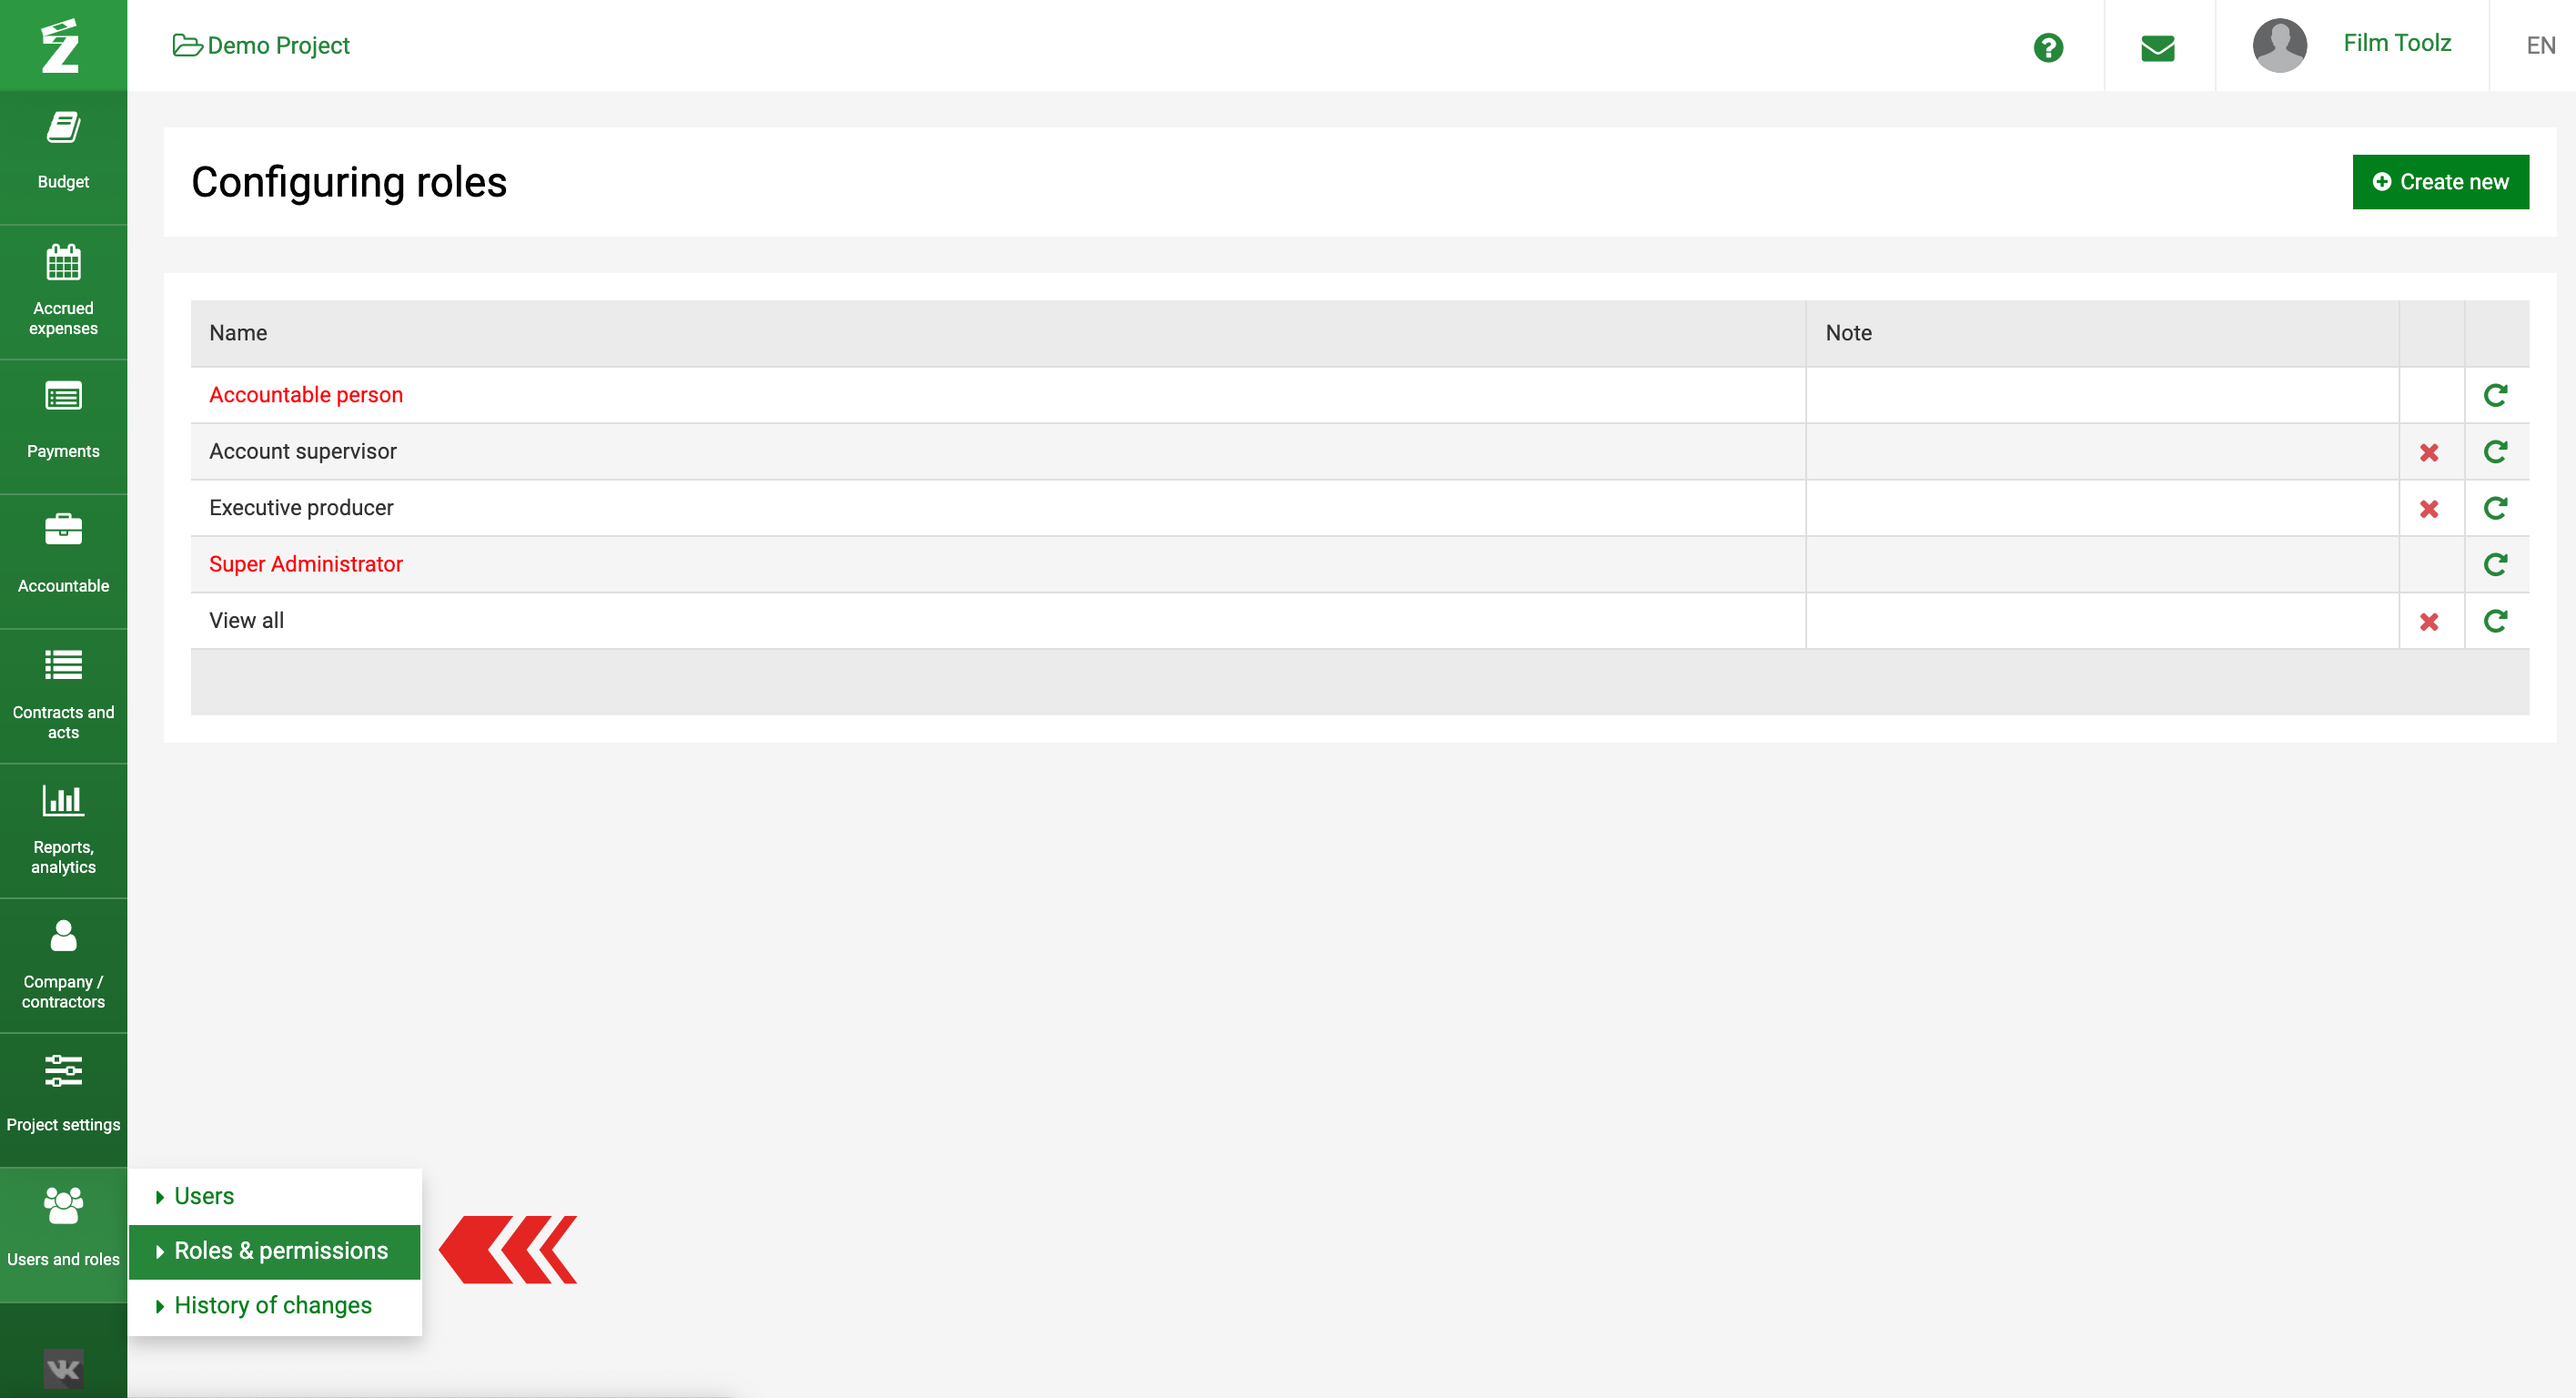
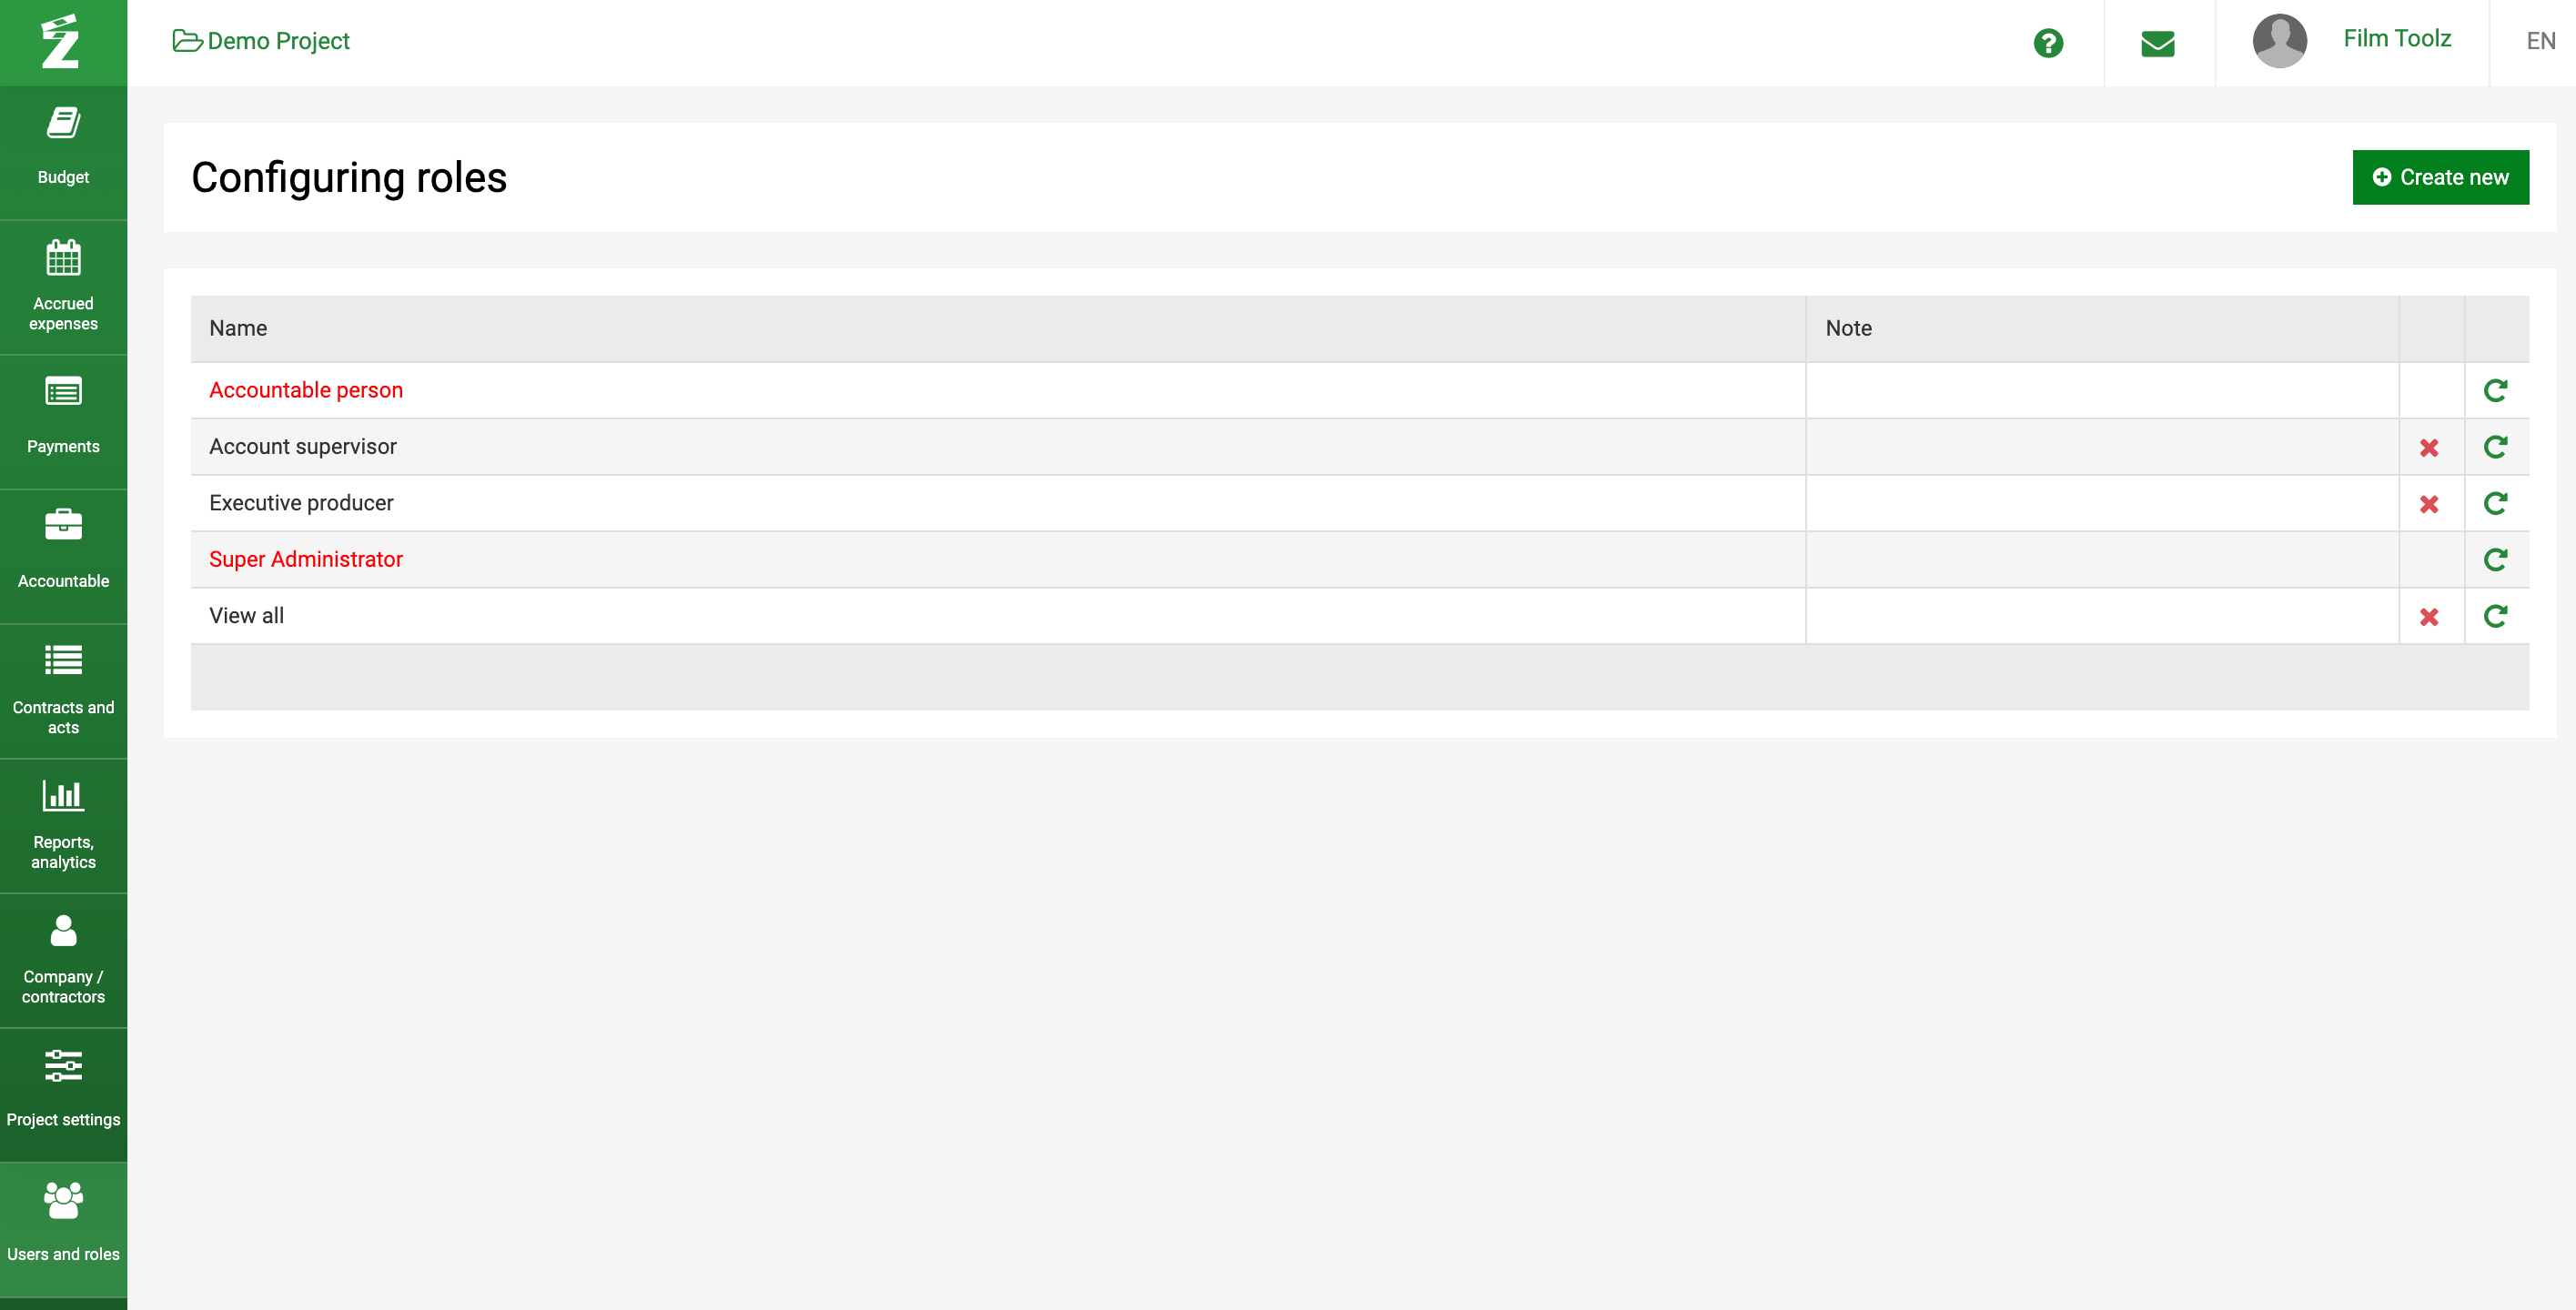
The page displays the standard (system) roles submitted automatically when you create a project.
To edit a role, click on it.
Editing is carried out by putting down or removing pluses with access to various sections.
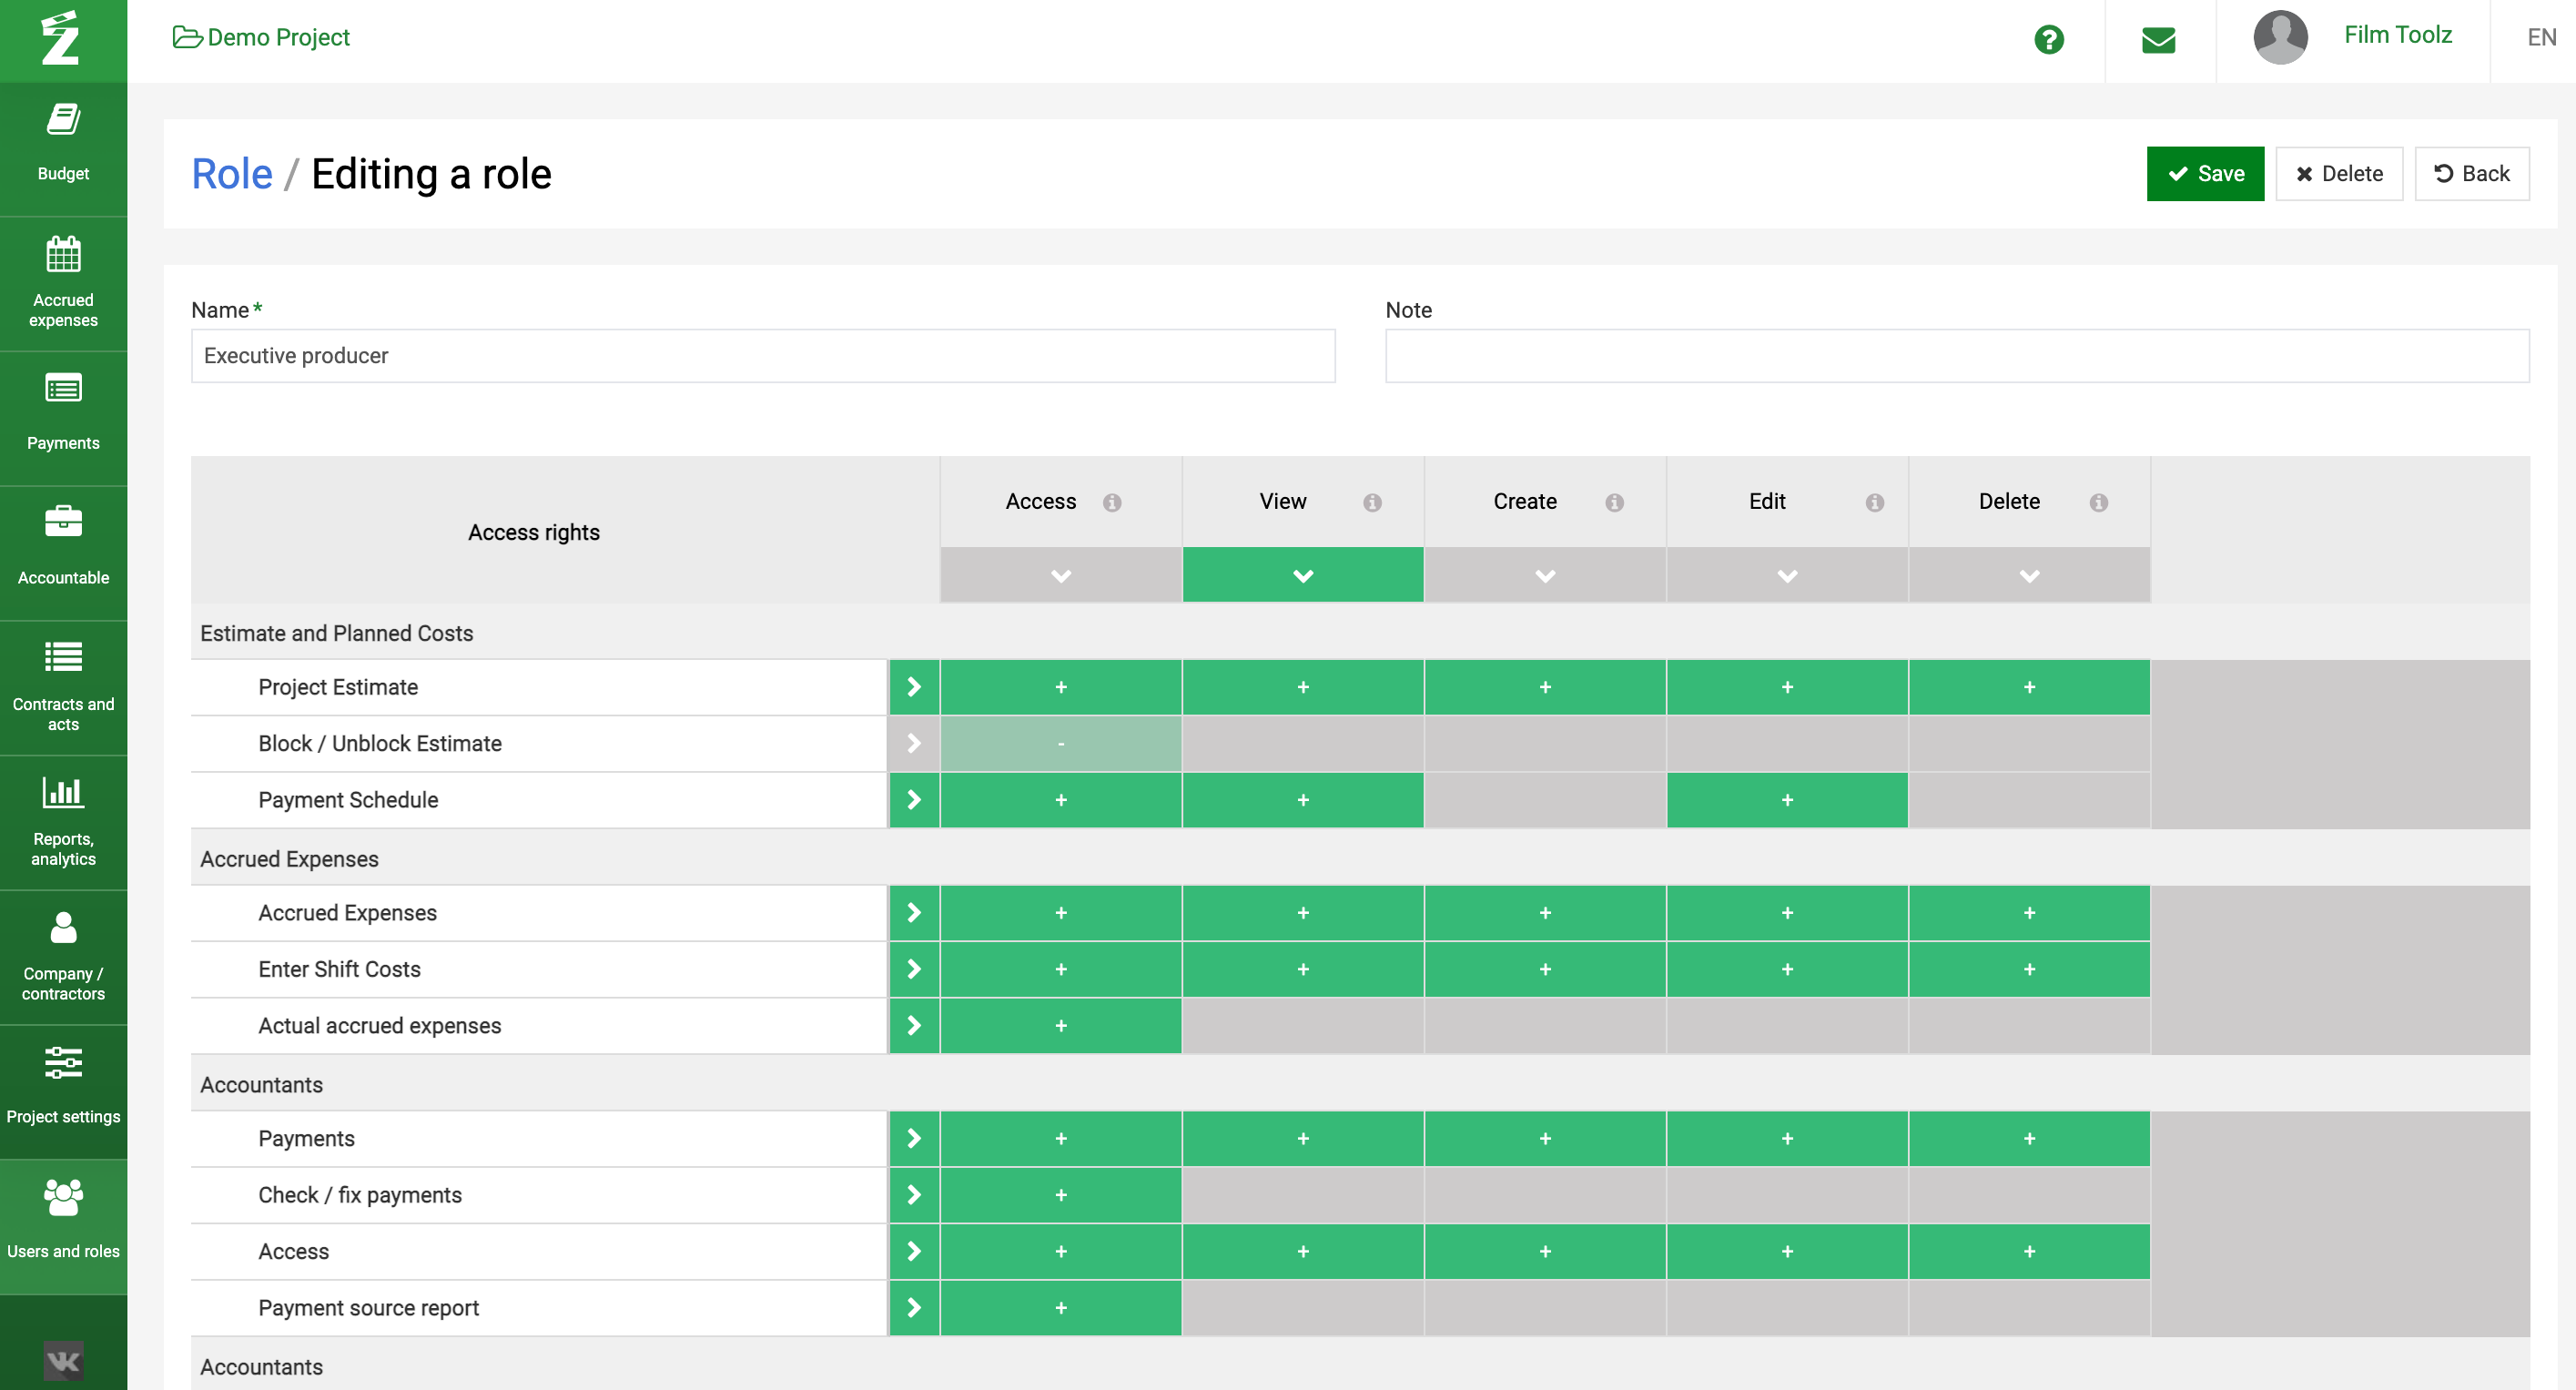
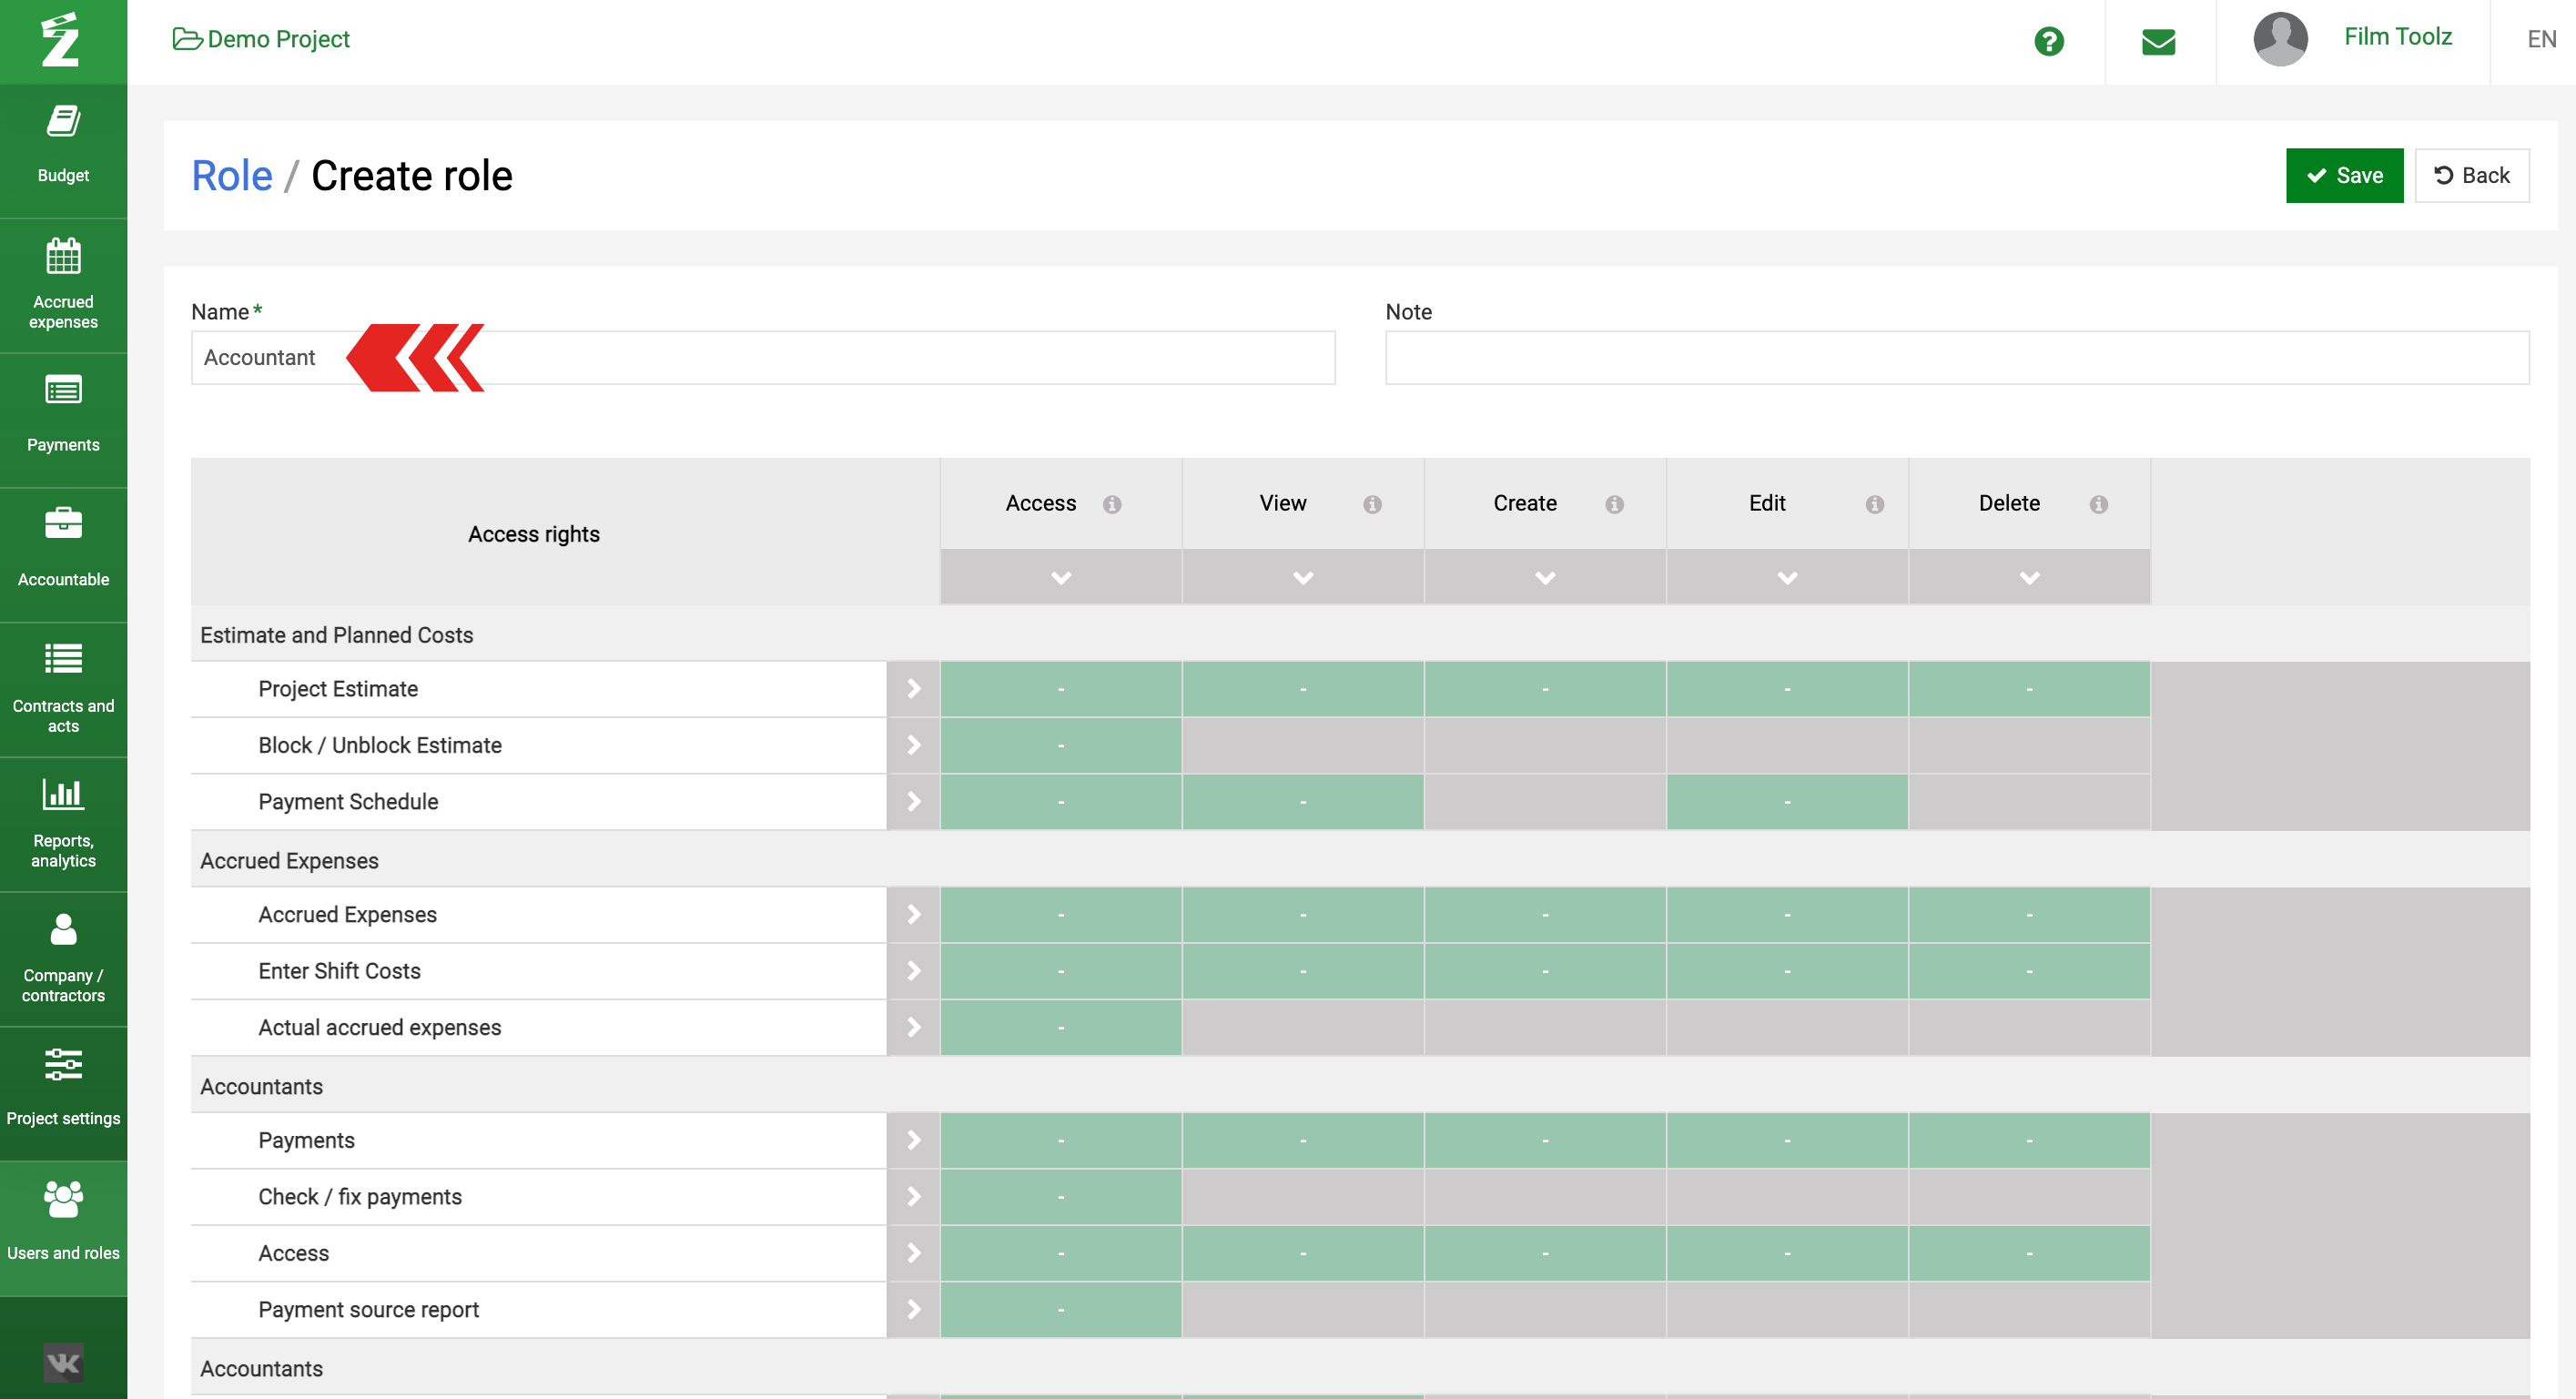
There are five permission types in the system:
Access allows to view only the list of elements without access to more detailed information (e.g. on the Payment page, you can see the list of contractors in the corresponding field, but you will not be able to go to the Contractor page or edit/delete it).
View permits the user to view detailed item information on its page (they can see the payment, but are not able to edit and delete it).
Create allows to create (add) a new element.
Edit allows to edit. If a user is authorised to view, but not to edit a page, the input fields will be disabled and have grey colour.
Delete allows to delete a certain element (a payment, an agreement, etc.). Please note that even if a user may delete items, the system will not allow such user to delete items linked to other items.
To create a new role, click Create new.
First you need to set the role name. By default, a new role has no permissions.
To automatically set all permissions, click on the checkmark next to the section name.
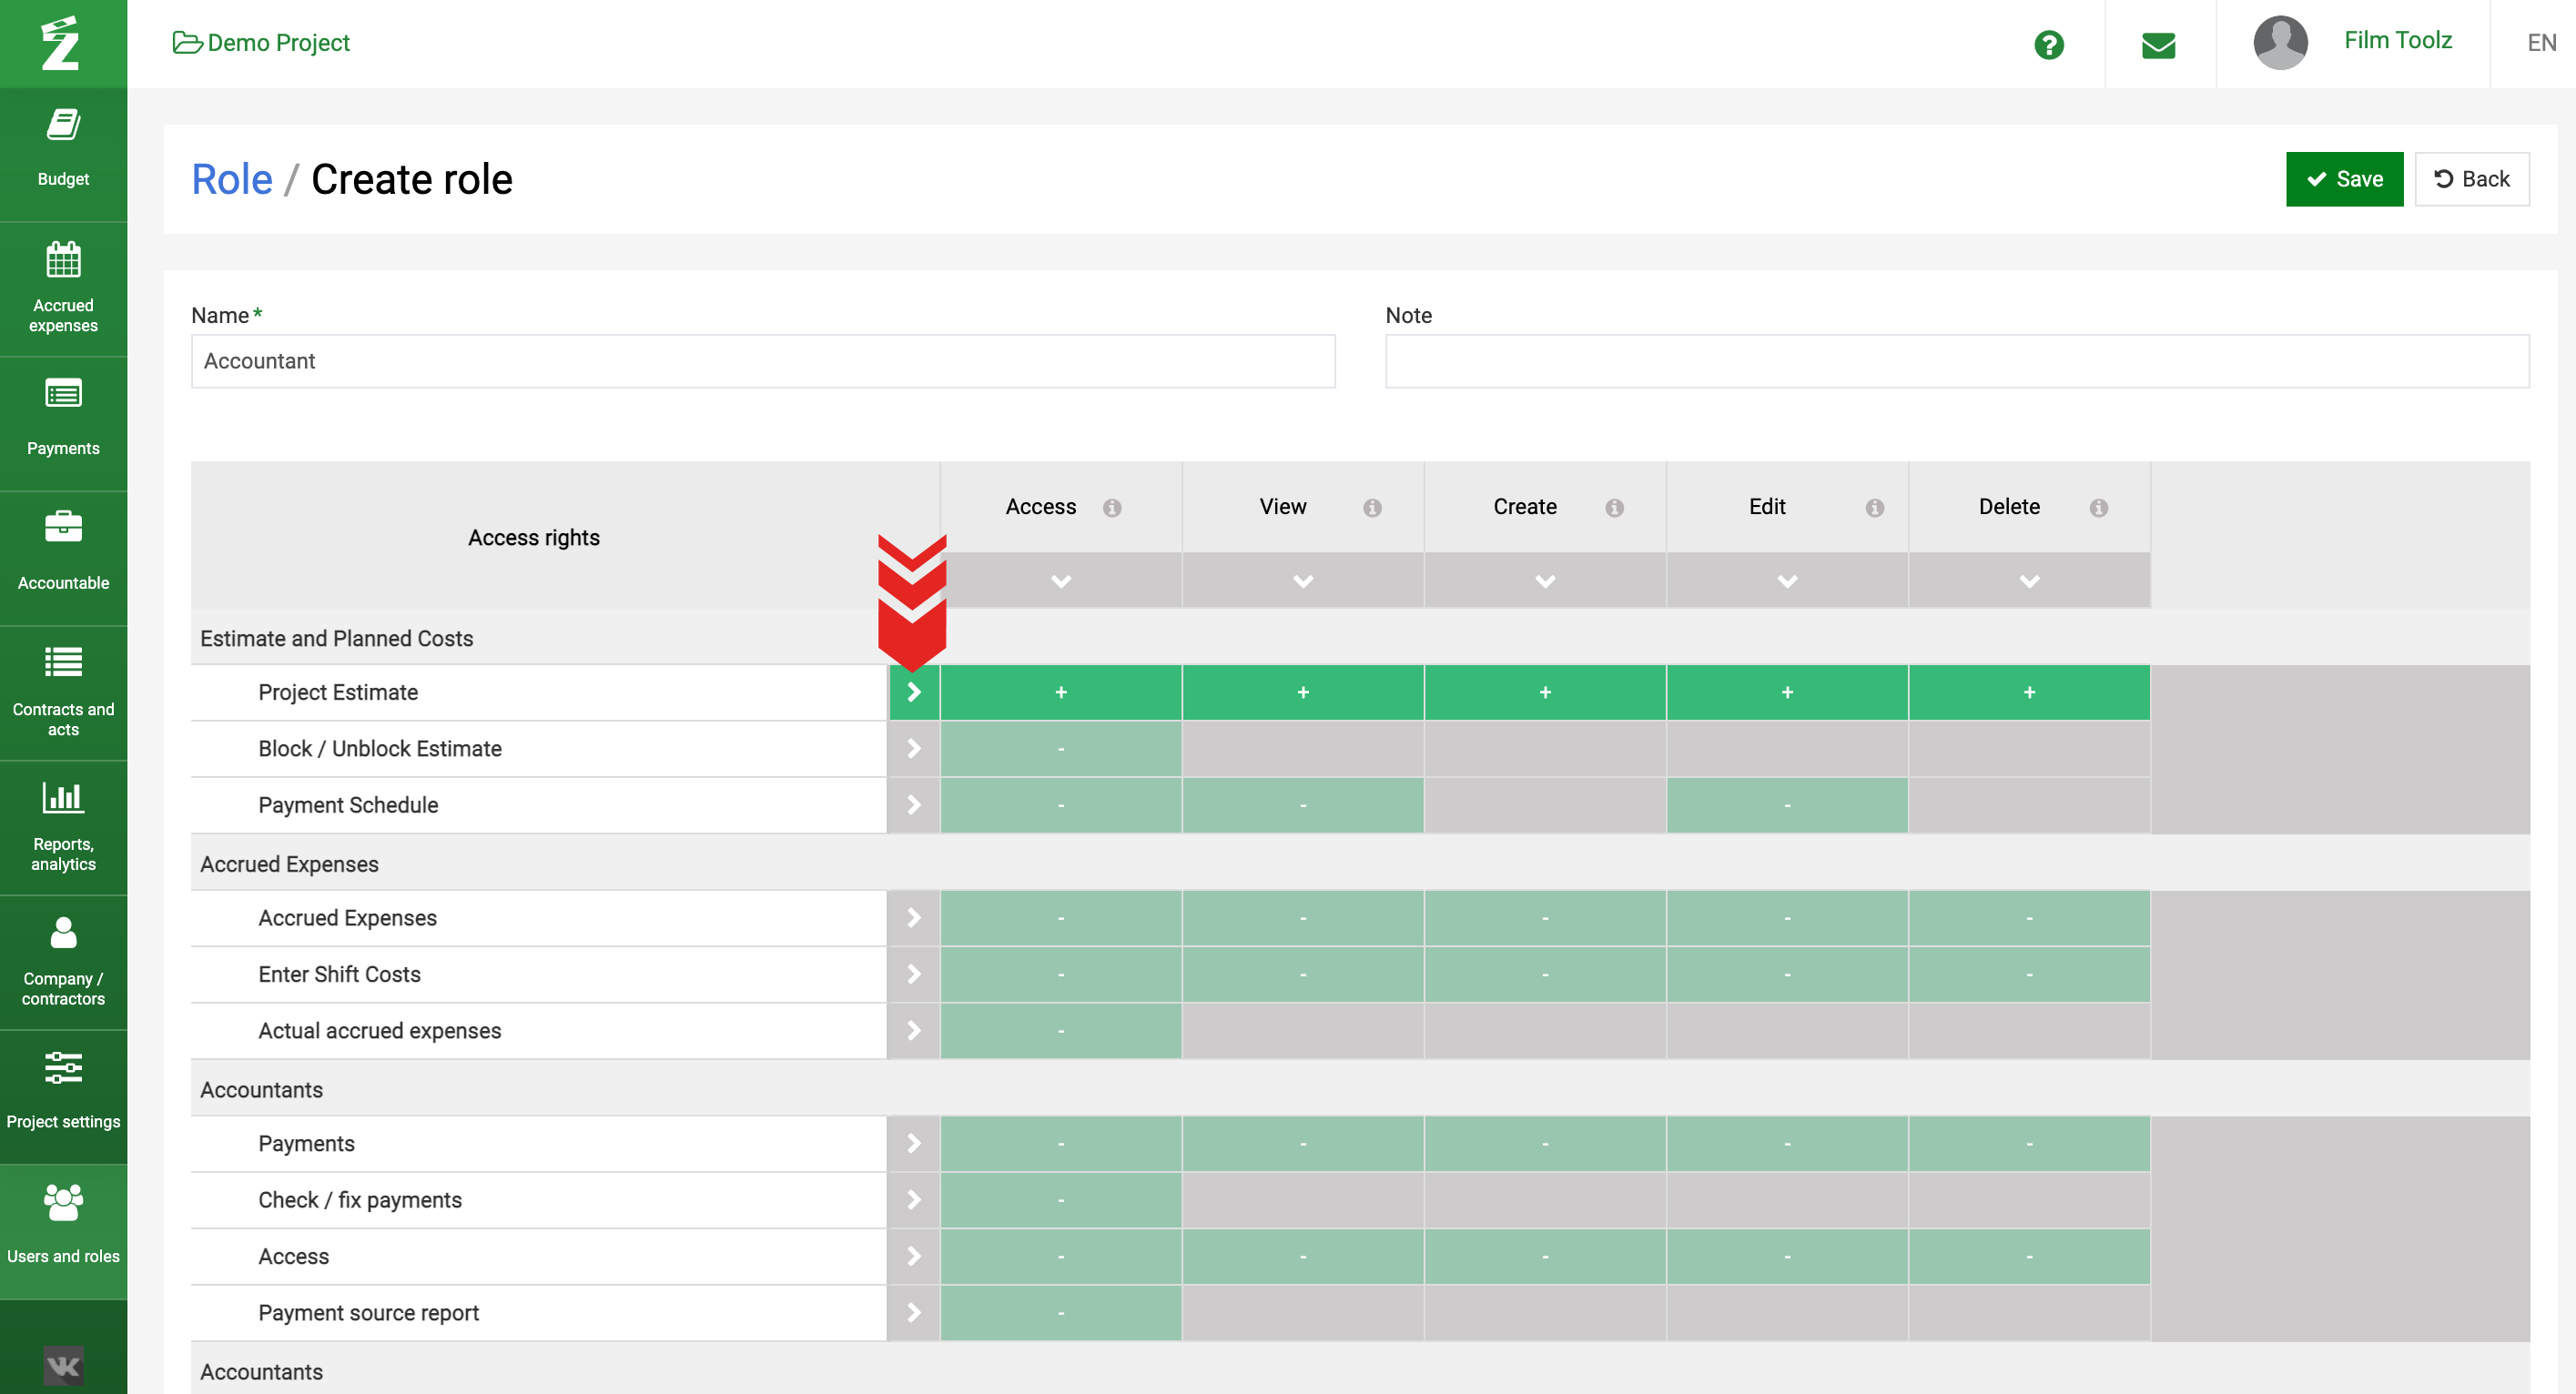
For example, if the user is authorized to view but not to edit the information, the relevant fields will be disabled
If you created the required role, but need another role with a similar set of features with a couple of differences, use the Repeat feature. When you click the icon, you will see the “Add” page for a role that will be an exact copy of the role you have just added, and you will only have to make the required adjustments and save it.
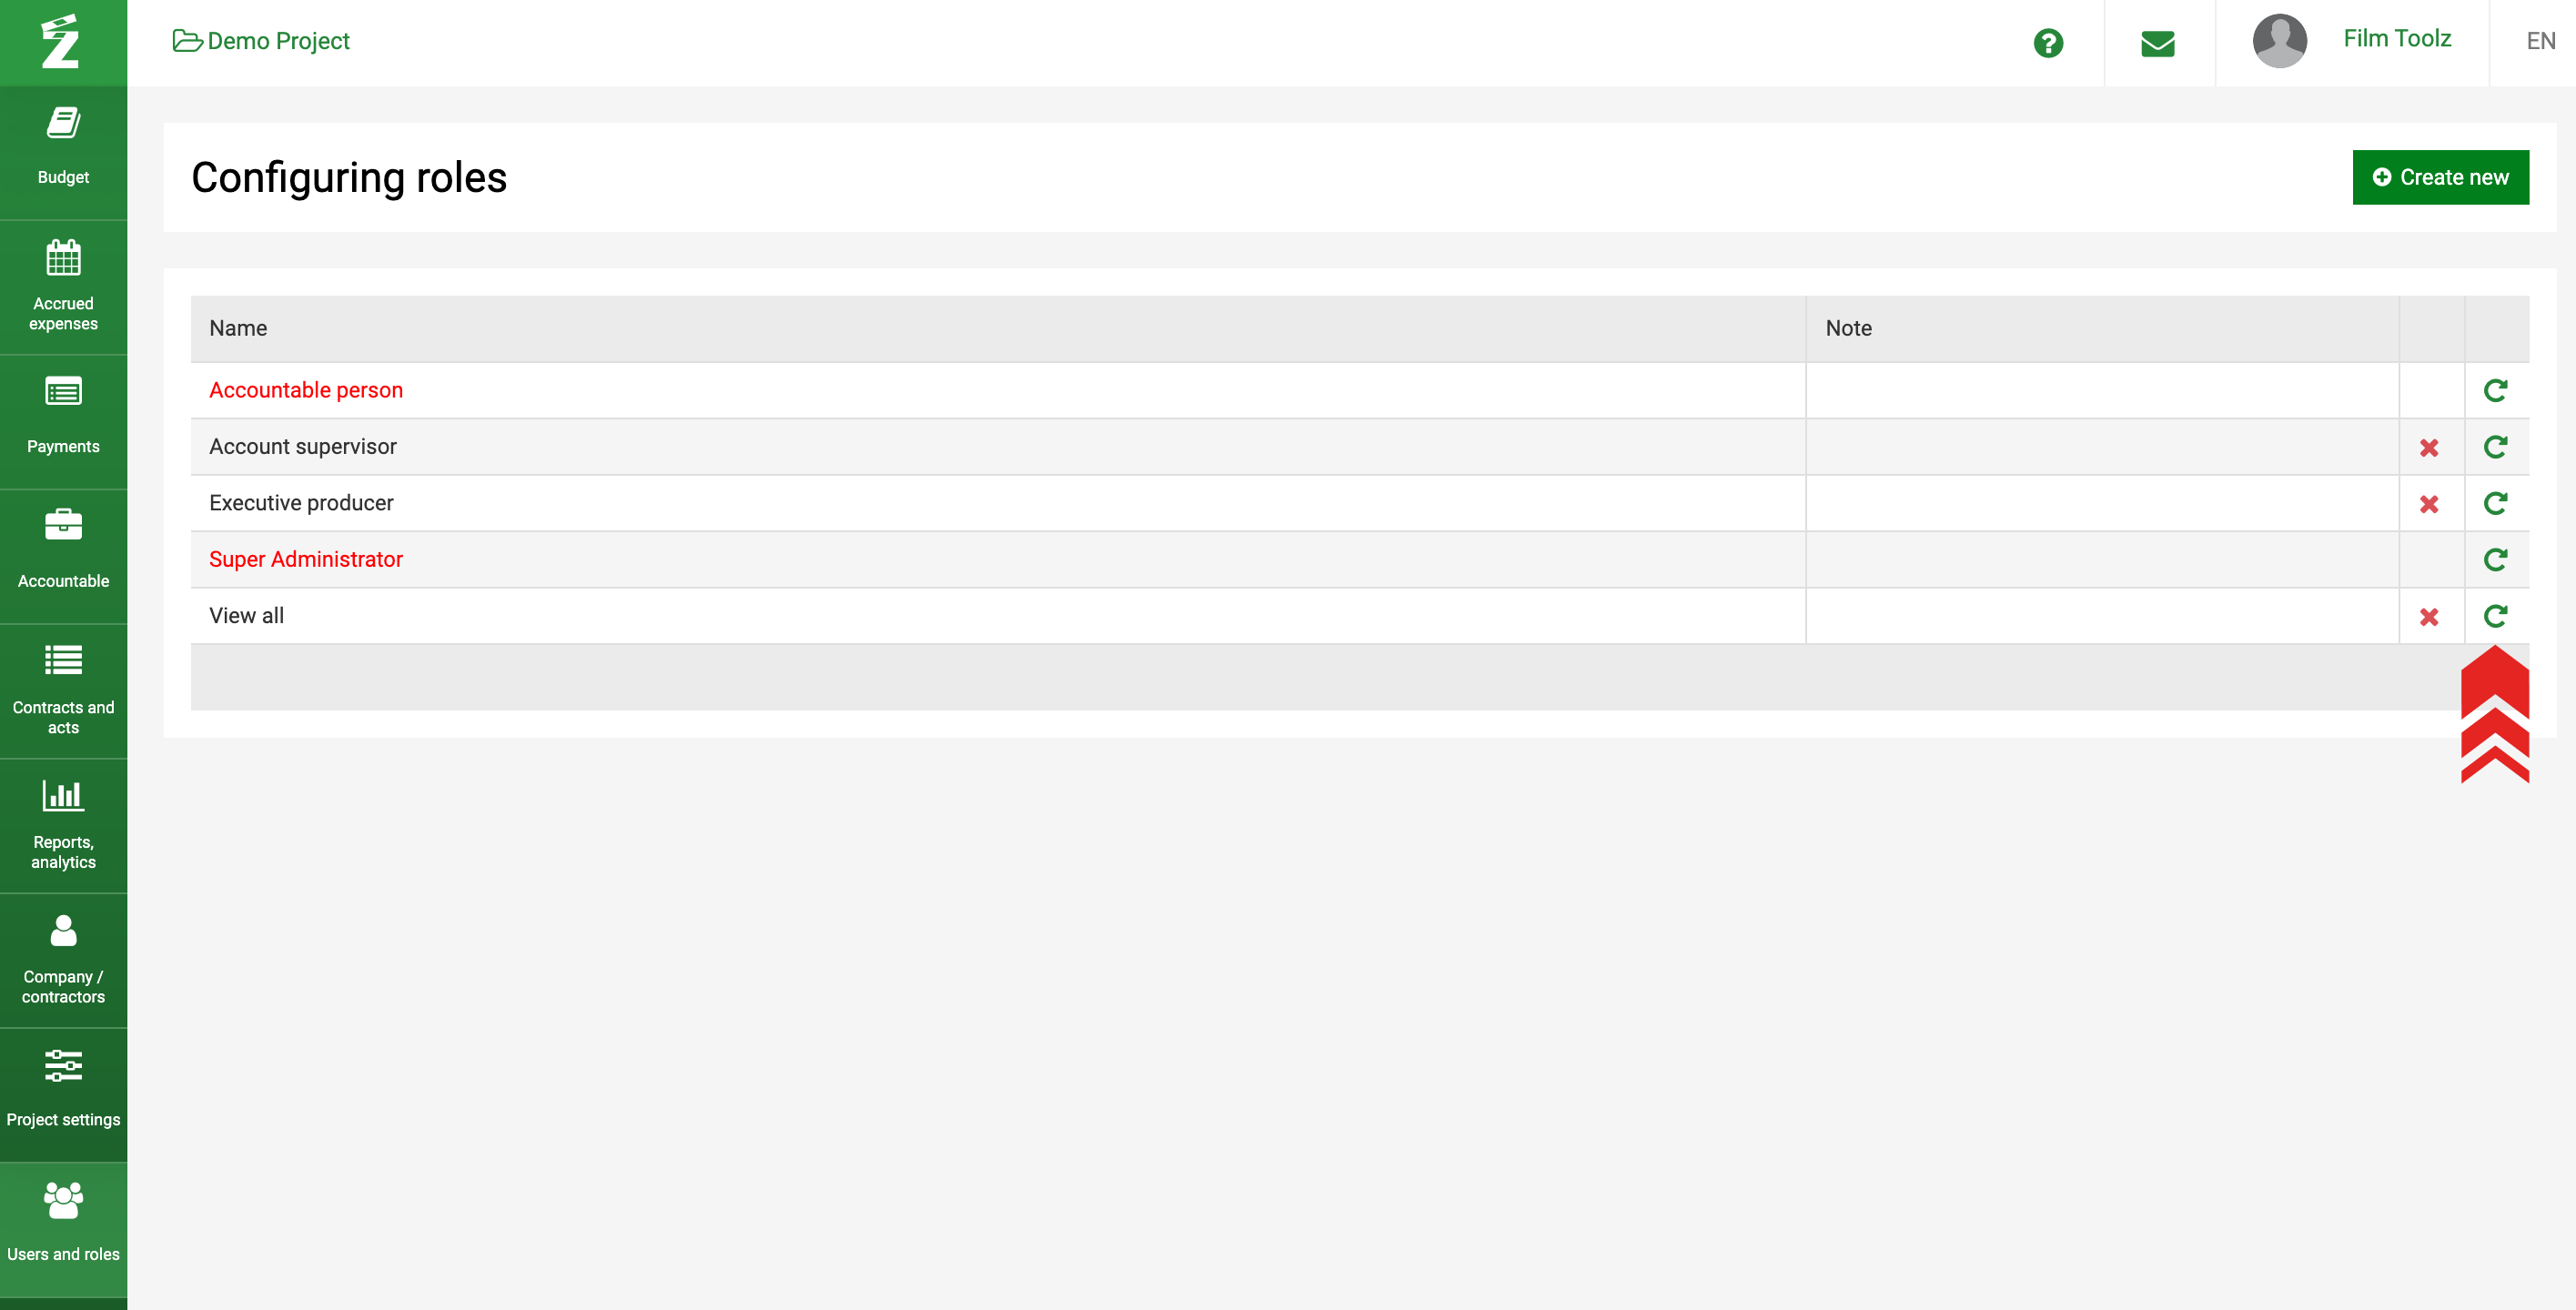
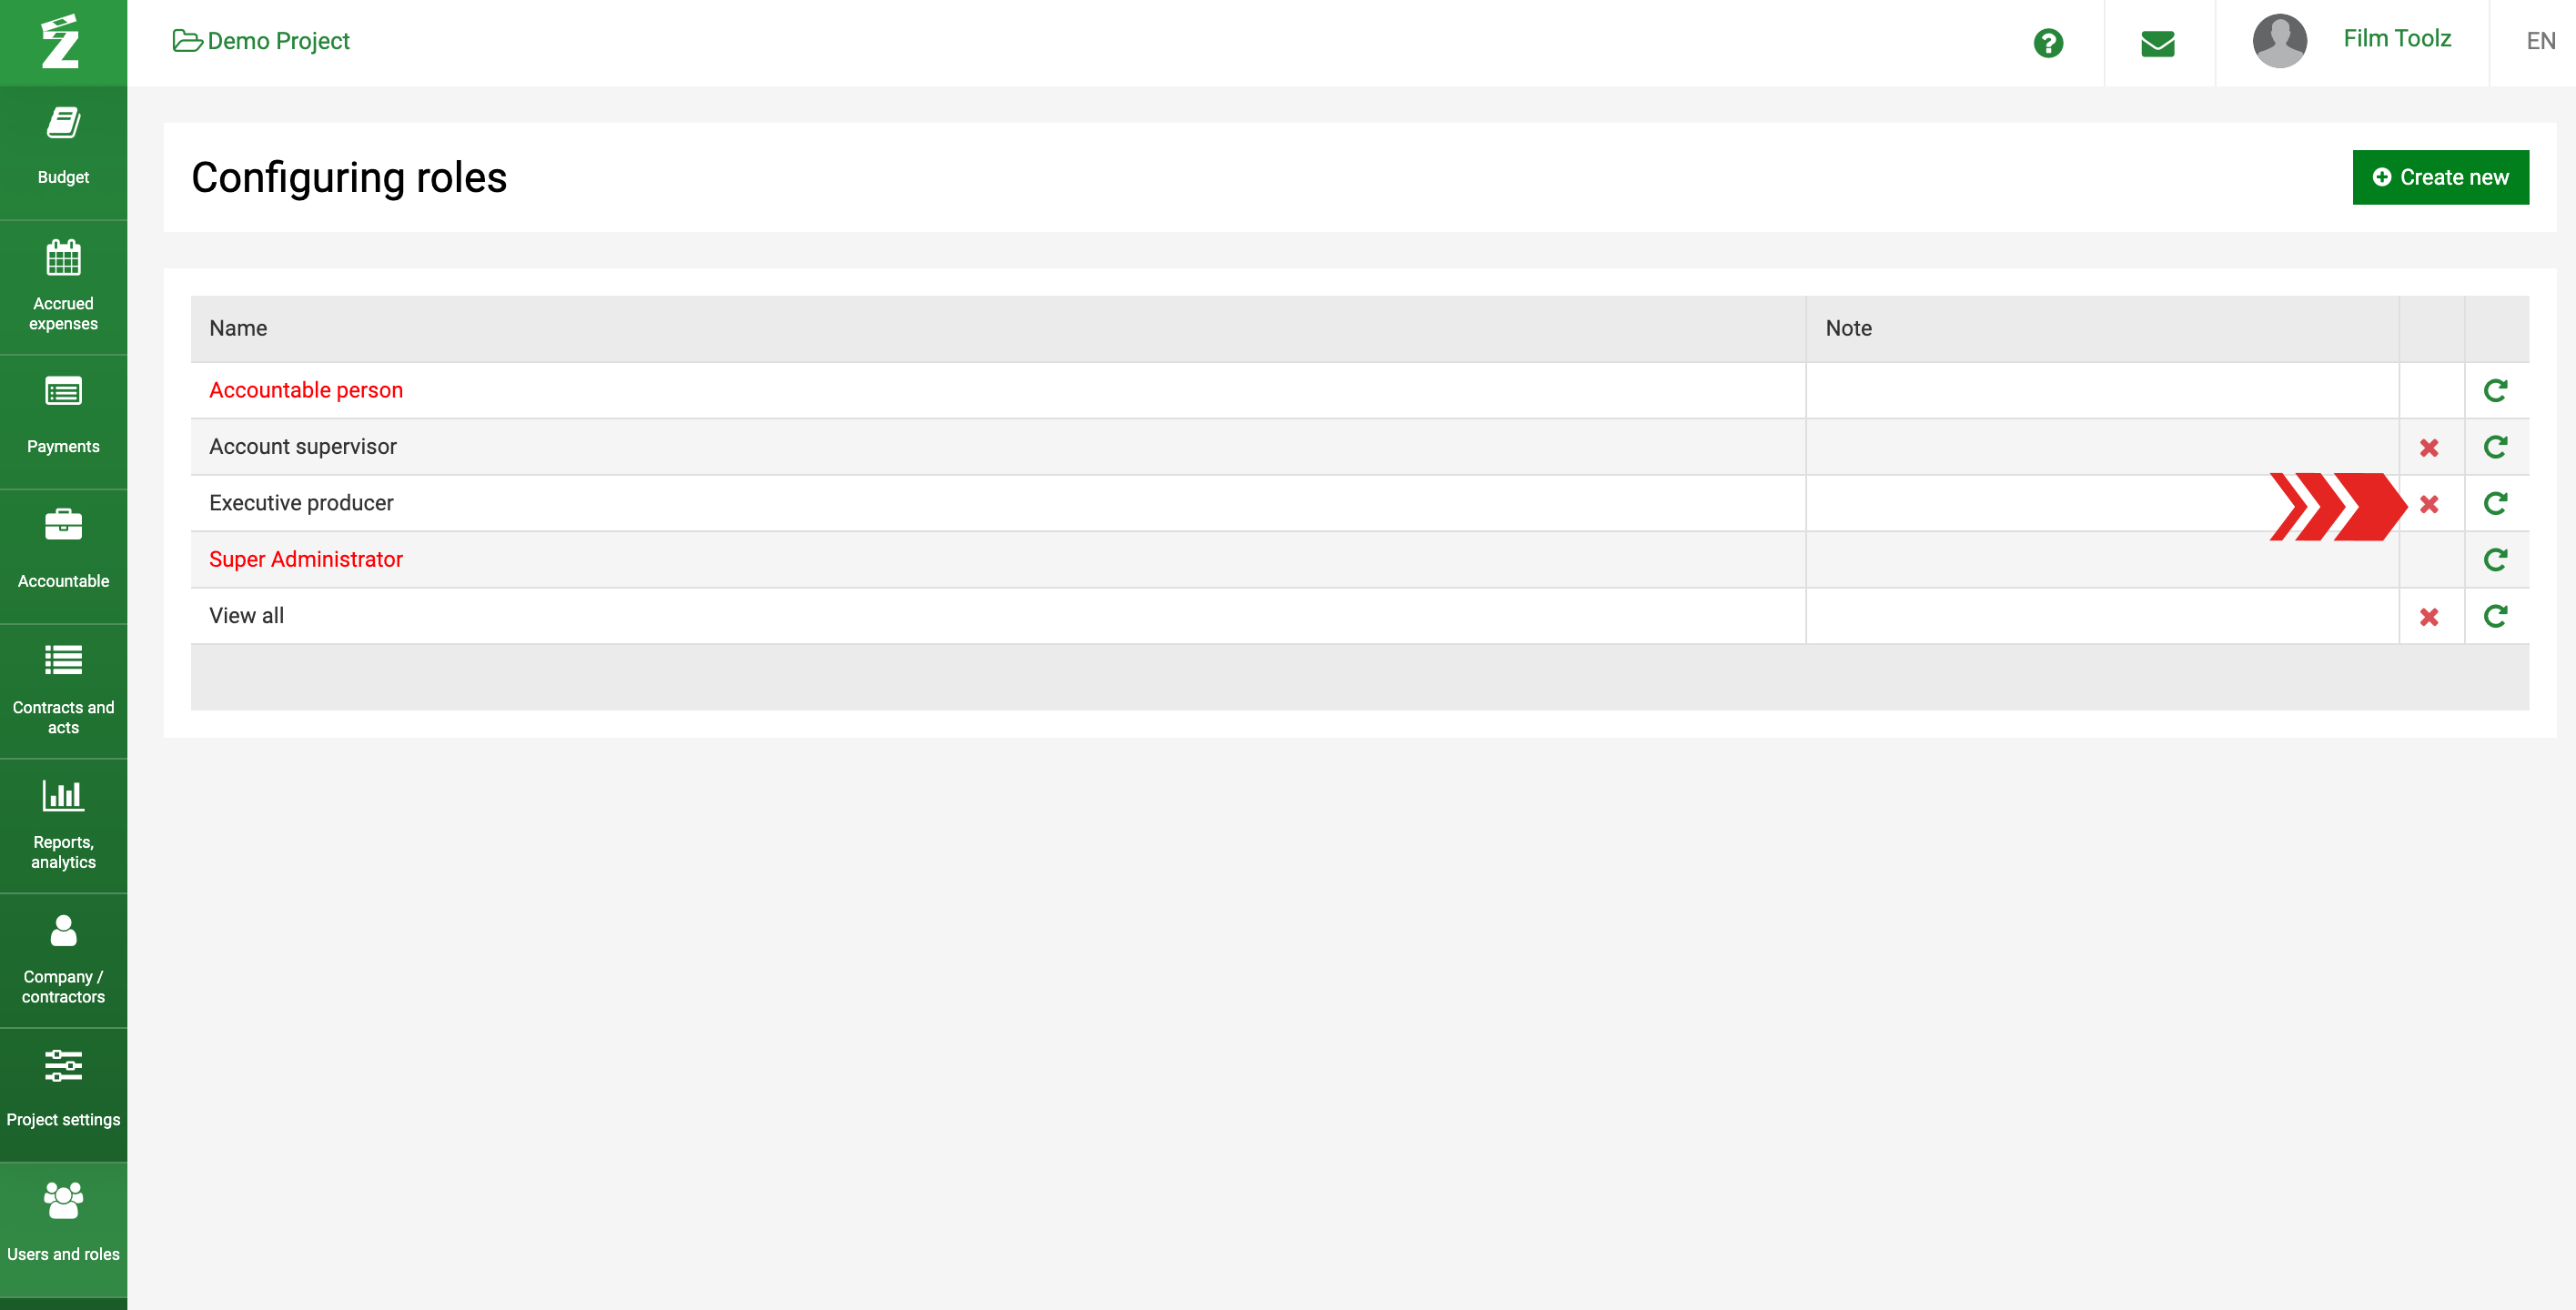
To delete a role, click the red "x" in the list of roles.
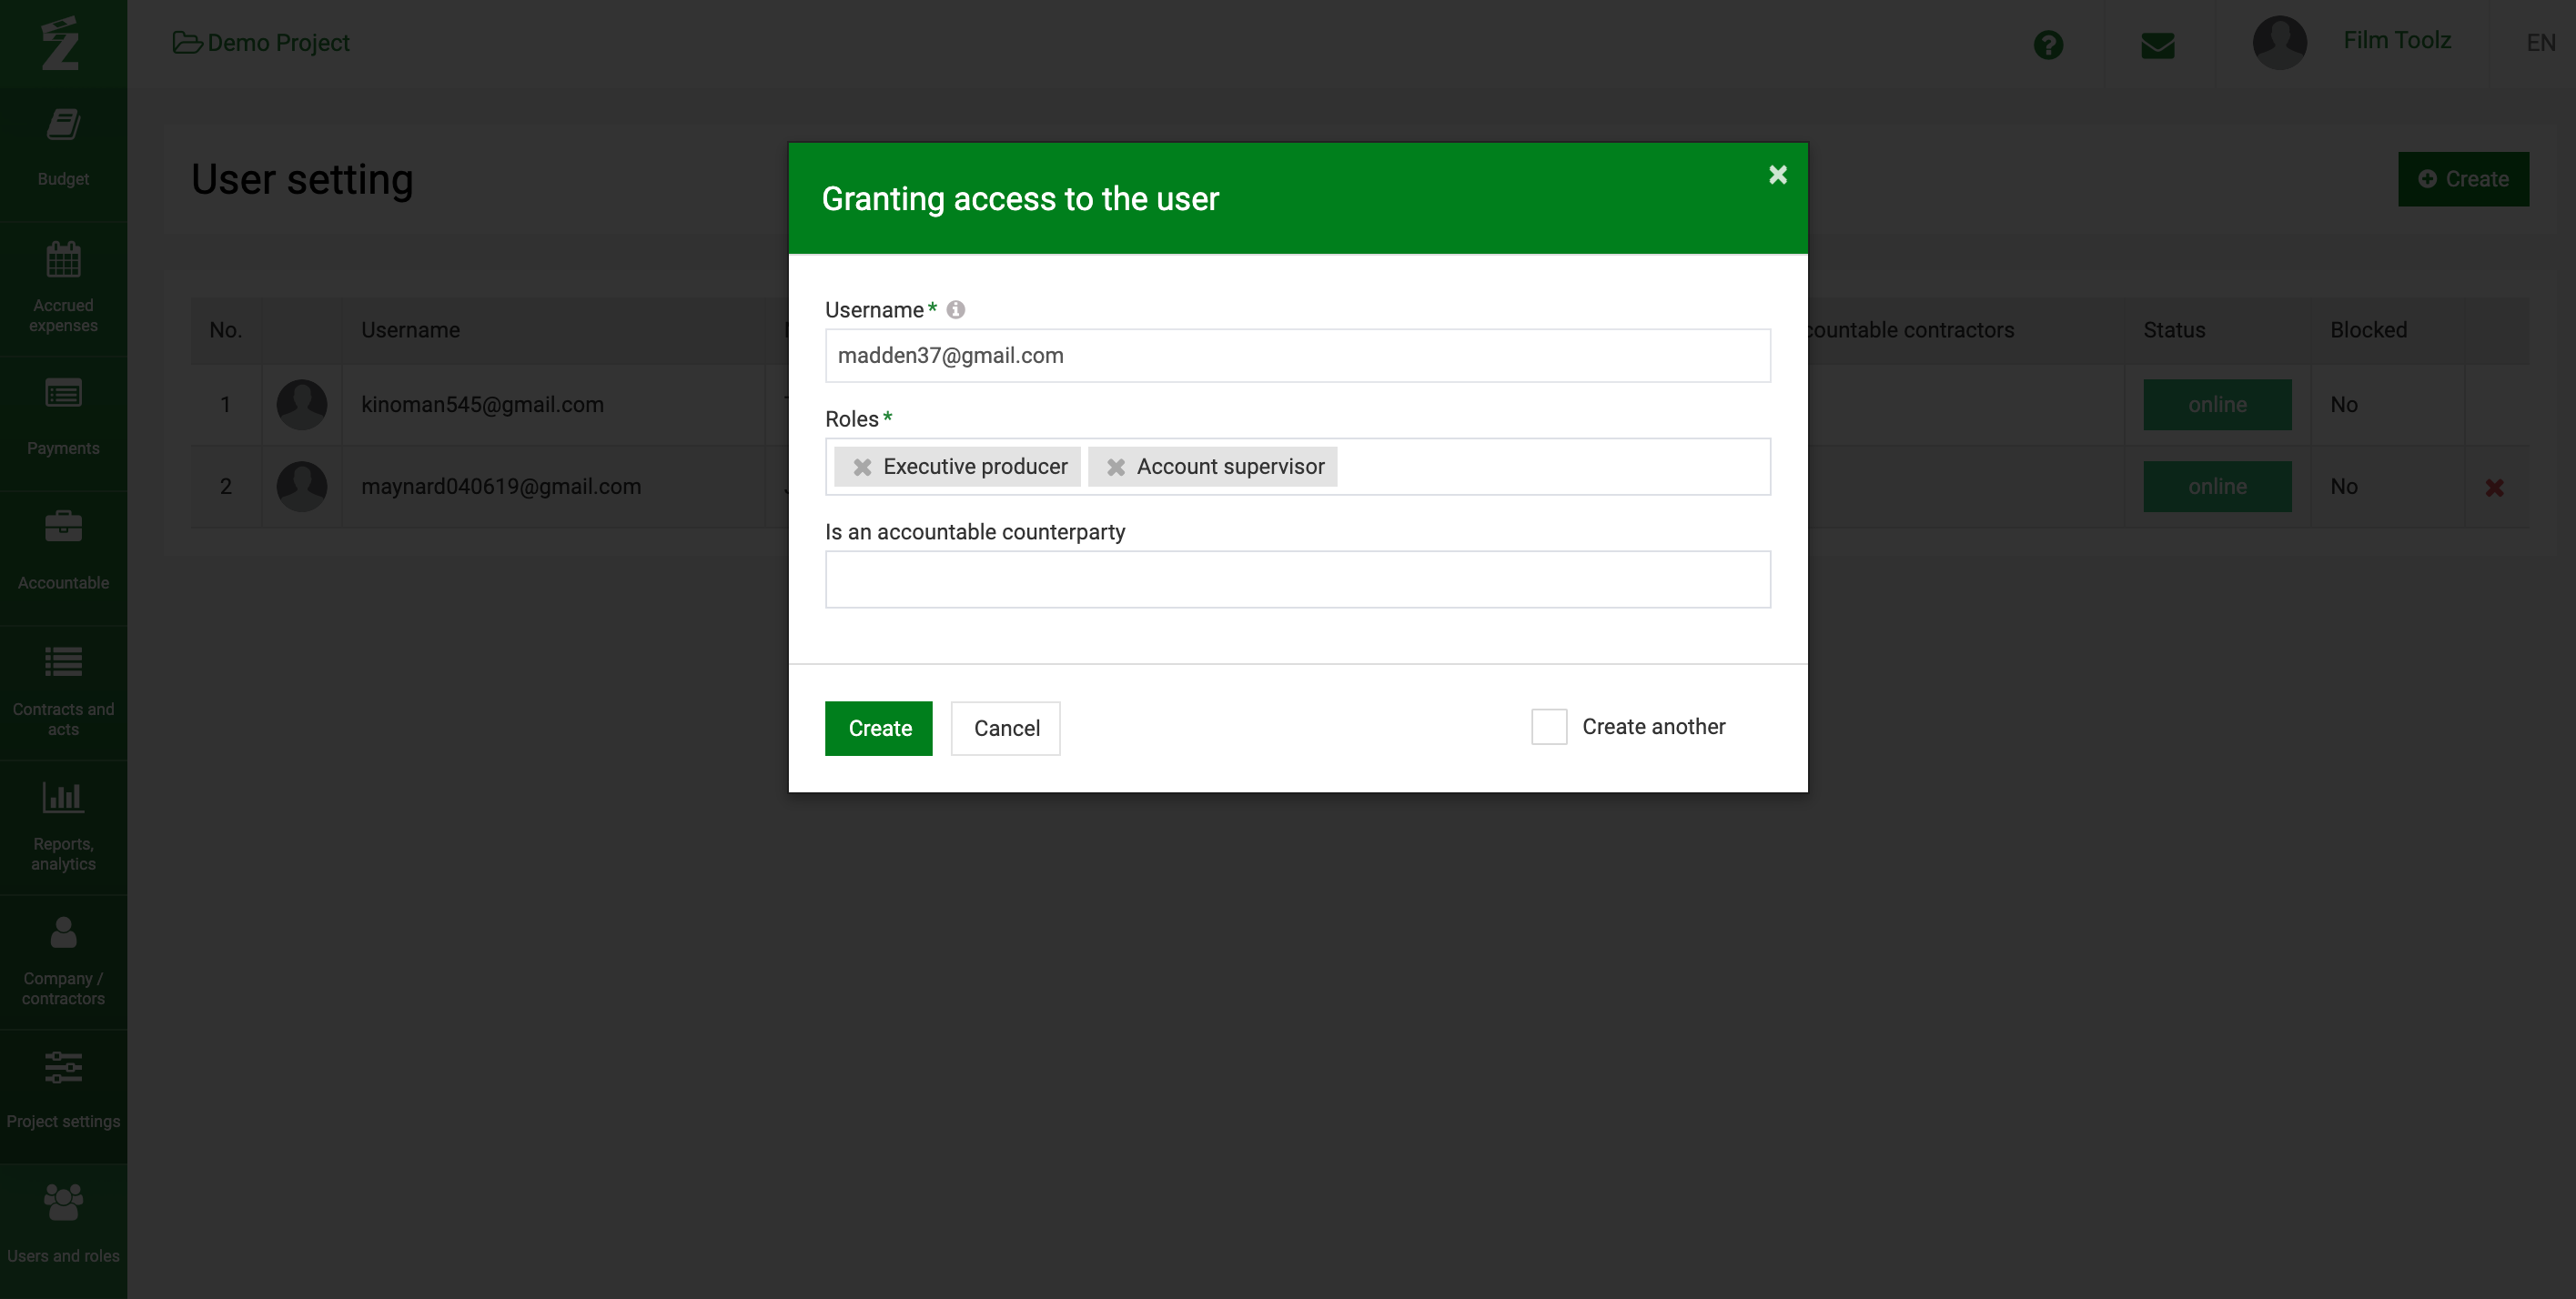
Roles will be assigned to a user when you add them to the system (learn more in this module) or at a later stage via the list of users.
You may assign multiple roles to a single user. In this case, all permissions of the roles will be added up, and the user will have the rights granted by both roles.